Configuring Devices#

Configuring Devices

This tutorial covers how to add and configure a device on your robot in VEXcode GO, using a Drivetrain as an example. By the end, you’ll have added and configured a Drivetrain.

  1. Select the Devices tab. See Navigating VEXcode if the Devices tab is not visible.
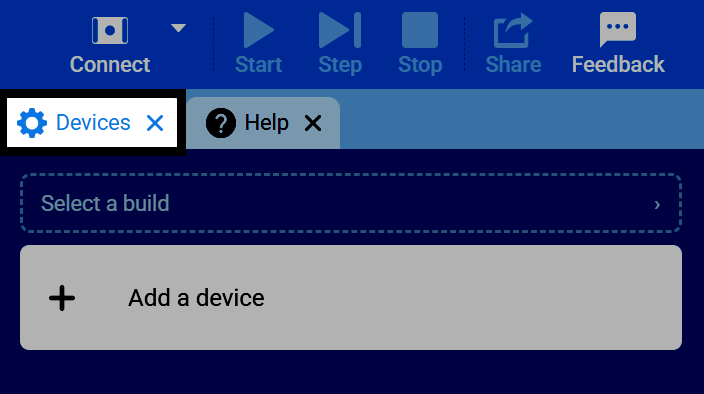
Screenshot of VEXcode's tab bar, with the Devices tab highlighted.
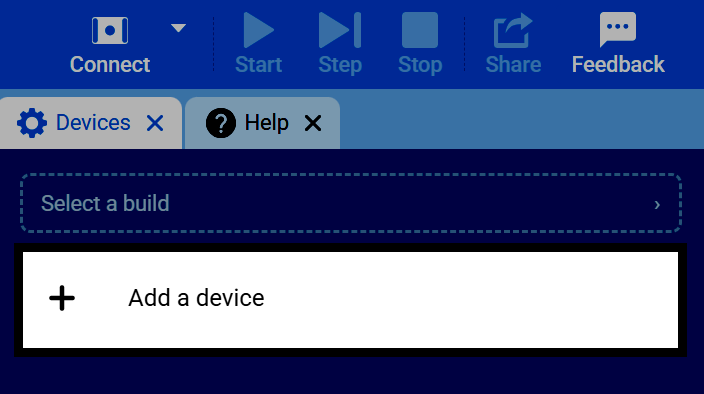
  1. Select Add a Device.

Screenshot of the Devices tab, with the Add a Device button highlighted.
  1. Select the device you want to add. For this example, select Drivetrain.
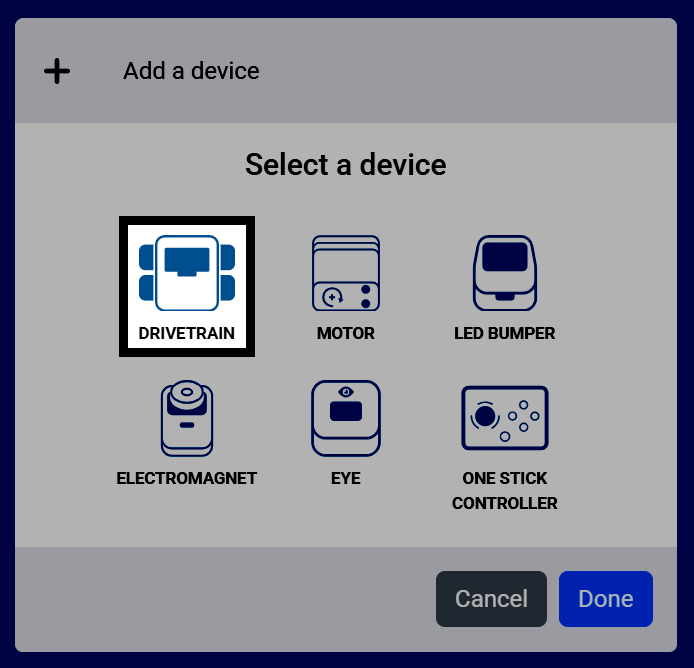
Screenshot of the Select a device screen, with Drivetrain highlighted.
  1. Select the port for the motor that drives your robot’s left wheels.
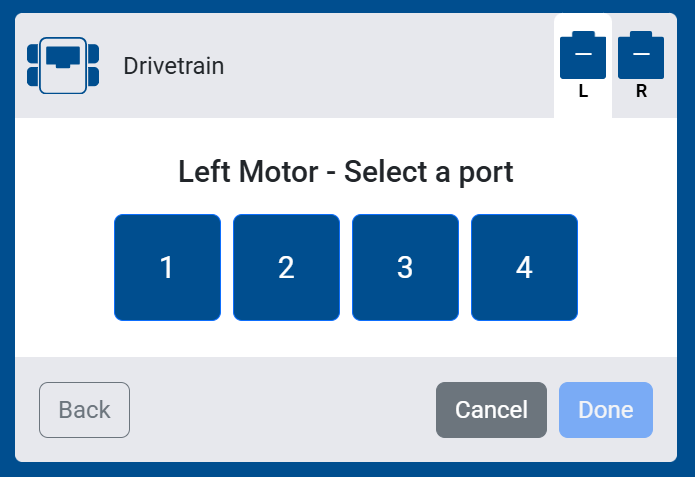
Screenshot of the Left Motor port selection screen, showing ports 1 through 4 to choose from.
  1. Select the port for the motor that drives your robot’s right wheels.
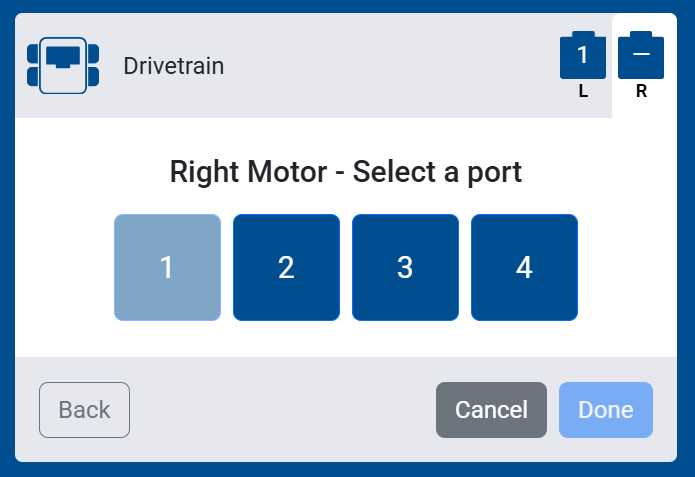
Screenshot of the Right Motor port selection screen, showing ports 1 through 4 to choose from.
  1. Configure the device’s settings. For a Drivetrain, this includes Gear Ratio and Direction. If you’re using a pre-made build, the default values do not need to be changed.
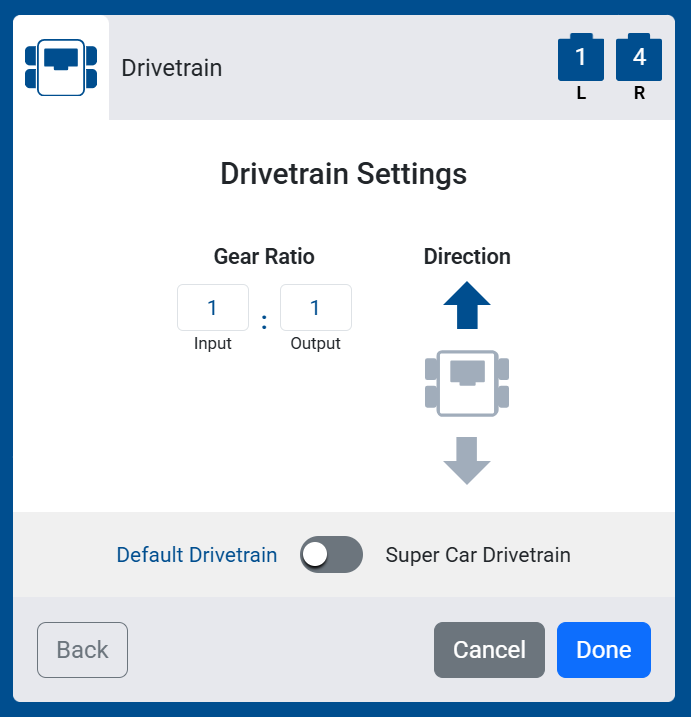
Screenshot of the Drivetrain Settings screen, showing Gear Ratio and Direction options.

If you’re using the Super Car build, toggle this setting to Super Car Drivetrain.
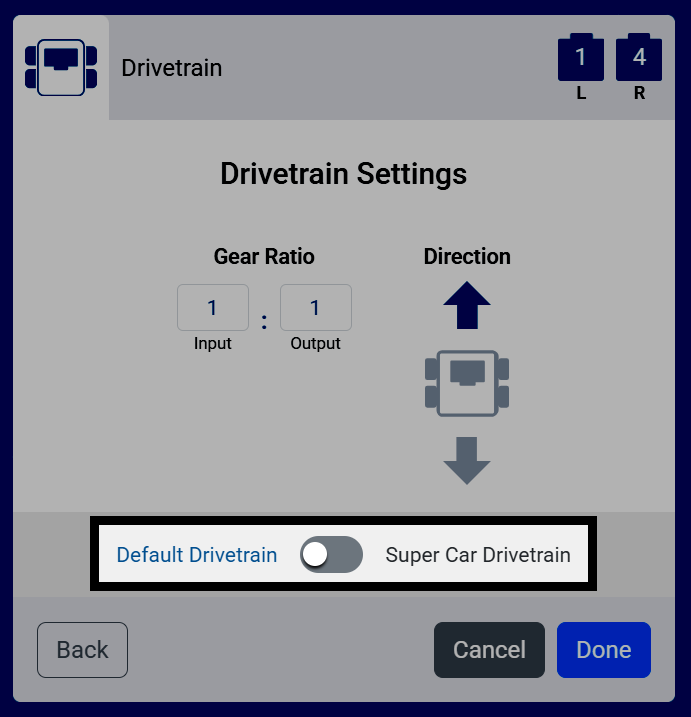
Screenshot of the Drivetrain Settings screen, with the Default Drivetrain and Super Car Drivetrain toggle highlighted.
  1. Select Done to add the device to your robot.
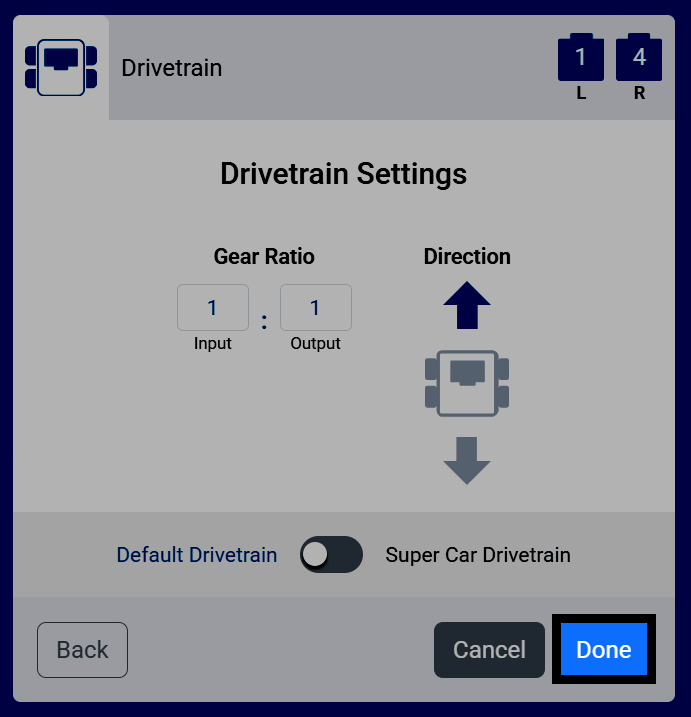
Screenshot of the Drivetrain Settings screen, with the Done button highlighted.
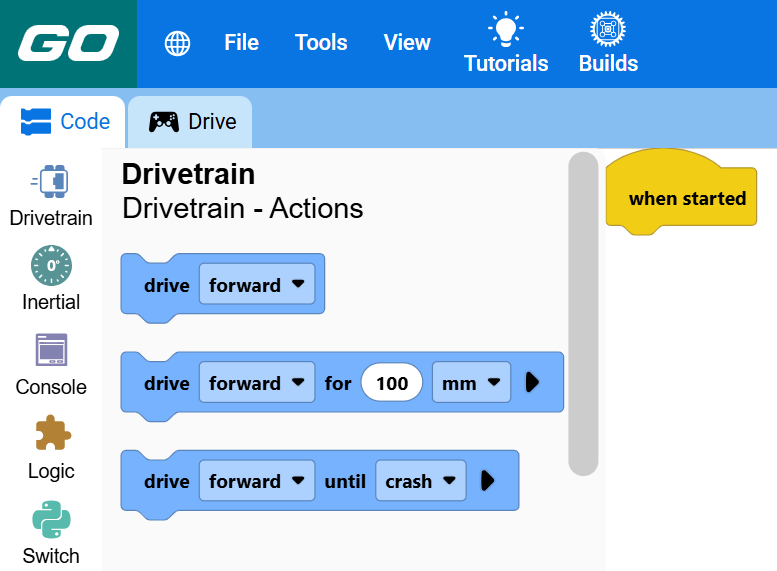
  1. The device will appear in your list of devices, and its blocks will appear in your toolbox.
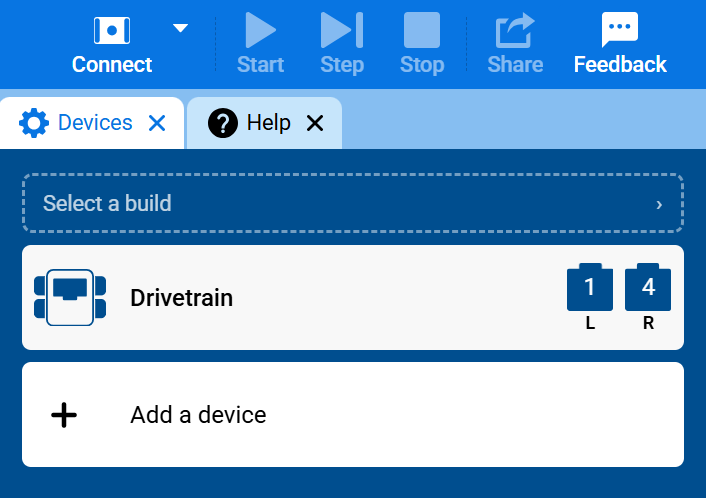
Screenshot of the Devices tab, showing Drivetrain in the list of devices with its left and right motor ports. Screenshot of the toolbox with the Drivetrain category open, showing its blocks.