Sensing#
Brain Sensing#
Reset Timer#
The Reset Timer block is used to reset the robot’s timer.
reset timer
The Brain’s timer begins at the beginning of each project. The reset timer block is used to reset the timer back to 0 seconds.
In this example, the Brain will print the current time after waiting 2 seconds before resetting its timer.
  when started
  print (timer in seconds) ◀ and set cursor to next row
  wait (2) seconds
  reset timer
  print (timer in seconds) ◀ and set cursor to next row
Timer Value#
The Timer Value block is used to report the value of the robot’s timer in seconds.
(timer in seconds)
The timer starts at 0 seconds when the program starts, and reports the timer’s value as a decimal value.
In this example, the Brain will print the current time after waiting 2 seconds before resetting its timer.
  when started
  print (timer in seconds) ◀ and set cursor to next row
  wait (2) seconds
  reset timer
  print (timer in seconds) ◀ and set cursor to next row
Drivetrain Sensing#
Drive is Done?#
The Drive is Done? block is used to report if the 123 Robot is not moving.
<drive is done?>
The Drive is Done? block reports True when the 123 Robot is not moving.
The Drive is Done? block reports False when the 123 Robot is moving.
In this example, the Forever block is used to continuously check if the Sound button has been pressed as the 123 Robot drives forward.
  when started
  drive [forward v]
  forever
  [Check if the sound button is pressed.]
  if <[soundIcon v] pressed?> then
  [If the button is pressed, stop driving and stop checking.]
  stop driving
  break
  end
  end
Drive Heading#
The Drive Heading block is used to report the heading that the 123 Robot is facing.
(drive heading in degrees)
In this example, the the 123 Robot will print its current heading to the Print Console.
  when started
  print (drive heading in degrees) ◀ and set cursor to next row
Button Sensing#
Button Pressed?#
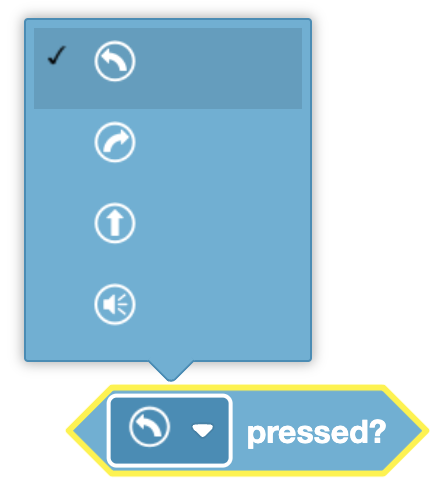
The Button Pressed? block is used to report if the specified button is pressed.
<[ifbuttonleft v] pressed?>
The Button Pressed? block reports True when the specified button is pressed.
The Button Pressed? block reports False when the specified button is not pressed.
Choose which button to use:
Left turn
Right turn
Forward
Sound
In this example, the 123 Robot will only start moving when the Sound button is pressed.
  when started
  wait until <[soundIcon v] pressed?>
  drive [forward v]
Gyro Sensing#
Detected Crash?#
The Detected Crash? block is used to report if the 123 Robot has come in contact with a wall or other object.
<detected crash?>
The Detected Crash? block reports True when the 123 Robot is in contact with a wall or other object.
The Detected Crash? block reports False when the 123 Robot is not in contact with a wall or other object.
In this example, the 123 Robot drive forward and wait until it detects a crash to stop moving.
  when started
  drive [forward v]
  wait until <detected crash?>
  stop driving
Acceleration of#
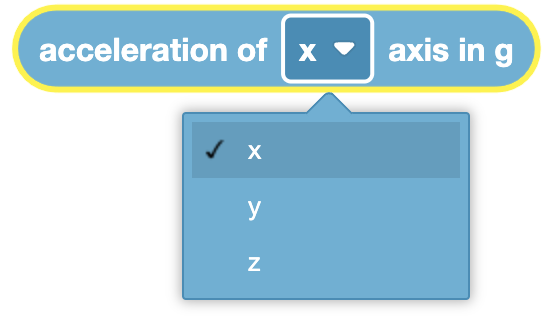
The Acceleration of block is used to report the acceleration value from one of the axes (x, y, or z) of the 123 Robot’s Gyro Sensor.
(acceleration of [x v] axis in g)
The Acceleration of block reports a range from -4.0 to 4.0 Gs.
Choose which axis to use:
x - The X-axis reports acceleration when the Gyro Sensor moves forward to backward.
y - The Y-axis reports acceleration when the Gyro Sensor moves side to side.
z - The Z-axis reports acceleration when the Gyro Sensor moves up to down.
In this example, the 123 Robot will move forward for one second before printing its current X-axis acceleration while moving.
  when started
  drive [forward v]
  wait (1) seconds
  print (acceleration of [x v] axis in g) ◀ and set cursor to next row
Eye Sensing#
Set Eye Light#
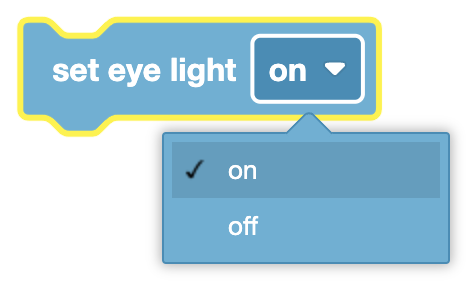
The Set Eye Light block is used to set the light on the Eye Sensor to on or off.
set eye light [on v]
The default power of the Set Eye Light block is 100% when turned on and 0% when turned off.
Choose whether to set the Eye Sensor’s light on or off.
In this example, the Eye Sensor’s light will be turned on, then turn off after 2 seconds.
  when started
  set eye light [on v]
  wait (2) seconds
  set eye light [off v]
Set Eye Light Power#
The Set Eye Light Power block is used to set the light power of Optical sensor
set eye light power to (50)%
The The Set Eye Light Power block block accepts a range of 0% to 100%. This will change the brightness of the light on the Eye Sensor. If the light is off, this block will turn the light on.
In this example, the Eye Sensor’s light is set to 75% before it waits to detect an object to print a message.
  when started
  set eye light power to (75)%
  wait until <eye found an object?>
  print [Object has been detected.] ◀ and set cursor to next row
Eye Sensor Found Object#
The Eye Sensor Found Object block is used to report if the Eye Sensor detects an object close to it.
<eye found an object?>
The Eye Sensor Found Object block reports True when the Eye Sensor detects an object close to it.
The Eye Sensor Found Object block reports False when an object is not within range of the Eye Sensor.
In this example, the Eye Sensor’s power light is set to 75% before it waits to detect an object to print a message.
  when started
  set eye light power to (75)%
  wait until <eye found an object?>
  print [Object has been detected.] ◀ and set cursor to next row
Eye Sensor Detects Color#
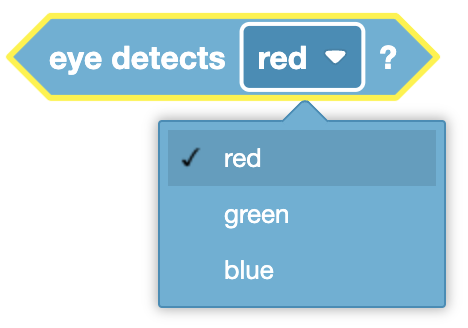
The Eye Sensor Detects Color block is used to report if the Eye Sensor detects the specified color.
<eye detects [red v]?>
The Eye Sensor Detects Color block reports True when the Optical Sensor detects the specified color.
The Eye Sensor Detects Color block reports False when the Optical Sensor doesn’t detect the specified color.
Choose which color the Eye Sensor will check for:
red
green
blue
In this example, the Eye Sensor will wait until it detects a red color before printing a message.
  when started
  wait until <eye detects [red v]?>
  print [Red has been detected.] ◀ and set cursor to next row
Eye Hue#
The Eye Hue block is used to report the hue of the color of an object.
(eye hue in degrees)
The Eye Hue block reports a number value that is the hue of the color of an object. It returns a number between 0 and 359.
The value can be thought of as the location of the color on a color wheel in degrees.
In this example, the Eye Sensor will print the currently seen hue to the Brain’s screen.
  when started
  print (eye hue in degrees) ◀ and set cursor to next row
Eye Detects Bright Object?#
The Eye Detects Bright Object? block is used to report if the Eye Sensor detects an object close to it.
<eye bright object?>
The Eye Detects Bright Object? block reports True when the Eye Sensor detects a brightness value greater than 70%.
The Eye Detects Bright Object? block reports False when the Eye Sensor detects a brightness value less than or equal to 70%.
In this example, the Eye Sensor waits until it detects a bright object to print a message.
  when started
  wait until <eye bright object?>
  print [Bring object detected.] ◀ and set cursor to next row
Eye Brightness#
The Eye Brightness block is used to report the amount of light detected by the Eye Sensor.
(eye brightness in %)
The Eye Brightness block reports a number value from 0% to 100%.
A large amount of light detected will report a high brightness value.
A small amount of light detected will report a low brightness value.
In this example, the Eye Sensor will print the current brightness value to the Brain’s screen.
  when started
  print (eye brightness in %) ◀ and set cursor to next row