Events#
When Started#
The When Started block is used to run the attached stack of blocks when the project is started.
when started
A when started event will run when the project is started from the start button in VEXcode.
All new projects will automatically include a when started block.
In this example, the When Started block is used to start the project. When the start button is selected, the robot will drive forward, turn right, and drive forward again.
    when started
    drive [forward v] for (200) [mm v] ▶
    turn [right v] for (90) degrees ▶
    drive [forward v] for (200) [mm v] ▶
When Bumper#
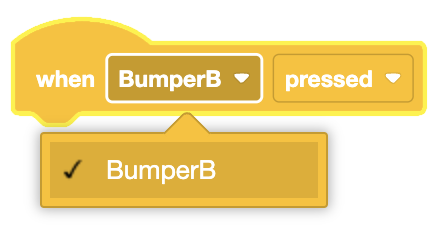
The When Bumper block is used to run the attached stack of blocks when the selected Bumper Switch sensor is pressed or released.
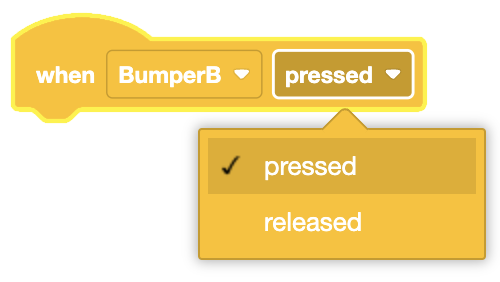
when [BumperB v] [pressed v]
Choose which Bumper to use.
◀
Select which action will trigger the event - pressed or released.
In this example, when the Bumper Switch sensor is pressed, a message will be printed on the Brain.
    when [BumperB v] [pressed v]
    print [Bumper has been pressed.] on [Brain v] ◀ and set cursor to next row
When Touch LED#
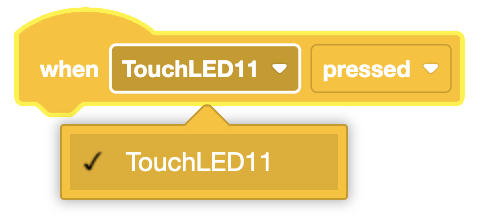
The When Touch LED block is used to run the selected VEX IQ Touch LED is pressed or released.
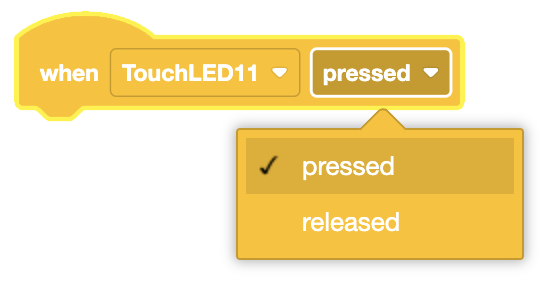
when [TouchLED11 v] [pressed v]
Choose which Touch LED to use.
Select which action will trigger the event - pressed or released.
In this example, when the Touch LED is pressed, a message will be printed on the Brain.
    when [TouchLED11 v] [pressed v]
    print [Touch LED was pressed.] on [Brain v] ◀ and set cursor to next row
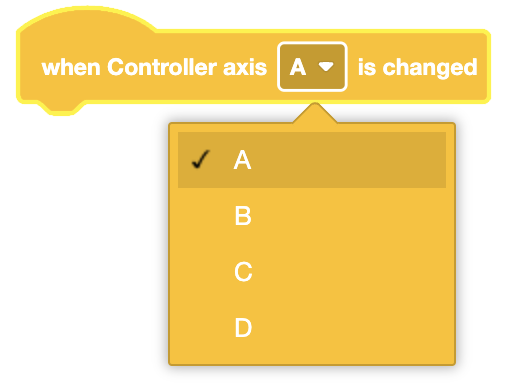
When Controller Axis#
The When Controller Axis block is used to run the attached stack of blocks when the selected IQ (1st gen) Controller joystick axis is moved.
when Controller axis [A v] is changed
Choose which IQ (1st gen) Controller joystick axis to use.
In this example, moving the D joystick axis on the IQ (1st gen) Controller will print a message.
    when Controller axis [D v] is changed
    print [Axis D has changed.] on [Brain v] ◀ and set cursor to next row
When Timer#
The When Timer block is used to run the attached stack of blocks when the Brain’s timer is equal to the given value.
when timer > (1) seconds
The Brain’s timer begins at the beginning of each project or whenever the Brain’s timer is reset.
Choose an amount of time. The when timer event will run once the Brain’s timer is equal to the entered amount.
when timer > (3.25) seconds
In this example, after 5 seconds have passed, the robot will print the message to the Print Console.
    when timer > (5) seconds
    print [5 seconds have passed.] ▶
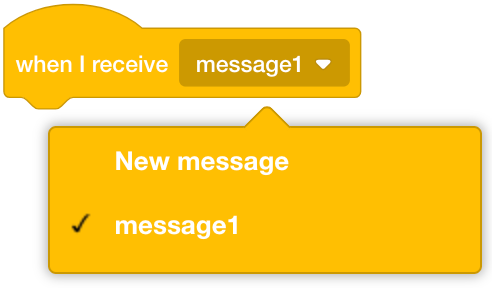
When I Receive#
The When I Receive block is used to run the attached stack of blocks when the selected message is received from a broadcasted message.
when I receive [message1 v]
Choose which message to listen for. A new message can also be created.
In this example, the code will continuously check if the Left Sensor Bumper was pressed. Once pressed, the When I Recieve block will trigger once the bumper_press message is received.
    when started
    forever
    if <[LeftBumper v] pressed?> then
    broadcast [bumper_press v]
    end
    end
    when I receive [bumper_press v]
    print [Bumper has been pressed] ▶
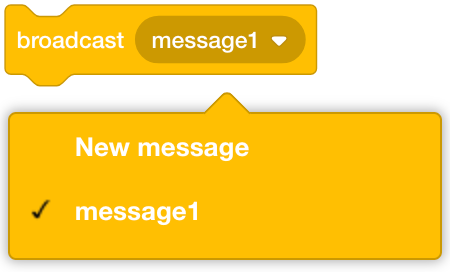
Broadcast#
The Broadcast block is used to broadcast a message to activate any stacks that begin with a When I Receive block listening for the broadcasted message.
broadcast (message1 v)
The stack that sends the broadcast will continue to run blocks at the same time as other stacks that receive the broadcasted message.
Choose which message to broadcast. A new message can also be created.
In this example, the code will continuously check if the Left Sensor Bumper was pressed. Once pressed, the Broadcast block will trigger the When I Receive block with the message bumper_press.
    when started
    forever
    if <[LeftBumper v] pressed?> then
    broadcast [bumper_press v]
    end
    end
    when I receive [bumper_press v]
    print [Bumper has been pressed] ▶
Broadcast and Wait#
The Broadcast and Wait block is used to broadcast a message to activate any stacks that begin with a When I Receive block listening for the broadcasted message while also pausing the rest of the stack.
This block broadcasts a message to activate any stacks that begin with a when I receive block listening for the broadcasted message while also pausing the rest of the stack.
broadcast (message1 v) and wait
The stack that sends the broadcast and wait will pause until the other stacks that receive the broadcasted message have completed.
Choose which message to broadcast. A new message can also be created.
In this example, the code will continuously check if the Left Sensor Bumper was pressed. Once pressed, the Broadcast and Wait block will trigger the When I Receive block with the message bumper_press. No code underneath the When Started block will execute until everything underneath the bumper_press When I Receive block is finished.
    when started
    forever
    if <[LeftBumper v] pressed?> then
    broadcast [bumper_press v] and wait
    end
    end
    when I receive [bumper_press v]
    turn [right v] for [90] degrees ▶
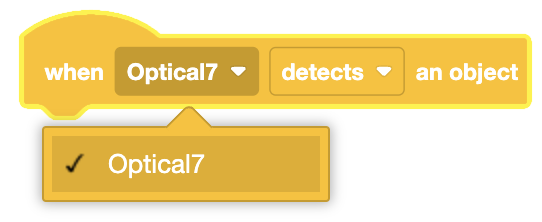
When Optical Sensor#
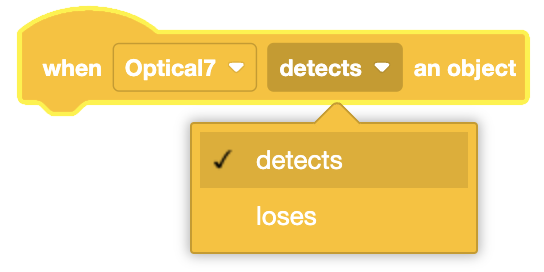
The When Optical Sensor block is used to run the attached stack of blocks when the selected Optical Sensor detects or loses an object.
when [Optical7 v] [detects v] an object
Choose an Optical Sensor.
Choose whether the When Optical detects/loses event is triggered when the sensor detects an object, or loses an object.
In this example, once the Optical Sensor has detected an object, a message will be printed to the Brain.
    when [Optical7 v] [detects v] an object
    print [Optical Sensor has detected an object.] on [Brain v] ◀ and set cursor to next row