Initial Wi-Fi Setup for VEX AIM#
This page explains how to connect your computer directly to the VEX AIM Coding Robot using its built-in Access Point mode. In this mode, the robot creates its own Wi-Fi network, allowing your device to connect without needing a separate router or internet connection.
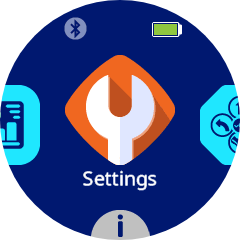
1. Navigate to Settings#
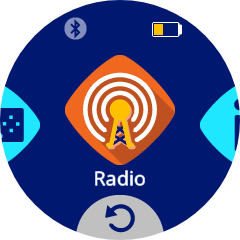
2. Navigate to the Radio Settings#
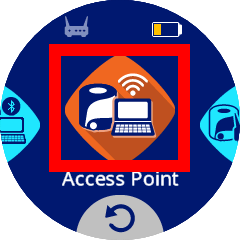
3. Navigate to Access Point#
Access Point mode allows the robot to broadcast its own Wi-Fi network so other devices can connect directly to it. Select the icon to enable it.
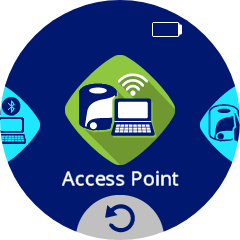
4. Enable Access Point#
The icon will turn green when enabled.
5. Open the Access Point Information#
Once AP mode is enabled, press the Access Point icon to open the Access Point Information menu.
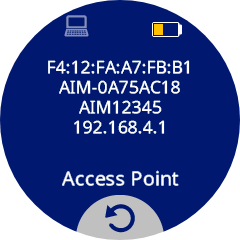
The lines are as follows:
MAC Address
Wi-Fi Network SSID
Wi-Fi Network Password
Wi-Fi Network IP Address
By default, the robot’s IP Address will always be 192.168.4.1.
6. Connect to the Robot’s Wi-Fi#
On your computer, connect to the Network SSID shown in the Access Point Information menu, using the listed Wi-Fi Password.
Note: Connecting to the robot’s Wi-Fi network will disconnect you from any other Wi-Fi networks currently in use.
If you plan to run projects using Access Point mode, no further network setup is required. You can proceed with accessing the VEX AIM WebSocket Library.
To learn how to change the robot’s IP address while in Access Point mode (default is 192.168.4.1), see Configuring VEX AIM for Wi-Fi Access Point Mode.
To connect the robot to an existing Wi-Fi network (Station Mode), continue with Configuring VEX AIM for Wi-Fi Station Mode.