Looks#
Monitor Looks#
Print#
The Print block is used to print values or text in the Print Console.
print [ VEXcode ] ▶
All reporter blocks will be printed as integer (whole) numbers by default. Use the Set Print Precision block to adjust the number of decimal places printed.
By default, the Print block will remain on the same row for any subsequent print commands. By expanding the Print block to show and set cursor to next row, this will move the cursor to the next row after printing.
Important: The Print block will not print anything to the Brain screen unless it is expanded to and set cursor to next row or followed by a Next Row block.
print [ VEXcode ] ◀ and set cursor to next row
Any block that returns a value can be used in the Print block.
In this example, the print precision is set to hundredths before printing the current drivetrain heading.
  when started :: hat events
  set print precision to [0.01 v]
  print (drive heading in degrees) ◀ and set cursor to next row
Set Print Precision#
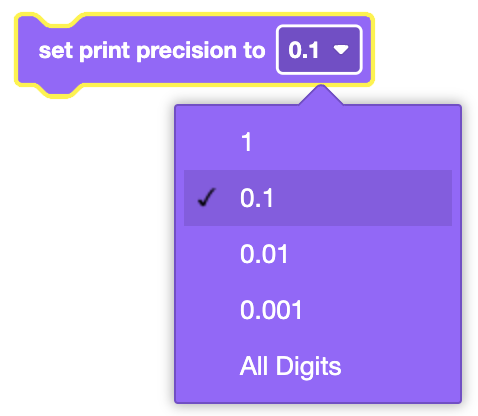
The Set Print Precision block is used to set the number of digits that appear after the decimal point when printing reporter blocks on the Print Console.
set print precision to [0.1 v]
Choose the level of precision that inserted reporter blocks will be printed to the screen.
Ones (1) (Default)
Tenths (0.1)
Hundredths (0.01)
Thousandths (0.001)
All Digits (0.000001)
In this example, the print precision is set to hundredths before printing the current drivetrain heading.
  when started :: hat events
  set print precision to [0.01 v]
  print (drive heading in degrees) ◀ and set cursor to next row
Clear All Rows#
The Clear All Rows block is used to clear the entire Print Console.
clear all rows
In this example, the robot will print a message, wait 2 seconds, then clear the message.
  when started :: hat events
  print [ VEXcode ] ◀ and set cursor to next row
  wait (2) seconds
  clear all rows
Next Row#
The Next Row block is used to set the print output cursor on the Print Console to the next available row.
set cursor to next row
By default, all projects begin with the screen cursor at row 1. The Next Row block will move the cursor down by a single row on the screen. The Next Row block will also set the cursor’s column to position 1.
In this example, the robot will print “Hello” on the 1st row and “world!” on the 2nd row.
  when started :: hat events
  print  [ Hello ] ▶
  set cursor to next row
  print [world!] ◀ and set cursor to next row
Set Print Color#
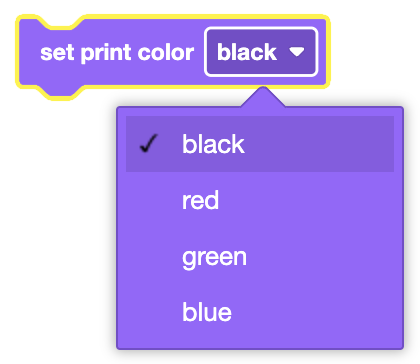
The Set Print Color block is used to set the color of text printed to the Print Console.
set print color [black v]
Choose what color to print as:
black
red
green
blue
In this example, the robot will print “Red Blue” and change each color to match its name.
  when started :: hat events
  [Print "Red" in red.]
  set print color [red v]
  print [ Red ] ▶
  [Print "Blue." in blue.]
  set print color [blue v]
  print [ Blue. ] ◀ and set cursor to next row
Bumper Looks#
Set Bumper Color#
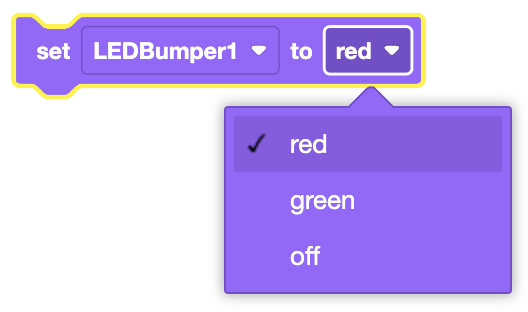
The Set Bumper Color block is used to set the color of the LED Bumper. At the start of a project, the LED Bumper is set to off.
set [LEDBumper1 v] to [red v] :: custom-looks
Choose which LED Bumper to use:
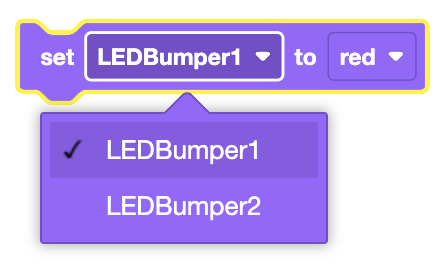
Choose what color to display:
red - Sets the LED Bumper to the color red.
green - Sets the LED Bumper to the color green.
off - Turns the LED Bumper off.
In this example, the LED Bumper will be set to red and then turn off after 2 seconds.
  when started :: hat events
  set [LEDBumper1 v] to [red v] :: custom-looks
  wait (2) seconds
  set [LEDBumper1 v] to [off v] :: custom-looks
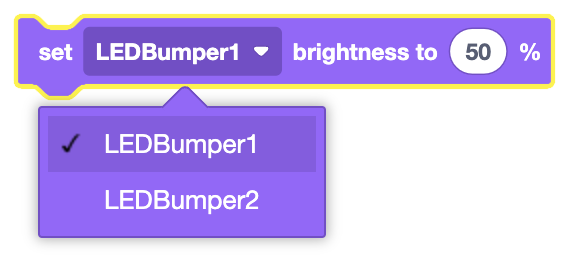
Set Bumper Brightness#
The Set Bumper Brightness block is used to set the brightness level of the LED Bumper.
set [LEDBumper1 v] brightness to (50) %
The Set Bumper Brightness block accepts a range of 0% to 100%.
Choose which LED Bumper to use:
In this example, the LED Bumper will be set to red, and then turn its brightness to 20% after 1 second.
  when started :: hat events
  set [LEDBumper1 v] to [red v] :: custom-looks
  wait (1) seconds
  set [LEDBumper1 v] brightness to (20) %