Sensing#
Brain Sensing#
Reset Timer#
The Reset Timer block is used to reset the Brain’s timer.
reset timer
The Brain’s timer begins at the beginning of each project. The reset timer block is used to reset the timer back to 0 seconds.
In this example, the Brain will print the current time after waiting 2 seconds before resetting its timer.
  when started :: hat events
  wait (2) seconds
  print (timer in seconds) on [Brain v] ◀ and set cursor to next row
  reset timer
  print (timer in seconds) on [Brain v] ◀ and set cursor to next row
Timer Value#
The Timer Value block is used to report the value of the Brain’s timer in seconds.
(timer in seconds)
The timer starts at 0 seconds when the program starts, and reports the timer’s value as a decimal value.
In this example, the Brain will print the current time after waiting 2 seconds before resetting its timer.
  when started :: hat events
  wait (2) seconds
  print (timer in seconds) on [Brain v] ◀ and set cursor to next row
  reset timer
  print (timer in seconds) on [Brain v] ◀ and set cursor to next row
Bumper Sensing#
Bumper Pressed#
The Bumper Pressed block is used to report if the LED Bumper is pressed.
<[LEDBumper1 v] pressed?>
The Bumper Pressed block reports True when the selected LED Bumper is pressed.
The Bumper Pressed block reports False when the selected LED Bumper is not pressed.
Choose which LED Bumper to use.

In this example, the Brain will print a message on its screen the first time the LED Bumper is pressed.
  when started :: hat events
  [Don't do anything until the LED bumper is pressed.]
  wait until <[LEDBumper1 v] pressed?>
  print [ The LED Bumper was pressed! ] ◀ and set cursor to next row
Gyro Sensing#
Calibrate Gyro#
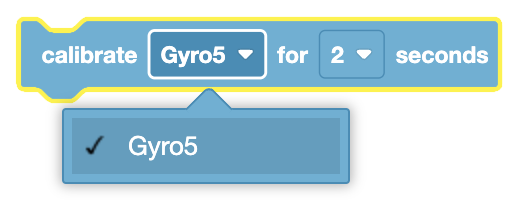
The Calibrate Gyro block is used to calibrate the VEX GO Gyro Sensor is used to reduce the amount drift generated by Gyro Sensor.
The Gyro Sensor must remain still during the calibration process.
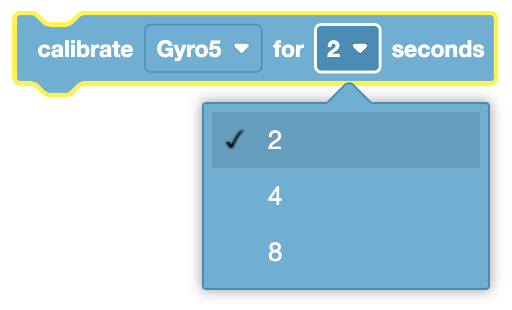
calibrate [Gyro5 v] for [2 v] seconds
Choose which Gyro Sensor to use.
Choose how long to calibrate the Gyro Sensor for:
2 seconds
4 seconds
8 seconds
In this example, the Brain’s Gyro Sensor will calibrate for 2 seconds before printing the current heading of the Gyro Sensor.
  when started :: hat events
  calibrate [Gyro5 v] for [2 v] seconds
  print ([Gyro5 v] heading in degrees) on [Brain v] ◀ and set cursor to next row
Set Heading#
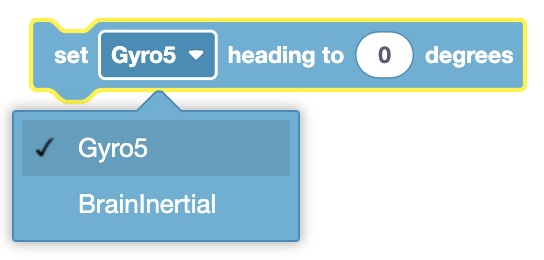
The Set Heading block is used to set the Gyro Sensor current heading position to the specified value.
set [Gyro5 v] heading to (0) degrees
The Set Heading block accepts a range of 0.0 to 359.99 degrees.
Choose which Gyro Sensor to use.
In this example, the Brain’s Gyro sensor will print its starting heading, set its heading to 90 degrees, and then print the new heading.
  when started :: hat events
  print ([Gyro5 v] heading in degrees) on [Brain v] ◀ and set cursor to next row
  set [Gyro5 v] heading to (90) degrees
  print ([Gyro5 v] heading in degrees) on [Brain v] ◀ and set cursor to next row
Set Rotation#
The Set Rotation block is used to set the Gyro Sensor current rotation position to the specified value.
set [Gyro5 v] rotation to (0) degrees
The Set Rotation block accepts any positive or negative decimal or integer number.
Choose which Gyro Sensor to use.

In this example, the Brain’s Gyro Sensor will print its starting rotation, set its rotation to -100 degrees, and then print the new rotation.
  when started :: hat events
  print ([Gyro5 v] rotation in degrees) on [Brain v] ◀ and set cursor to next row
  set [Gyro5 v] rotation to (-100) degrees
  print ([Gyro5 v] rotation in degrees) on [Brain v] ◀ and set cursor to next row
Angle of Heading#
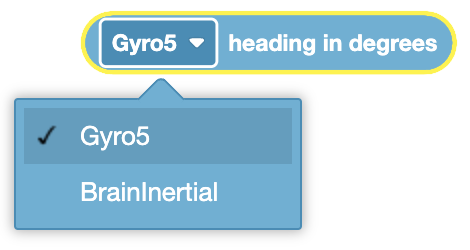
The Angle of Heading block is used to report the VEX GO Gyro Sensor’s current heading in degrees.
([Gyro5 v] heading in degrees)
The Angle of Heading block reports a range from 0.0 to 359.99 degrees.
Choose which Gyro Sensor to use.
In this example, the Brain’s Gyro sensor will print its starting heading, set its heading to 90 degrees, and then print the new heading.
  when started :: hat events
  print ([Gyro5 v] heading in degrees) on [Brain v] ◀ and set cursor to next row
  set [Gyro5 v] heading to (90) degrees
  print ([Gyro5 v] heading in degrees) on [Brain v] ◀ and set cursor to next row
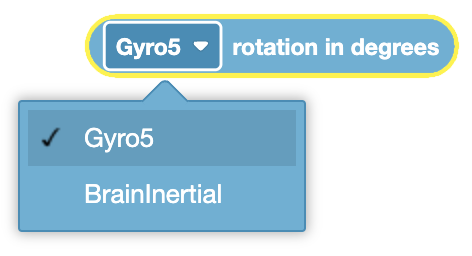
Angle of Rotation#
The Angle of Rotation block is used to report the VEX GO Gyro Sensor’s current rotation in degrees.
([Gyro5 v] rotation in degrees)
A clockwise direction is reported as a positive value, and a counterclockwise value is reported as a negative value.
Choose which Gyro Sensor to use.
In this example, the Brain’s Inertial sensor will print its starting rotation, set its rotation to -100 degrees, and then print the new heading.
  when started :: hat events
  print ([Gyro5 v] rotation in degrees) on [Brain v] ◀ and set cursor to next row
  set [Gyro5 v] heading to (-100) degrees
  print ([Gyro5 v] rotation in degrees) on [Brain v] ◀ and set cursor to next row
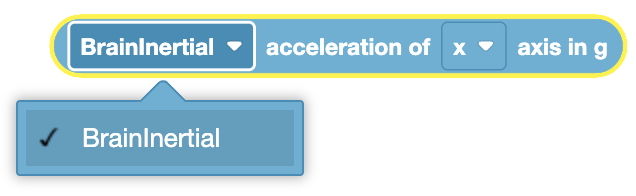
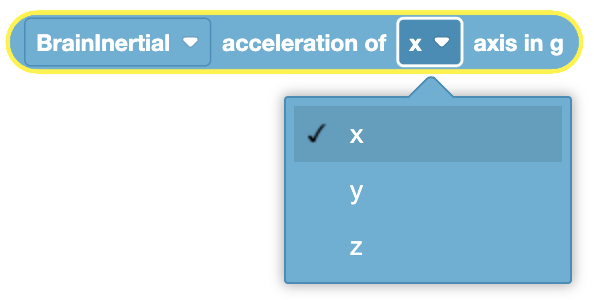
Acceleration of#
The Acceleration of block is used to report the acceleration value from one of the axes (x, y, or z) of the VEX GO Brain’s Gyro Sensor.
([BrainInertial v] acceleration of [x v] axis in g)
The Acceleration of block reports a range from -4.0 to 4.0 Gs.
Choose which Gyro Sensor to use.
Choose which axis to use:
x - The X-axis reports acceleration when the Inertial Sensor moves forward to backward.
y - The Y-axis reports acceleration when the Inertial Sensor moves side to side.
z - The Z-axis reports acceleration when the Inertial Sensor moves up to down.
In this example, the Drivetrain will move forward and print its current X-axis acceleration while moving.
  when started :: hat events
  [Drive forward for 1 second.]
  drive [forward v]
  wait (1) seconds
  [Print the X-axis acceleration while the Drivetrain is moving.]
  print ([BrainInertial v] acceleration of [x v] axis in g) on [Brain v] ◀ and set cursor to next row
Eye Sensing#
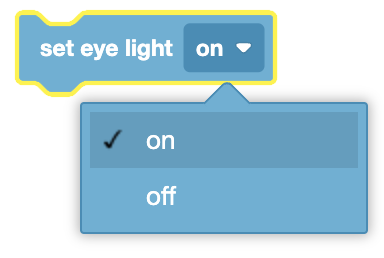
Set Eye Light#
The Set Eye Light block is used to set the light on the Eye Sensor to on or off.
set eye light [on v]
The default power of the Set Eye Light block is 100% when turned on and 0% when turned off.
Choose whether to set the Eye Sensor’s light on or off.
In this example, the Eye Sensor’s light will be turned on, then turn off after two seconds.
  when started :: hat events
  set eye light [on v]
  wait (2) seconds
  set eye light [off v]
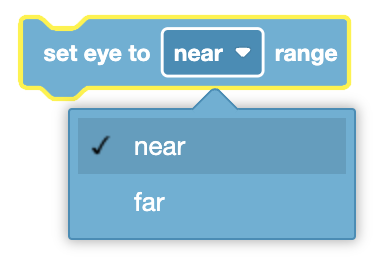
Set Eye Range#
The Set Eye Range block is used to set the detection range on the Eye Sensor.
set eye to [near v] range
The range setting adjusts how far an object can be from the sensor and still be detected.
Choose whether to set the detection range to either near or far. The default range is far.
near: Up to 18 millimeters.
far: Up to 40 millimeters.
In this example, the Set Eye Range block adjusts the detection range while the code is running. This checks if an object is detected and if it is in the near or far detection range.
  when started :: hat events
  forever
  set eye to [far v] range
  [If an object is detected in the far range, set LED Bumper to red.]
  if <eye found an object?> then
  set [LEDBumper1 v] to [red v] :: custom-looks
  set eye to [near v] range
  [If an object is detected in the near range, set LED Bumper to green.]
  if <eye found an object?> then
  set [LEDBumper1 v] to [green v] :: custom-looks
  end
  end
  [If nothing is detected, turn LED Bumper off and check again 0.5 seconds.]
  set [LEDBumper1 v] to [off v] :: custom-looks
  wait (0.5) seconds
  end
Set Eye Light Power#
The Set Eye Light Power block is used to set the light power of Optical sensor
set eye light power to (50) %
The The Set Eye Light Power block block accepts a range of 0% to 100%. This will change the brightness of the light on the Eye Sensor. If the light is off, this block will turn the light on.
In this example, the Eye Sensor’s light is set to 75% before it waits to detect an object to print a message.
  when started :: hat events
  set eye light power to (75) %
  [Wait until the Eye Sensor detects an object.]
  wait until <eye found an object?>
  print [ Object detected.] ◀ and set cursor to next row
Eye Sensor Found Object#
The Eye Sensor Found Object block is used to report if the Eye Sensor detects an object within the Eye Sensor’s range, which defaults to 40 millimeters or Far unless changed by the Set Eye Range block.
<eye found an object?>
The Eye Sensor Found Object block reports True when the Eye Sensor detects an object close to it.
The Eye Sensor Found Object block reports False when an object is not within range of the Eye Sensor.
In this example, the Eye Sensor’s power light is set to 75% before it waits to detect an object to print a message.
  when started :: hat events
  set eye light power to (75) %
  [Wait until the Eye Sensor detects an object.]
  wait until <eye found an object?>
  print [ Object detected.] ◀ and set cursor to next row
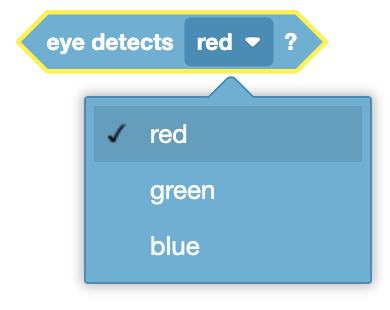
Eye Sensor Detects Color#
The Eye Sensor Detects Color block is used to report if the Eye Sensor detects the specified color.
<eye detects [red v] ? >
ete
The Eye Sensor Detects Color block reports True when the Optical Sensor detects the specified color.
The Eye Sensor Detects Color block reports False when the Optical Sensor doesn’t detect the specified color.
Choose which color the Eye Sensor will check for:
red
green
blue
In this example, the Eye Sensor will wait until it detects a red color before printing the color on the Brain’s screen.
  when started :: hat events
  [Wait until the Eye Sensor detects the color red.]
  wait until <eye detects [red v] ?>
  print [Color red detected.] ◀ and set cursor to next row
Eye Brightness#
The Eye Brightness block is used to report the amount of light detected by the Eye Sensor.
(eye brightness in %)
The Eye Brightness block reports a number value from 0% to 100%.
A large amount of light detected will report a high brightness value.
A small amount of light detected will report a low brightness value.
In this example, the Eye Sensor will print the current brightness value to the Brain’s screen.
  when started :: hat events
  print (eye brightness in %) ◀ and set cursor to next row
Eye Hue#
The Eye Hue block is used to report the hue of the color of an object.
(eye hue in degrees)
The Eye Hue block reports a number value that is the hue of the color of an object. It returns a number between 0 and 359.
The value can be thought of as the location of the color on a color wheel in degrees.
In this example, the Eye Sensor will print the currently seen hue to the Brain’s screen.
  when started :: hat events
  print (eye hue in degrees) ◀ and set cursor to next row