Looks#
Print#
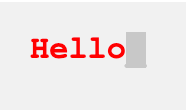
The Print block is used to print values or text in the Print Console.
print [Hello] ▶
The Print block will print data within the Monitor Window tab.
![]()
All reporter blocks will be printed as integer (whole) numbers by default. Use the Set print precision block to adjust the number of decimal places printed.
By default, the Print block will remain on the same row for any subsequent print commands. By expanding the Print block to show and set cursor to next row, this will move the cursor to the next row after printing.
print [Hello] ◀ and set cursor to next row
Any block that returns a value can be used in the Print block.
In this example, the VR Robot’s starting Y Position is printed to the Print Console before moving the cursor to the next line.
  when started
  print [Starting Y Position:] ▶
  print (position [Y v] in [mm v]) ◀ and set cursor to next row
Set print precision#
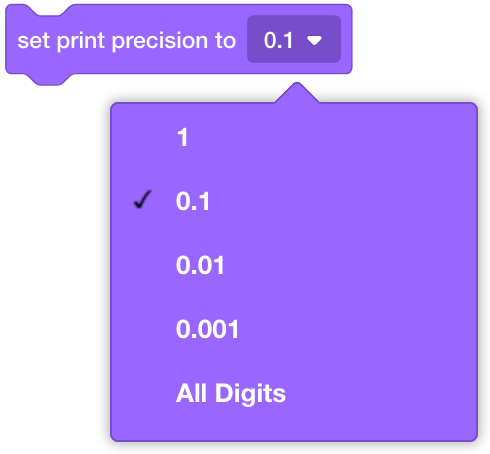
The Set print precision block is used to set the number of digits that appear after the decimal point when using print blocks to print variables and values to the Print Console.
set print precision to [0.1 v]
Choose the level of precision that inserted reporter blocks will be printed to the screen.
Ones (1) (Default)
Tenths (0.1)
Hundredths (0.01)
Thousandths (0.001)
All Digits (0.000001)
In this example, the print precision is set to hundredths before printing the VR Robot’s current drive rotation.
  when started
  set print precision to [0.01 v]
  print (drive rotation in degrees) ▶
Clear all rows#
The Clear all rows block is used to clear all the rows in the Print Console.
clear all rows
In this example, “Project has started.” will print to the Print Console and then be cleared after 5 seconds.
  when started
  print [Project has started.] ▶
  wait (5) seconds
  clear all rows
Set cursor to next row#
The Set cursor to next row block is used to set the cursor to a new line in the Print Console when using the print blocks.
set cursor to next row
In this example, the code will print “Hello” and on the next line in the display it will print “World!”
  when started
  print [Hello] ▶
  set cursor to next row
  print [World!] ▶
Set print color#
The Set print color block is used to set the color of text printed to the Print Console.
set print color [black v]
Select color to print in:
black
red
green
blue

In this example, the code will print “Hello” in the color red.
  set print color [red v]
  print [Hello] ▶
Any Print block used after the Set print color block will print in the color most recently set within the program.
Set pen width#
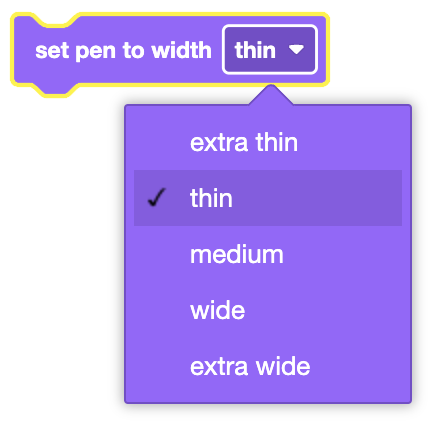
The Set pen width block is used to set the width of the line the VR Pen will draw.
set pen to width [thin v]
Select which width to set the VR pen to. By default, the VR pen is set to thin.
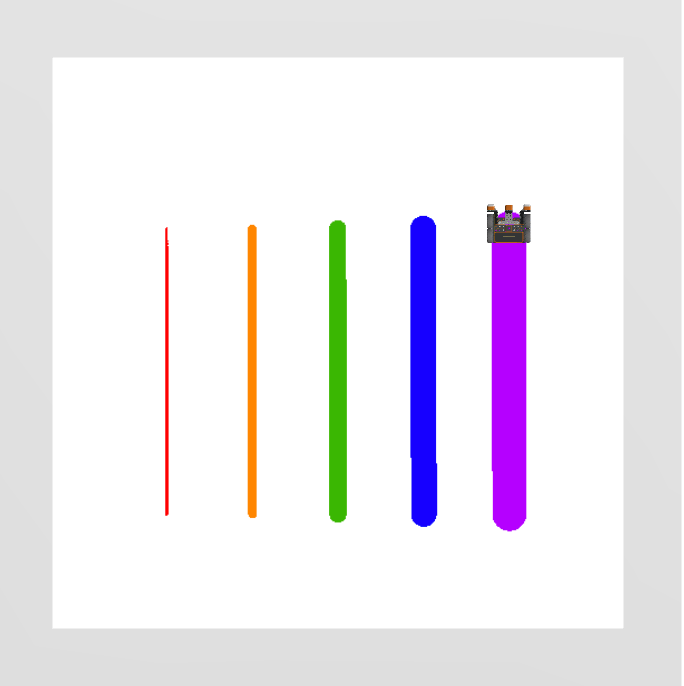
This is an example of what the different widths look like on the playground. From left to right, this shows extra thin, thin, medium, wide, and extra wide.
In this example, the VR Pen’s width is set to “extra wide” before drawing a 400 Millimeter line.
  when started
  set pen to width [extra wide v]
  move pen [down v]
  drive [forward v] for (400) [mm v] ▶
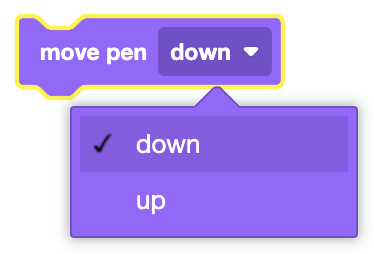
Move pen#
The Move pen block is used to set the position of the VEX VR Pen.
move pen [down v]
Select the position of the VR pen:
up - the pen will not draw a line on the board.
down - the pen will draw a colored line on the board.
In this example, the VR Pen drops and draws a line across the Playground.
  when started
  move pen [down v]
  drive [forward v] for (500) [mm v] ▶
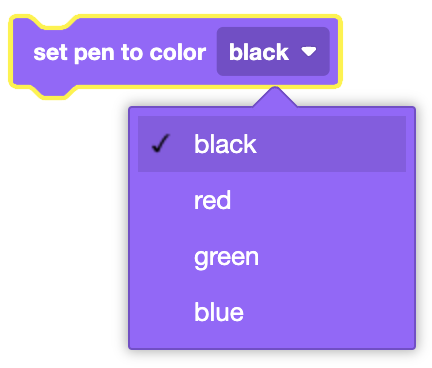
Set pen to color#
The Set pen to color block is used to set the color of the VEX VR Pen.
set pen to color [black v]
Select the color of the line that will be drawn.
black
red
green
blue
In this example, the pen color will be set to green and then draw a line.
  when started
  set pen to color [green v]
  move pen [down v]
  drive [forward v] for (500) [mm v] ▶
Set pen color#
The Set pen color block is used to set the color of the VEX VR Pen with a specified color.
set print color [black v]
Using the sliders, select the red, green, and blue values for the color you want to create. The numeric value will be listed next to the color (0 to 255).
Opacity describes the transparency of the color. The opacity of the pen color can be selected using the bottom slider.
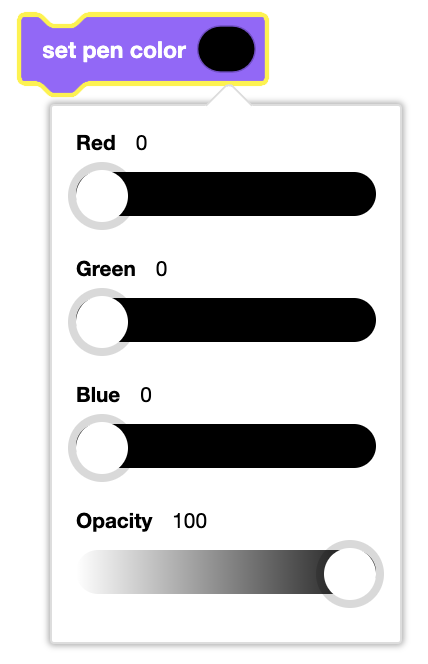
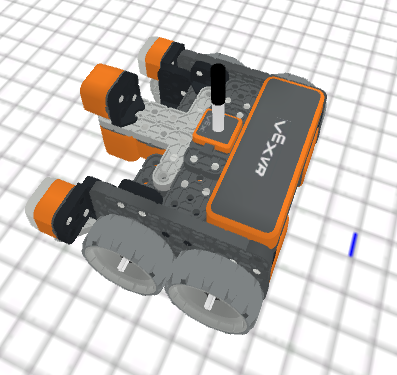
The color window will update to show the final color the pen will draw on the Playground and the color will also appear at the top of the pen on the VR Robot once the project is run.
In this example, the color has been set to pink before the VR Robot draws a line.
  when started
  set pen color ( ::#D900D9)
  move pen [down v]
  drive [forward v] for (500) [mm v] ▶
Fill area with color#
The Fill area with color block will fill in the shape of whatever the VR Pen is on top of, for example:
|
|
|
|---|---|---|
Grid lines |
Grid square |
On Playgrounds with no grid, it fills the entire Playground floor. |
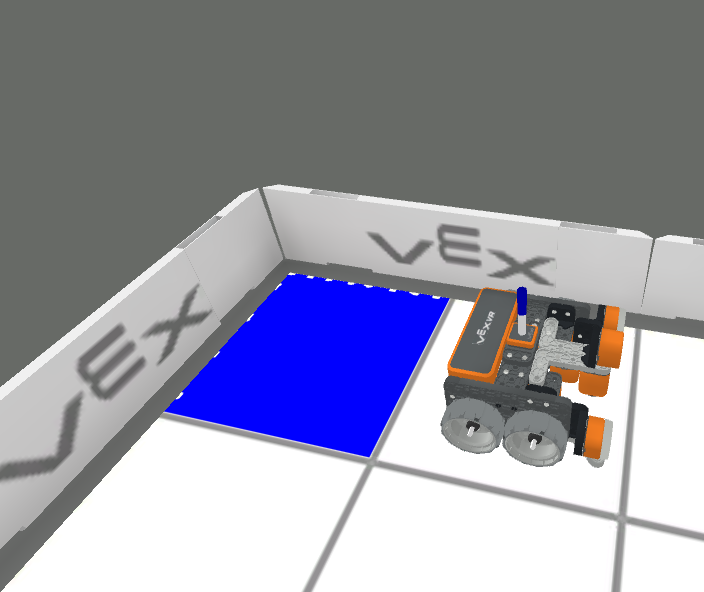

Every Playground has a grid on it of varying sizes that can be seen by looking at the Field Details.
fill area with color ( ::#000)
Using the sliders, select the red, green, and blue values for the color you want to create. The numeric value will be listed next to the color (0 to 255).
Opacity describes the transparency of the color. The opacity of the pen color can be selected using the bottom slider.
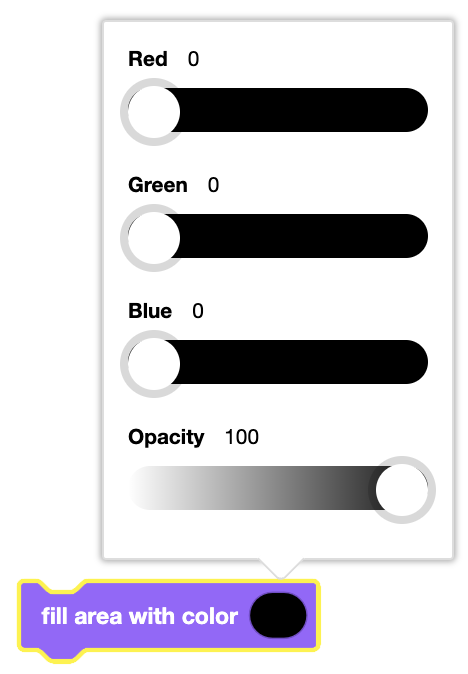
The color window will update to show the final color the pen will draw on the Playground.
In this example, the bottom of the playground will be filled with the color orange.
  when started
  fill area with color (::#DD6600)