Device Setup: Sensors#
Add a Sensor#
Open the Devices Tab#
Select the Devices tab.
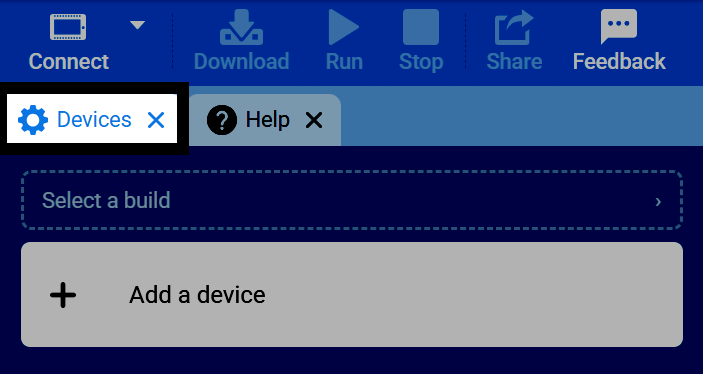
If the Devices tab is not visible, see Add a Tab in the Navigating VEXcode tutorial.
Select Add a Device#
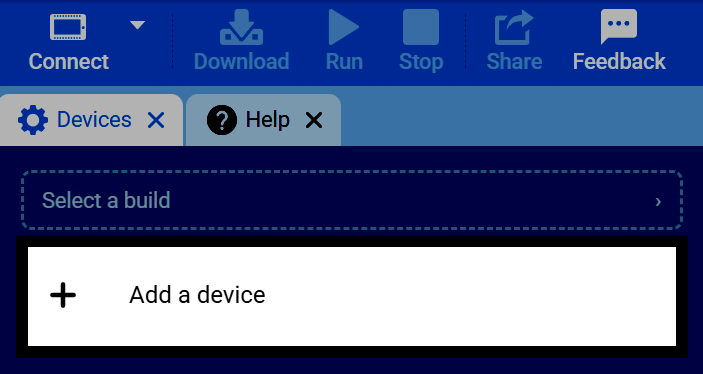
Select Add a Device in the Devices tab.
Select a Sensor#
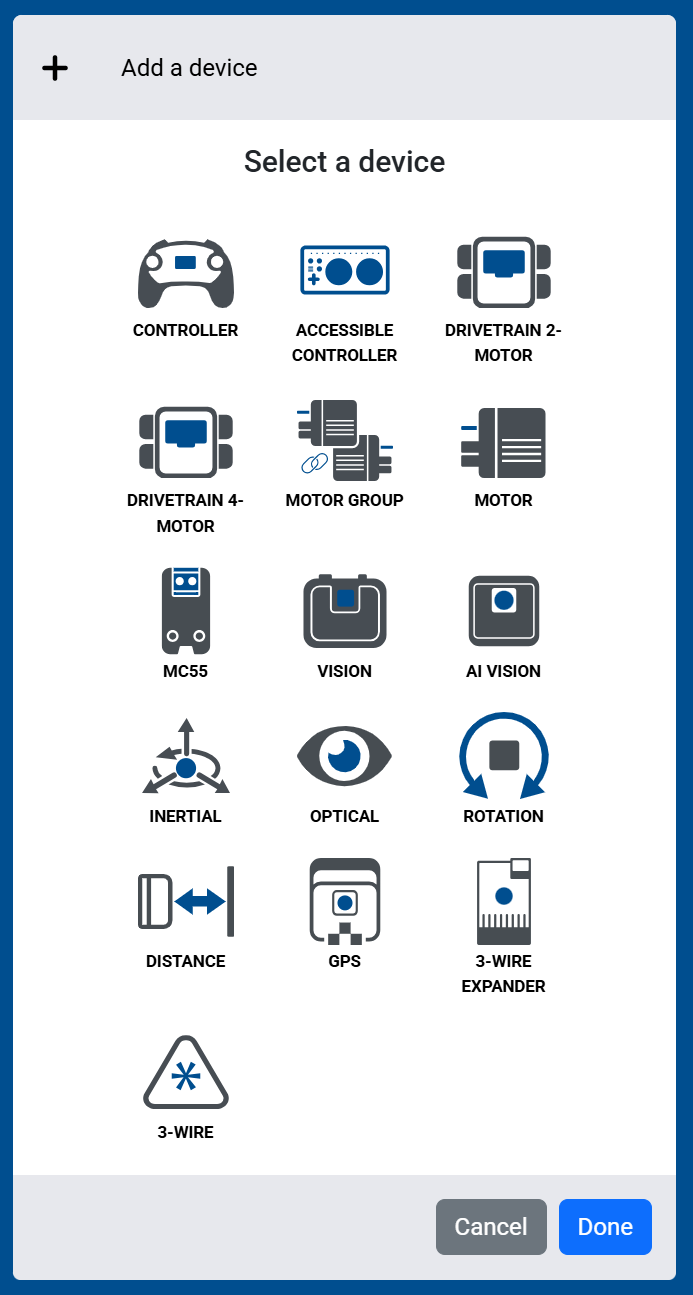
Select which sensor you’d like to add to the robot. Sensors that connect to a Smart Port are shown directly in this list.
Smart Ports#
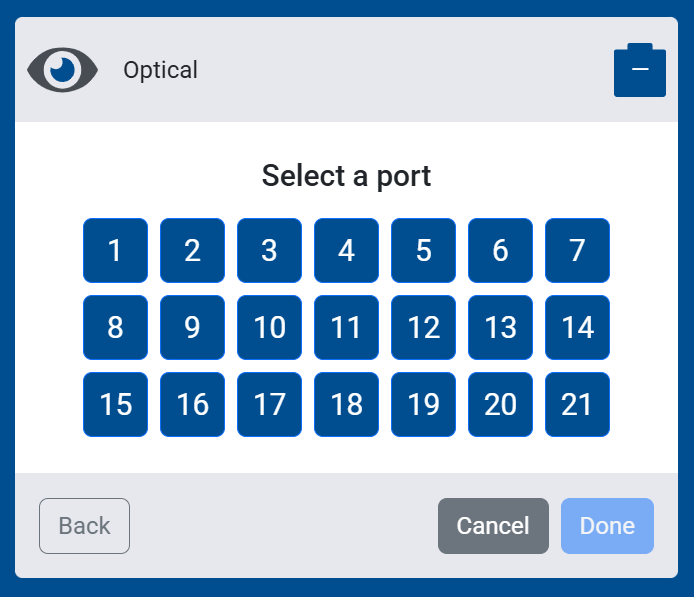
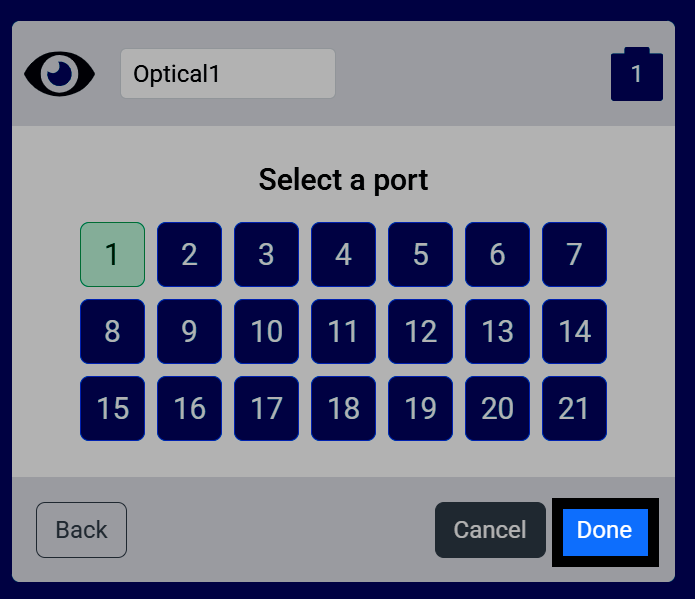
Select which Smart Port (1-21) the sensor is connected to.
3-Wire Devices#
Devices that connect to a 3-Wire Port instead of a Smart Port, like the Bumper Switch or Limit Switch, are grouped under their own 3-Wire option.
Select 3-Wire#
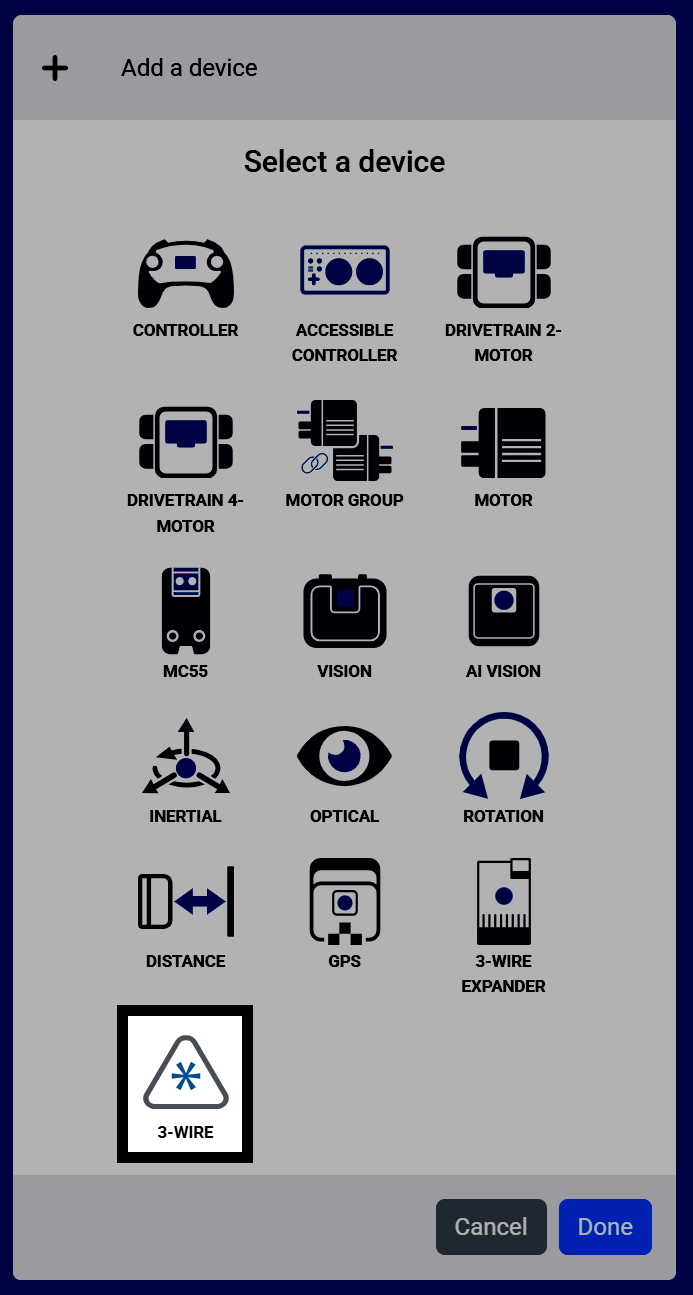
From the Select a device screen, select 3-Wire.
Select a 3-Wire Device#
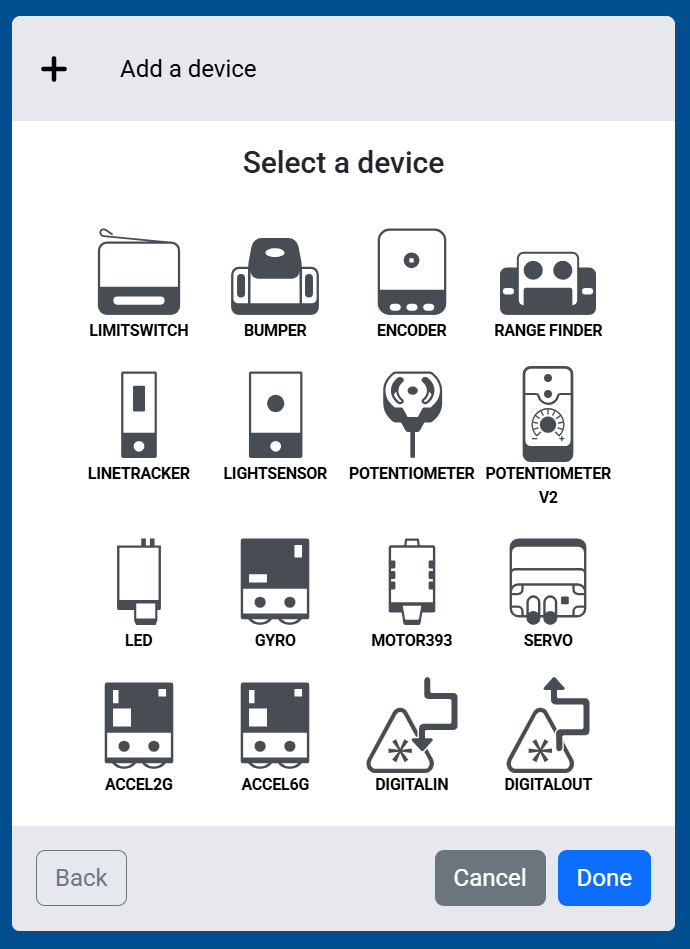
Select which 3-Wire device you’d like to add to the robot.
Select the 3-Wire Port#
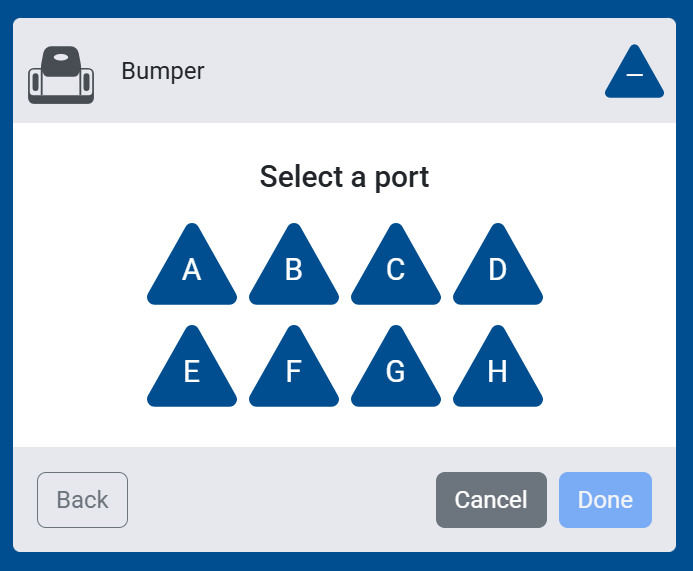
Select which 3-Wire Port (A-H) the device is connected to.
Configure Additional Settings#
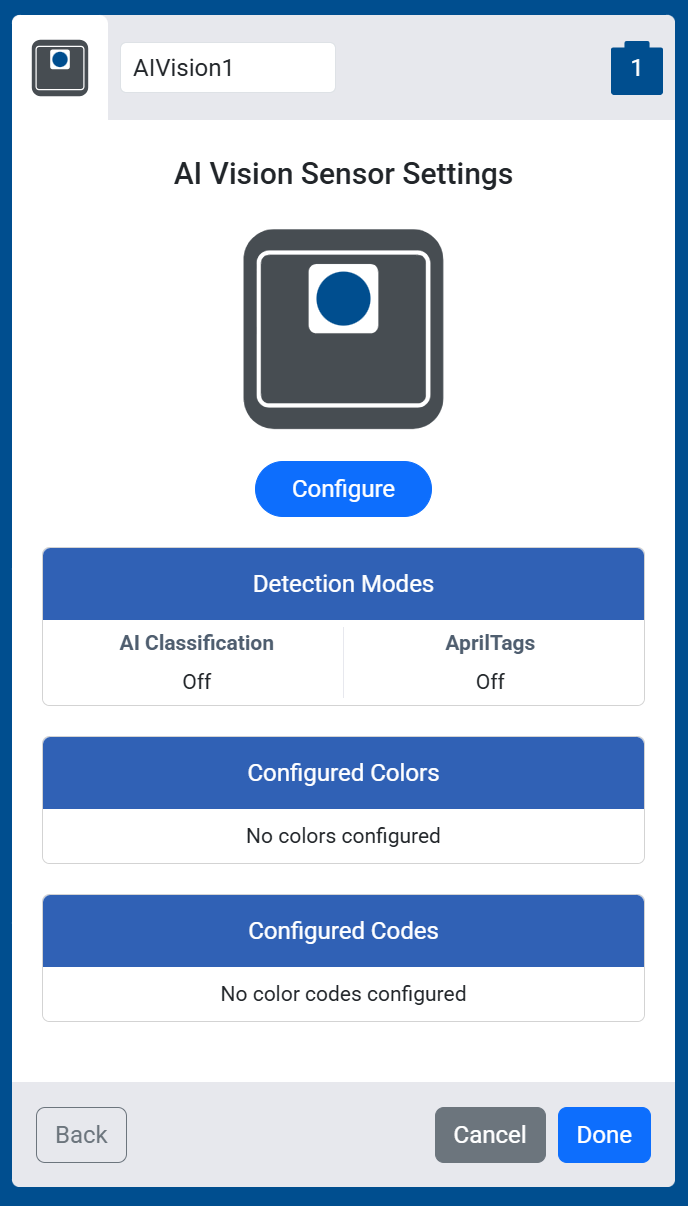
Some more complex sensors, like the AI Vision Sensor, will have additional settings to configure. For example, the AI Vision Sensor lets you configure Color Signatures and Codes it can detect.
Select Done#
Once your sensor is configured, select Done to add it to your robot.
View the Sensor in Your Devices List#
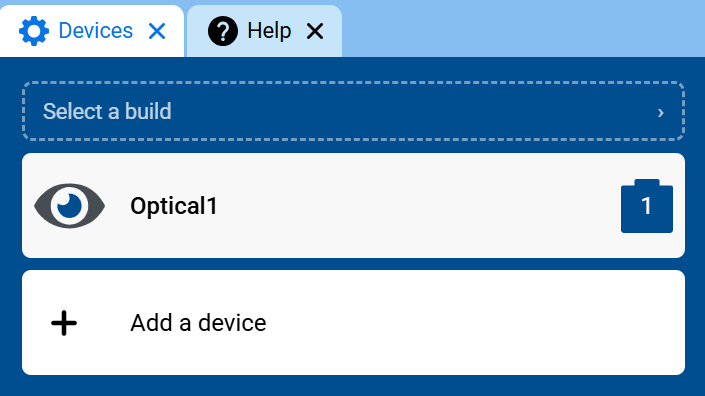
The sensor will now appear in your list of devices, and its blocks will be added to your toolbox.