Looks#
Print#
The EXP Brain’s screen has a set amount of rows and columns to use when printing text on its screen.

The number of available rows and columns change depending on the font selected with the Set Font block. The default font, Mono Medium has 5 rows and 16 columns available to be used.
Font |
Rows |
Columns |
|---|---|---|
Mono Extra Small (mono12) |
9 |
26 |
Mono Small (mono15) |
7 |
20 |
Mono Medium (mono20) (Default) |
5 |
16 |
Mono Large (mono30) |
3 |
10 |
Mono Extra Large (mono40) |
3 |
8 |
Mono Super Large (mono60) |
1 |
5 |
Prop Medium (prop20) |
5 |
28 |
Prop Large (prop30) |
3 |
21 |
Prop Extra Large (prop40) |
2 |
15 |
Prop Super Large (prop60) |
1 |
9 |
Print#
The Print block is used to print values or text in the Print Console or EXP Brain’s screen.
print [Hello] ▶
All reporter blocks will be printed as integer (whole) numbers by default. Use the Set print precision block to adjust the number of decimal places printed.
All new projects begin with the screen cursor at row 1 column 1, and at row 1 on the Print Console.
By default, the Print block will remain on the same row for any subsequent print commands. By expanding the Print block to show and set cursor to next row, this will move the cursor to the next row after printing.
Important: The Print block will not print anything to the Brain screen unless it is expanded to and set cursor to next row or followed by a Next Row block.
print [Hello] ◀ and set cursor to next row
Any block that returns a value can be used in the Print block.
Choose which device to use.

In this example, the robot’s current rotation will be printed to the EXP Brain.
  when started
  print ([Rotation9 v] angle in degrees) on [Brain v] ◀ and set cursor to next row
Set Cursor#
The Set Cursor block is used to set the cursor location for Print blocks on the EXP Brain’s screen.
set cursor to row (1) column (1) on Brain
The Set Cursor block accepts a range for row of 1 to 5 and a range for column of 1 to 16.
In this example, the robot will print the current timer value on the Brain, clear the value, and reset back to the first column and row before printing again.
  when started
  forever
  [Print the current timer on the Brain.]
  print (timer in seconds) on [Brain v] ◀ and set cursor to next row
  [After 1 second, clear the value and reset the cursor.]
  wait (1) seconds
  clear all rows on [Brain v]
  set cursor to row (1) column (1) on Brain
  end
Next Row#
The Next Row block is used to set the print output cursor on the Print Console or EXP Brain’s screen to the next available row.
set cursor to next row on [Brain v]
By default, all projects begin with the screen cursor at row 1 column 1. The Next Row block will move the cursor down by a single row on the screen. The Next Row block will also set the cursor’s column to position 1.
In this example, the robot will print “Hello” on the 1st row and “world!” on the 2nd row.
  when started
  print [Hello] on [Brain v] ▶
  set cursor to next row on [Brain v]
  print [world!] on [Brain v] ◀ and set cursor to next row
Set print precision#
The Set print precision block is used to set the number of digits that appear after the decimal point when printing reporter blocks on the Print Console or EXP Brain’s screen.
set print precision to [0.1 v]
Choose the level of precision that inserted reporter blocks will be printed to the screen.
Ones (1) (Default)
Tenths (0.1)
Hundredths (0.01)
Thousandths (0.001)
All Digits (0.000001)
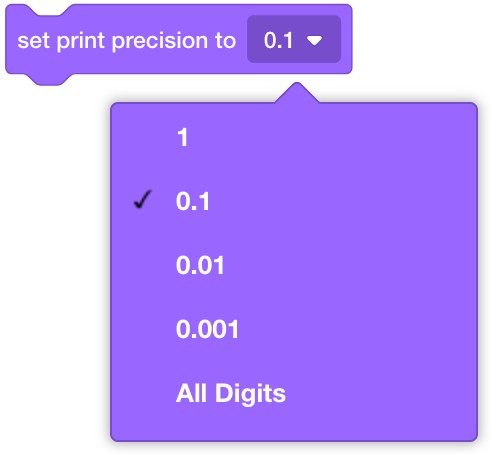
Choose which device to use.
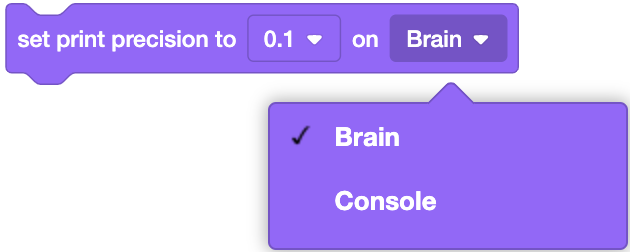
In this example, the print precision is set to hundredths before printing the current drivetrain heading.
  when started
  set print precision to [0.01 v] on [Brain v]
  print (drive heading in degrees) on [Brain v] ◀ and set cursor to next row
Clear All Rows#
The Clear All Rows block is used to clear the entire Print Console or EXP Brain’s screen.
clear all rows on [Brain v]
In this example, the robot will print the current timer value on the Brain, clear the value, and reset back to the first column and row before printing again.
  when started
  forever
  [Print the current timer on the Brain.]
  print (timer in seconds) on [Brain v] ◀ and set cursor to next row
  [After 1 second, clear the value and reset the cursor.]
  wait (1) seconds
  clear all rows on [Brain v]
  set cursor to row (1) column (1) on Brain
Clear Row#
The Clear Row block is used to clear a single row on the EXP Brain’s screen.
clear row (1) on Brain
In this example, the robot will print “VEXcode” on three different rows before deleting the “VEXcode” in the 2nd row.
  when started
  [Print "VEXcode" on the 1st, 2nd, and 3rd rows.]
  repeat (3)
  print [VEXcode] on [Brain v] ◀ and set cursor to next row
  end
  [Wait 1 second before clearing the 2nd row.]
  wait (1) seconds
  clear row (2) on Brain
Draw#
Draw Pixel#
The Draw Pixel block is used to draw a pixel on the EXP Brain’s screen.
draw pixel (0) (0) on Brain
The Draw Pixel block requires 2 values:
Value 1: X Coordinate
Value 2: Y Coordinate
The top-left corner of the EXP Brain’s screen is at coordinates (0, 0), and the bottom-right corner is at coordinates (159, 107).
The pixel color is determined by the Set Pen Color block. The default pixel color is white.
In this example, a white pixel will be printed at (50, 80) on the EXP Brain’s screen.
  when started
  draw pixel (50) (80) on Brain
Draw Line#
The Draw Line block is used to draw a line on the EXP Brain’s screen.
draw line (0) (0) (159) (107) on Brain
The Draw Line block requires 4 values:
Value 1: Beginning X coordinate
Value 2: Beginning Y coordinate
Value 3: Ending X coordinate
Value 4: Ending Y coordinate
The top-left corner of the EXP Brain’s screen is at coordinates (0, 0), and the bottom-right corner is at coordinates (159, 107).
The line color is determined by the Set Pen Color block. The default line color is white.
In this example, a white line will be drawn from the top-left corner to the bottom-right corner on the EXP Brain’s screen.
  when started
  draw line (0) (0) (159) (107) on Brain
Draw Rectangle#
The Draw Rectangle block is used to draw a rectangle on the EXP Brain’s screen.
draw rectangle (0) (0) (10) (10) on Brain
The Draw Rectangle block requires 4 values:
Value 1: Beginning X coordinate
Value 2: Beginning Y coordinate
Value 3: Width of the rectangle (in pixels)
Value 4: Height of the rectangle (in pixels)
The top-left corner of the EXP Brain’s screen is at coordinates (0, 0), and the bottom-right corner is at coordinates (159, 107).
The outside line color is determined by the Set Pen Color block. The default line color is white.
The inside fill color is determined by the Set Fill Color block. The default fill color is black.
In this example, a rectangle will be drawn with its top-left corner at (50, 50) with each side being 25 pixels in length.
  when started
  draw rectangle (50) (50) (25) (25) on Brain
Draw Circle#
The Draw Circle block is used to draw a circle on the EXP Brain’s screen.
draw circle (0) (0) (10) on Brain
The Draw Circle block requires 3 values:
Value 1: Center Point X
Value 2: Center Point Y
Value 3: Radius of Circle (in pixels)
The top-left corner of the EXP Brain’s screen is at coordinates (0, 0), and the bottom-right corner is at coordinates (159, 107).
The outside line color is determined by the Set Pen Color block. The default line color is white.
The inside fill color is determined by the Set Fill Color block. The default fill color is black.
In this example, a circle will be drawn with its center at (100, 70) with its radius being 20 pixels.
  when started
  draw circle (100) (70) (20) on Brain
Set Font#
The Set Font block is used to set the style and size of font used on the EXP Brain’s screen when printing numbers or text.
set font to [Mono Medium v] on Brain
There are two different types of fonts available on the EXP Brain’s screen.
Monospace (Mono) |
Proportional (Prop) |
|---|---|
|
|

Choose what font and size to use.
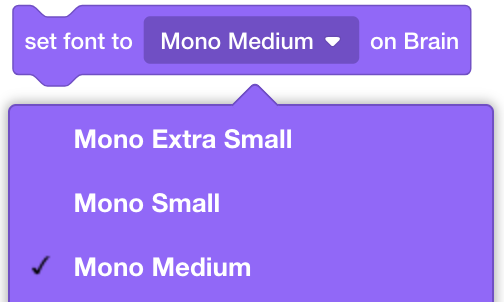
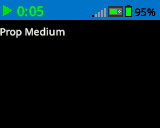
In this example, medium Monospace and Proportional fonts will be printed to the EXP Brain’s screen.
  when started
  set font to [Mono Medium v] on Brain
  print [Mono Medium] on [Brain v] ◀ and set cursor to next row
  set font to [Prop Medium v] on Brain
  print [Prop Medium] on [Brain v] ◀ and set cursor to next row
Set Pen Width#
The Set Pen Width block is used to set the width of the outline for shapes drawn on the EXP Brain’s screen.
set pen width to (10) on Brain
By default, all lines have a pen width of 1 pixel.
In this example, a rectangle will be drawn with a pen width of 1 pixel (the default) and a circle will be drawn with a pen width of 5 pixels.
  when started
  draw circle (40) (70) (20) on Brain
  set pen width to (5) on Brain
  draw circle (100) (70) (20) on Brain
Set Pen to Color#
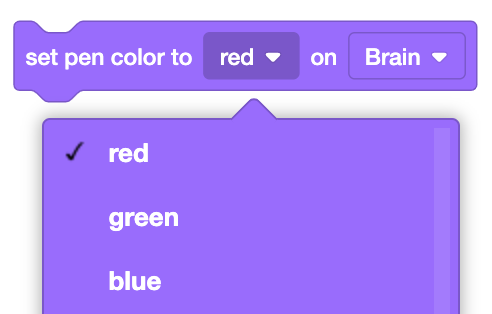
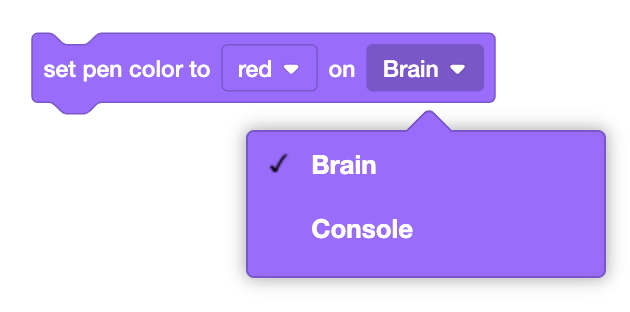
The Set Pen to Color block is used to set the color of lines drawn on the EXP Brain’s screen or the values printed to the Print Console.
set pen color to [red v] on [Brain v]
Select the color of the line that will be drawn.
red
green
blue
black
white
yellow
orange
purple
cyan
transparent
Choose which device to use.
In this example, a rectangle with a blue outline will be drawn.
  when started
  set pen color to [blue v] on [Brain v]
  draw rectangle (50) (50) (25) (25) on Brain
Set Fill Color#
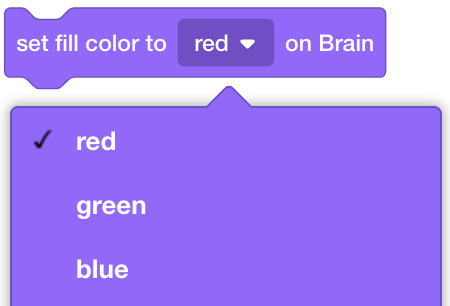
The Set Fill Color block is used to set the color that fills in shapes drawn on the EXP Brain’s screen.
set fill color to [red v] on Brain
Select the color of the line that will be drawn.
red
green
blue
black
white
yellow
orange
purple
cyan
transparent
In this example, a circle filled with yellow will be drawn.
  when started
  set fill color to [yellow v] on Brain
  draw circle (40) (70) (20) on Brain
LED#
Set LED#
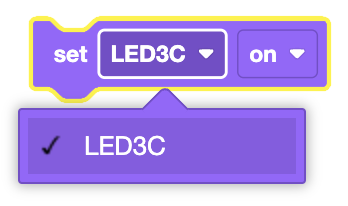
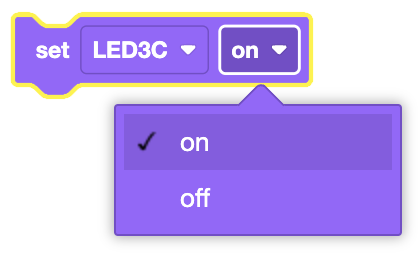
The Set LED block is used to turn an LED on or off.
set [LED3C v] [on v]
Select which LED to use.
Select whether to turn the LED on or off. This is permanent until the Set LED block is used again. By default, an LED is set to Off.
In this example, the LED is turned on for two seconds before turning off.
  when started
  [Turn LED on.]
  set [LED3C v] [on v]
  [Turn LED off after 2 seconds.]
  wait (2) seconds
  set [LED3C v] [off v]
Signal Tower#
Set Signal Tower State#
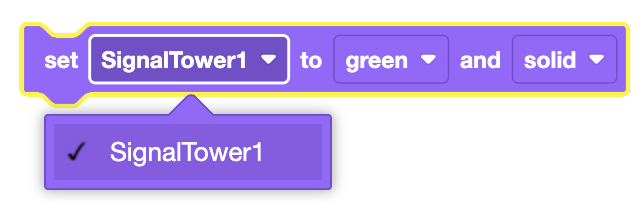
The Set Signal Tower State block is used to set the signal tower’s current color and state.
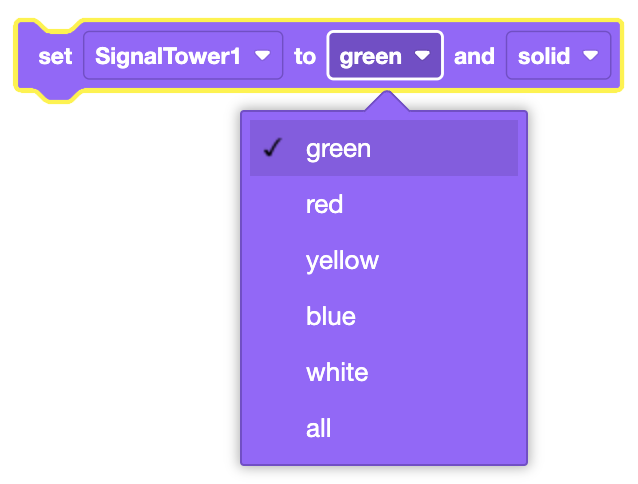
set [SignalTower1 v] to [green v] and [solid v]
Select which Signal Tower to use.
Select which color on the Signal Tower to set the state of.
red
yellow
green
blue
white
all
Select which state for the specified color on the Signal Tower to be.
off - Turns the color’s light off.
solid - Turns the color’s light on.
blinking - Turns the color’s light on and off repeatedly.

In this example, all of the signal tower’s lights will be set to blinking.
  when started
  set [SignalTower1 v] to [all v] and [blinking v]