Subir sonidos personalizados#
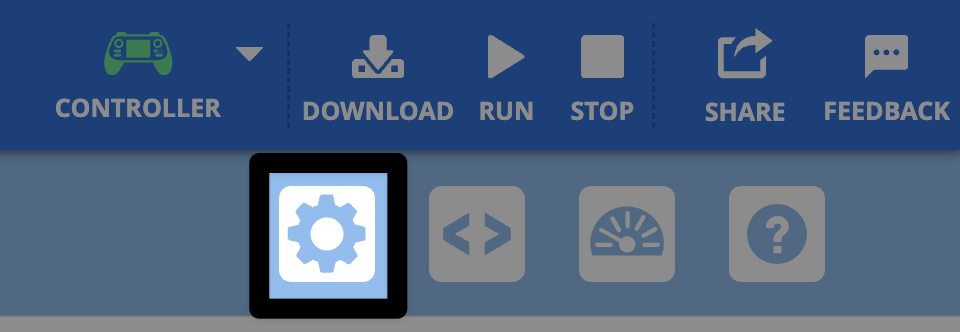
Abra el Panel de control#
Seleccione el ícono Engranaje para abrir el Panel de control.
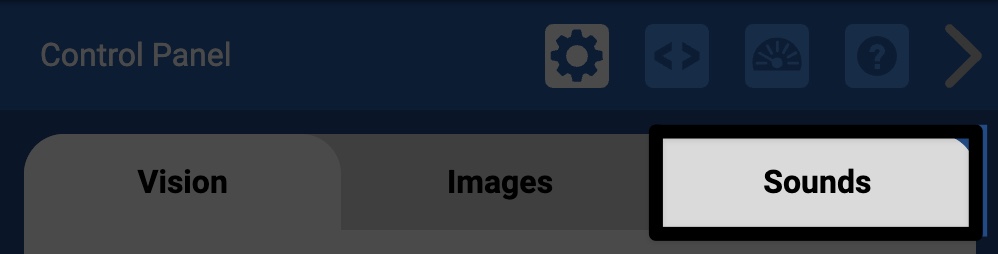
Seleccione la pestaña Sonidos#
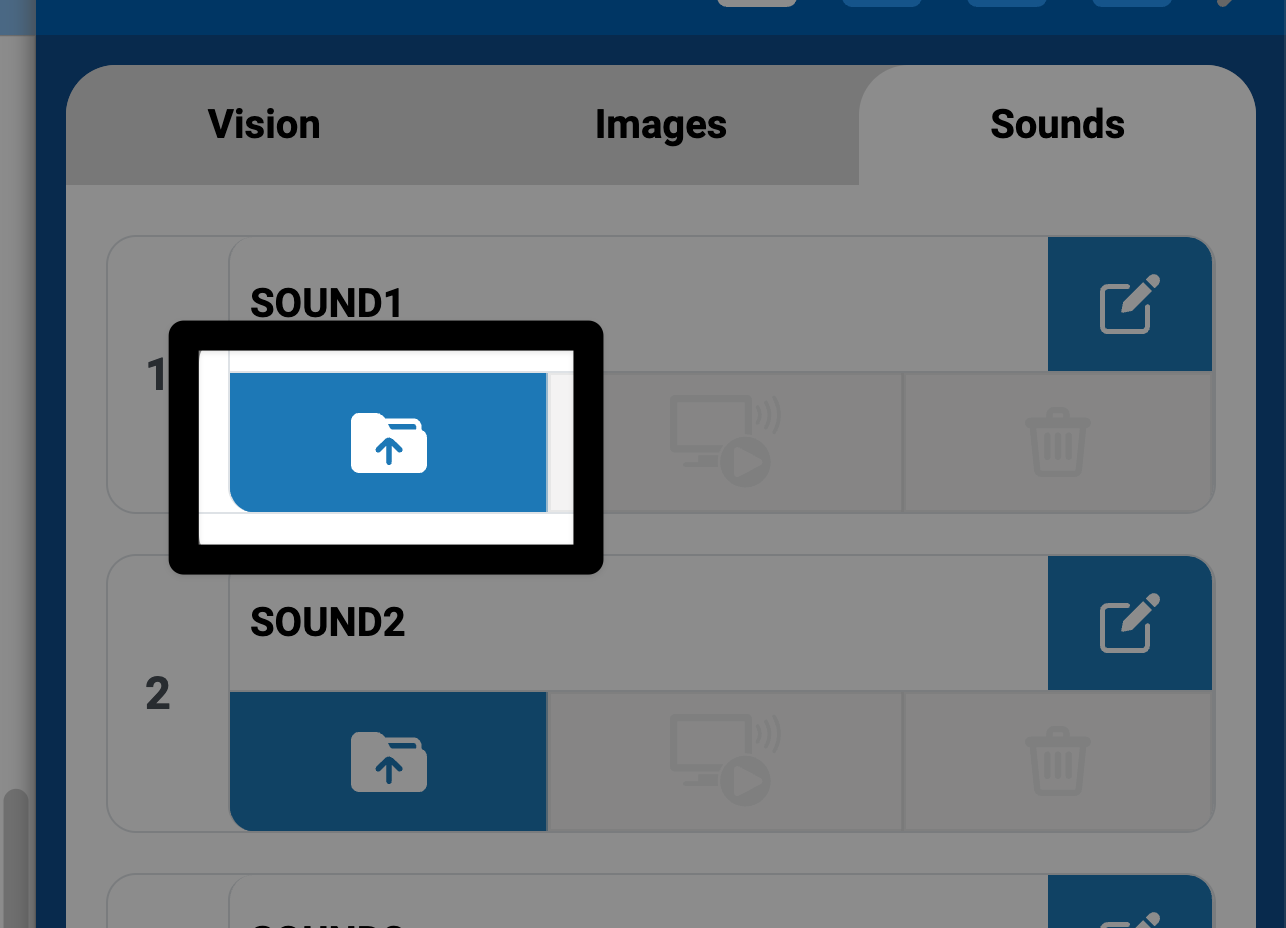
Seleccione un icono de carga#
Utilice el selector de sonido#
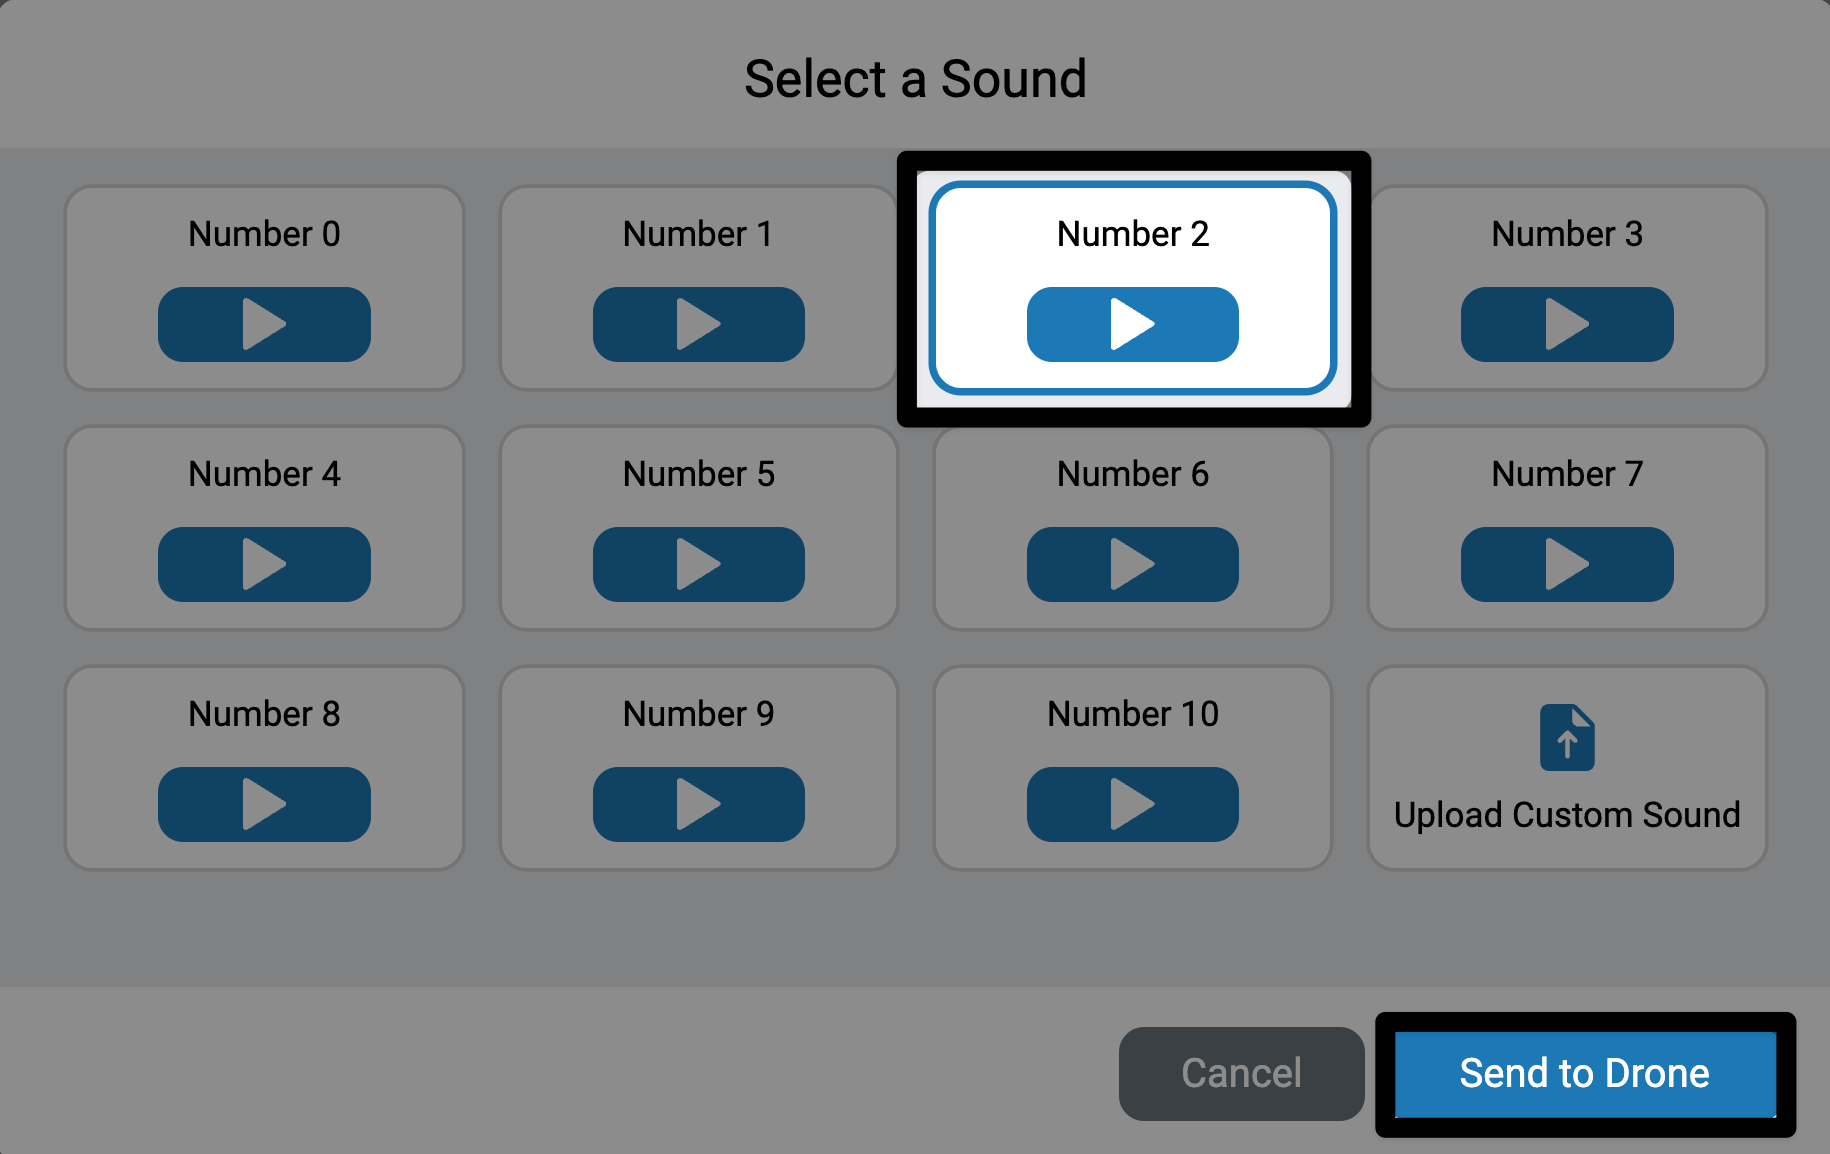
Aparecerá el Selector de Sonido. Selecciona cualquier sonido precargado antes de seleccionar Enviar al Dron.
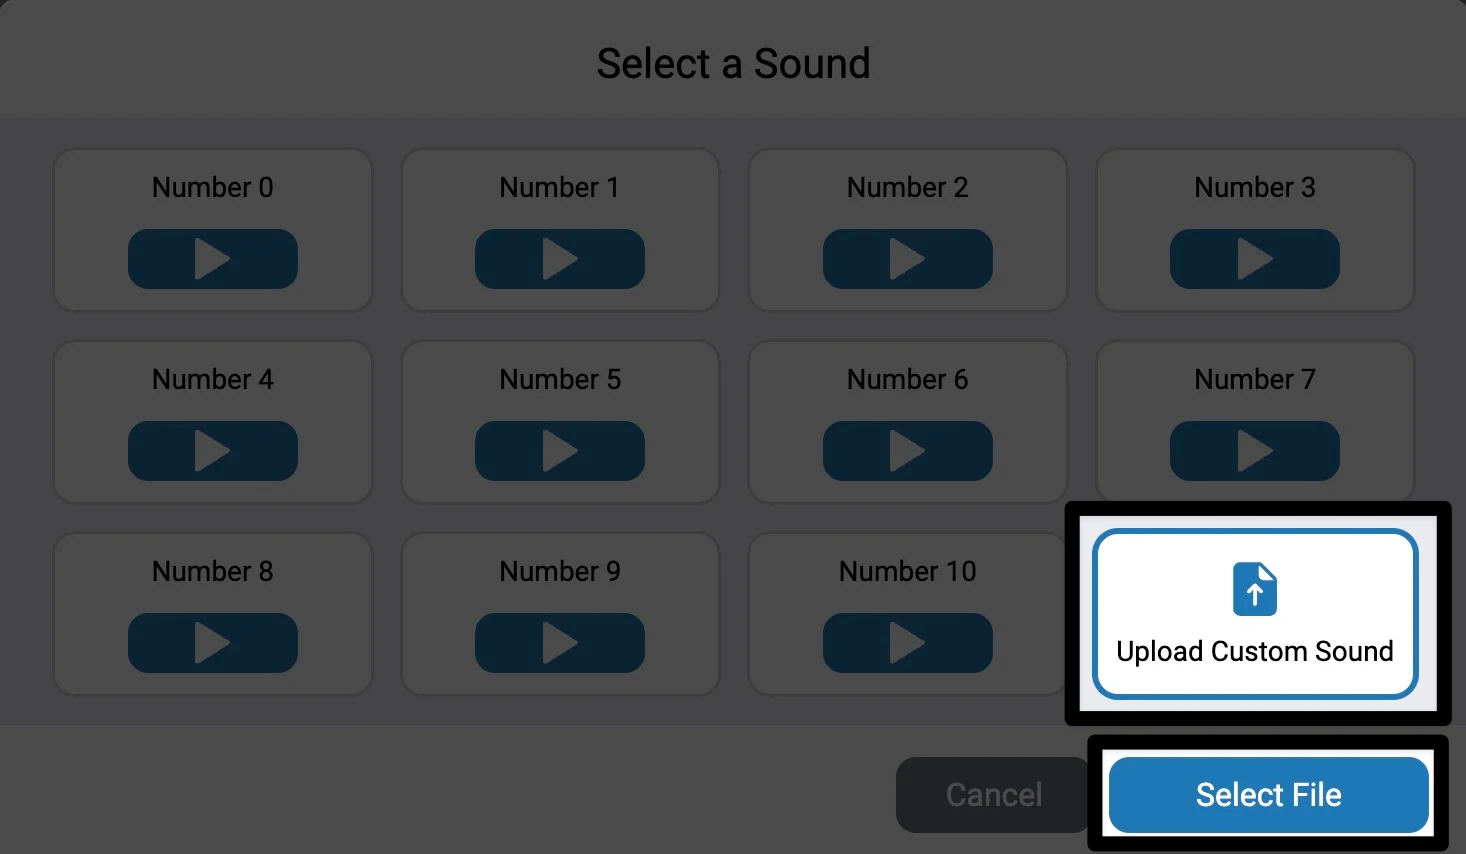
Para cargar un sonido personalizado, seleccione Cargar sonido personalizado antes de seleccionar Seleccionar archivo para abrir la navegación de archivos de su dispositivo.
Nota: Los archivos de sonido deben ser MP3 y tener un tamaño inferior a 1 MB.
El sonido ya está disponible#
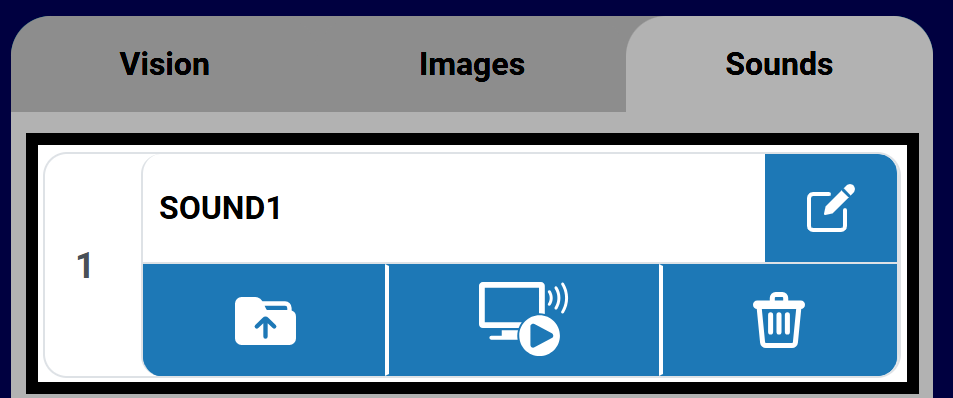
El sonido se cargará y aparecerá en la ranura seleccionada. Por defecto, los sonidos se llamarán SONIDO1 y el número corresponderá a la ranura donde se cargaron.
Los botones en la ranura del sonido subido se activan una vez cargado. Permiten sobrescribir, previsualizar, eliminar o renombrar el archivo de sonido subido.
Puede utilizar el sonido personalizado en un proyecto utilizando los siguientes comandos en la categoría Sonido para Bloques o Python:
[Select your sound from the dropdown.]
reproducir archivo de sonido [SOUND1 v] ▶
# Change SOUND1 to the name of your sound
controller.sound.play_file(SOUND1)
Cambiar el nombre de un archivo de sonido#
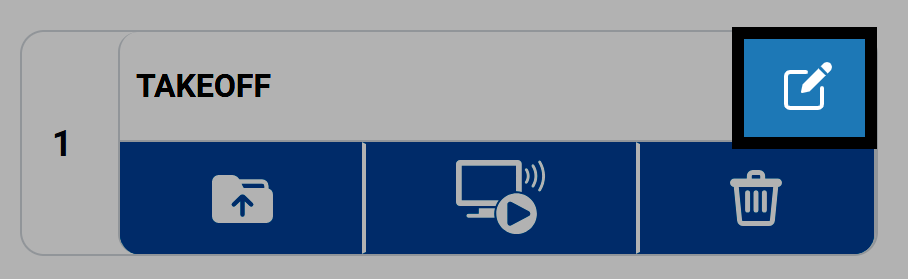
Selecciona el ícono del Lápiz para renombrar el sonido. Este será el nombre del sonido al usarlo en tus proyectos.
Nota: Los nombres no pueden comenzar con un número y no deben tener más de 14 caracteres.
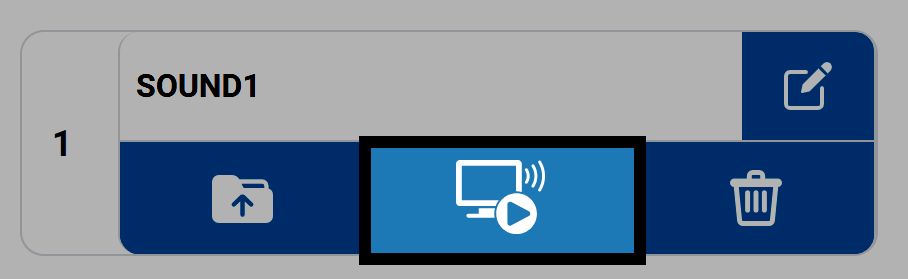
Obtener una vista previa de un archivo de sonido#
Seleccione el ícono Computadora para escuchar el sonido en su dispositivo.
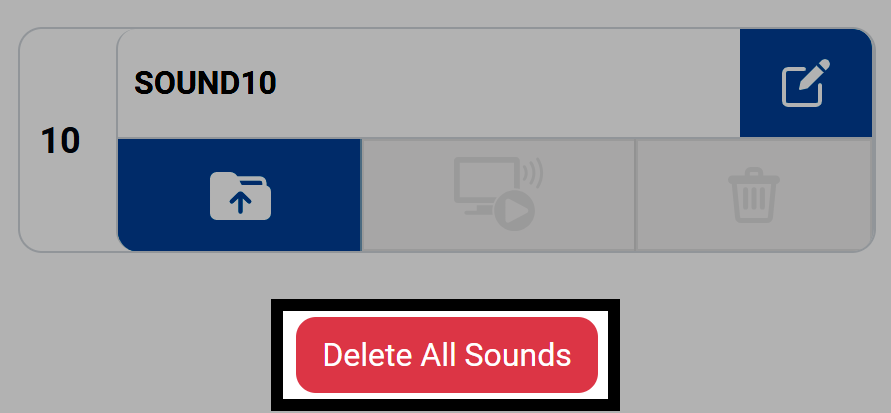
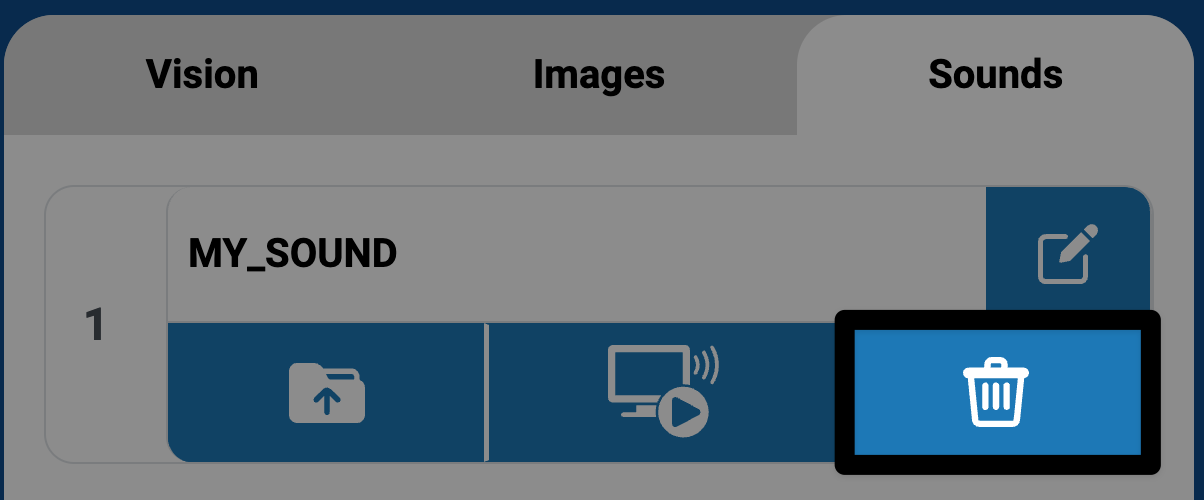
Eliminar un archivo de sonido#
Seleccione el ícono Papelera para eliminar un archivo de sonido de una ranura.
Para eliminar todos los sonidos a la vez, seleccione el botón Eliminar todos los sonidos en la parte inferior de la pestaña Sonidos.