Conexión con una conexión por cable (Windows)#
Siga estos sencillos pasos para conectar su controlador de dron VEX AIR a su computadora con un cable USB-C.
Encienda el controlador#
Enciende el mando manteniendo pulsado el botón de encendido y suéltalo cuando empiece a parpadear en blanco. El vídeo a continuación muestra cómo se pulsa el botón de encendido hasta que parpadea en blanco. El botón sigue parpadeando mientras se enciende la pantalla y se vuelve verde cuando el mando está listo para usar.
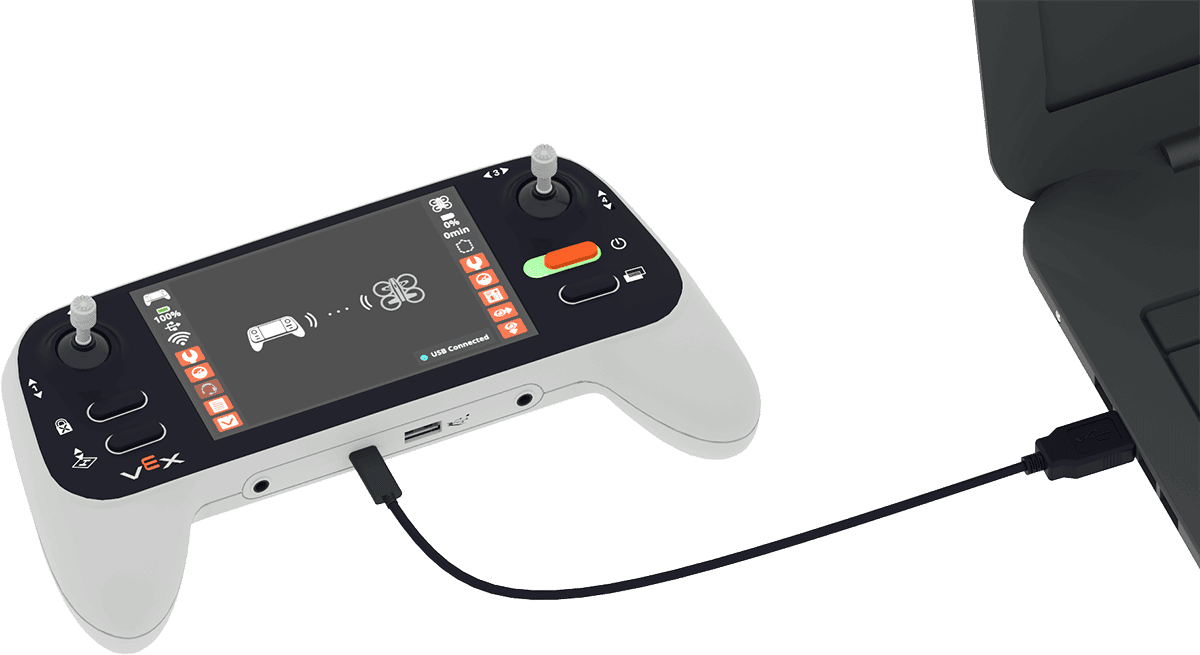
Conecte el cable#
Utilice un cable USB-C para conectar el controlador a su computadora.
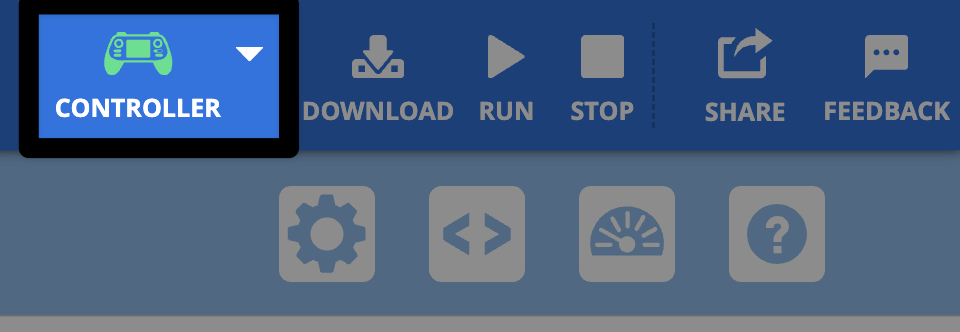
Seleccione el ícono del controlador en la esquina superior derecha#
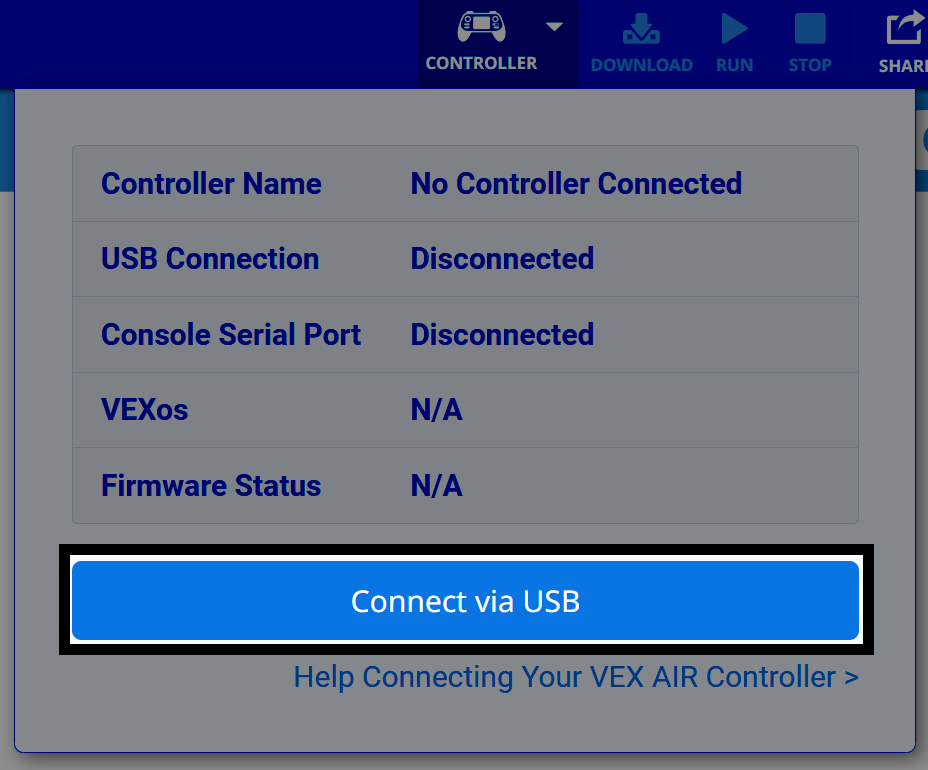
Seleccione Conectar mediante USB en el menú#
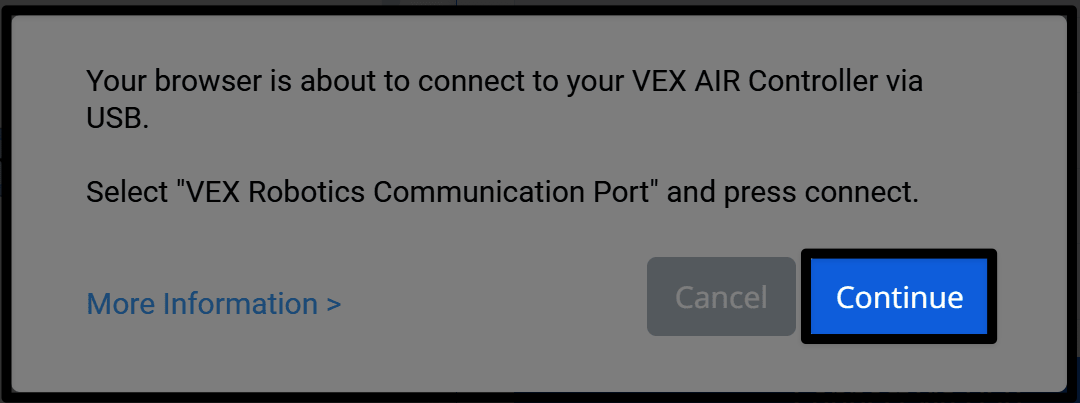
Siga las instrucciones del dispositivo#
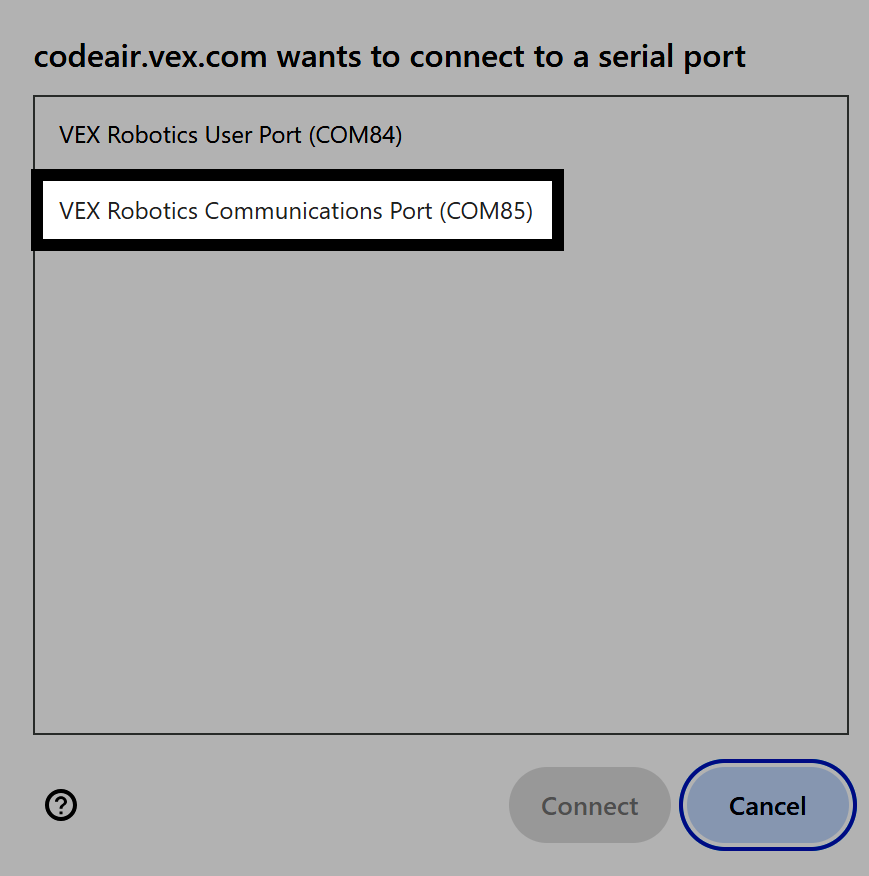
Elija la opción de conexión correcta#
Seleccione la opción con Puerto de comunicaciones.
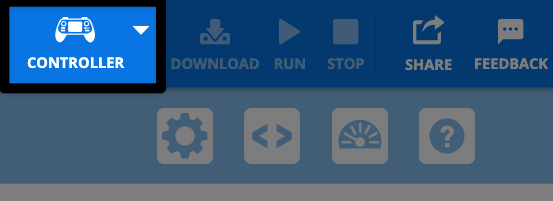
Finaliza tu conexión#
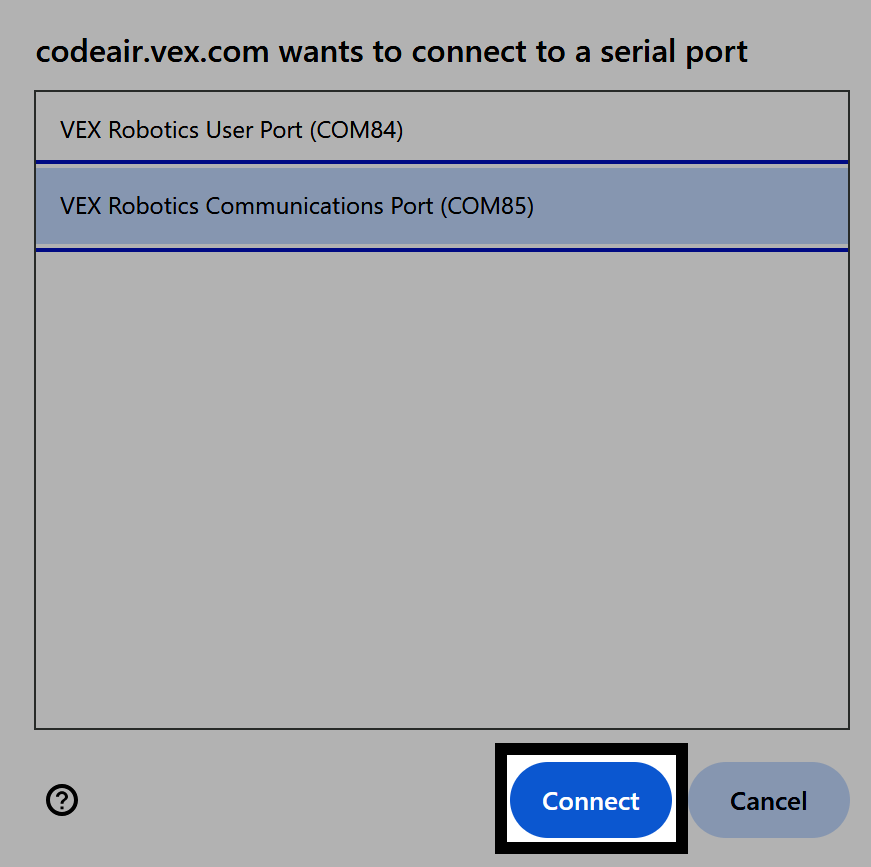
Estás conectado#
El ícono del controlador en la esquina superior derecha de VEXcode AIR ahora aparecerá en verde.