Subir imágenes personalizadas#
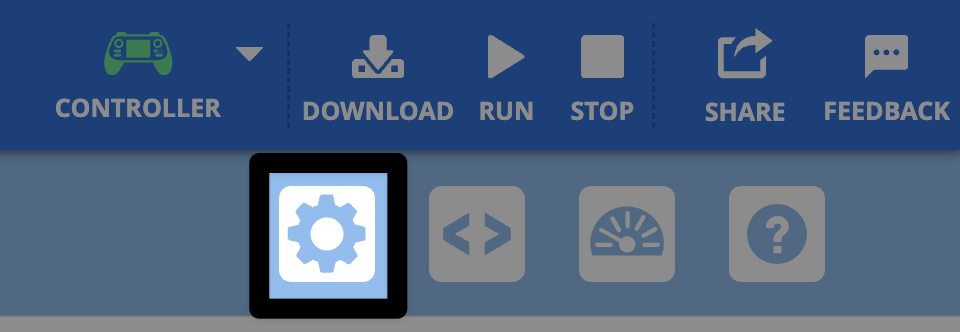
Abra el Panel de control#
Seleccione el ícono Engranaje para abrir el Panel de control.
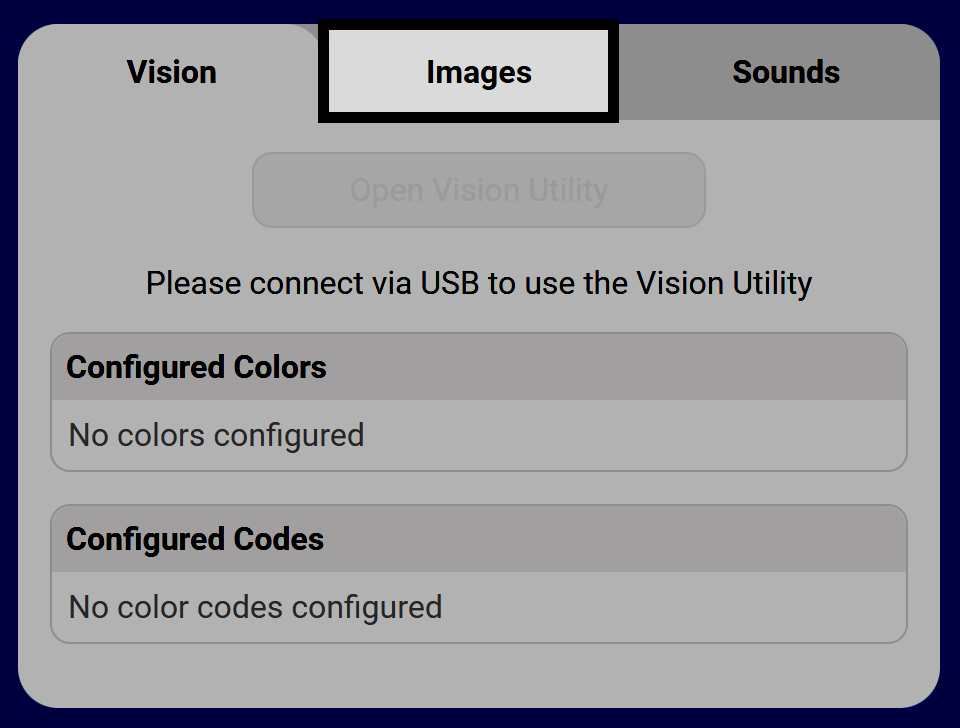
Seleccione la pestaña Imágenes#
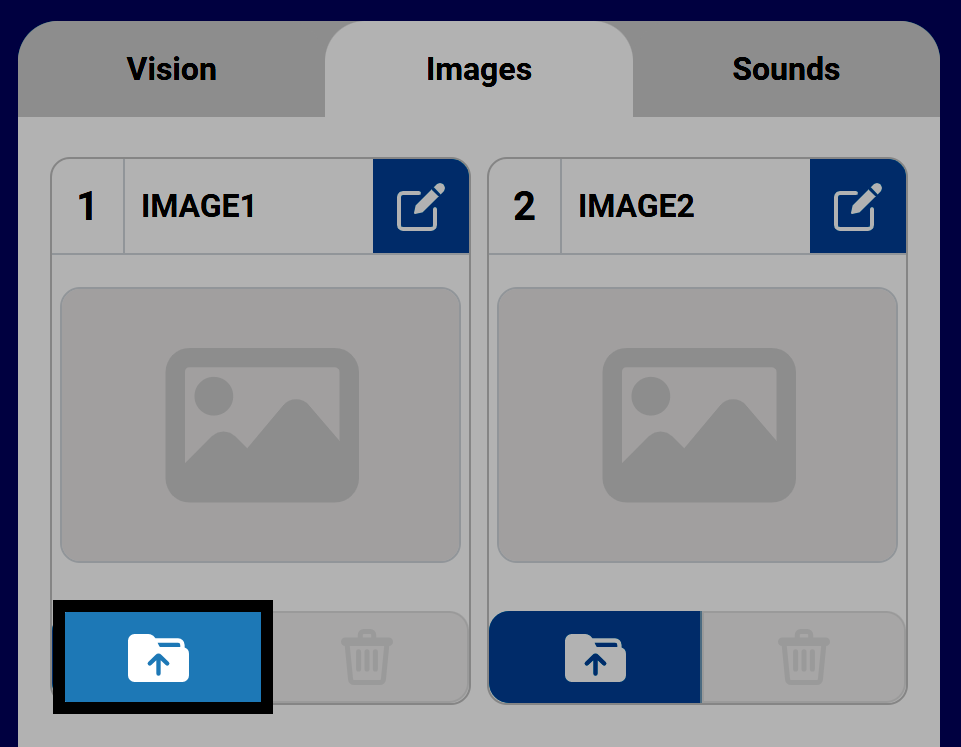
Seleccione un icono de carga#
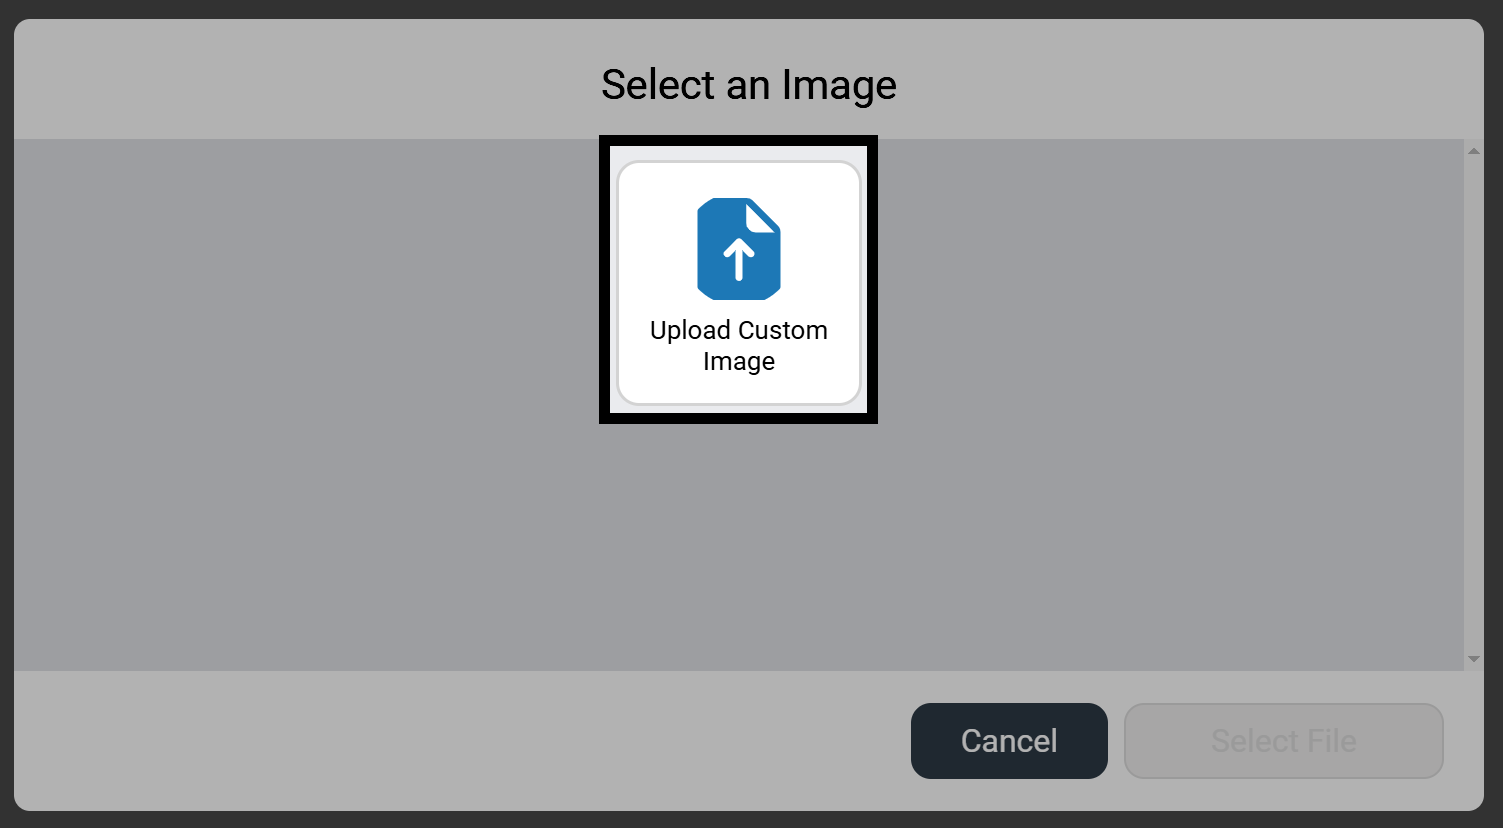
Seleccione Cargar imagen personalizada#
Para cargar una imagen personalizada, seleccione Cargar imagen personalizada antes de seleccionar Seleccionar archivo para abrir la navegación de archivos de su dispositivo.
Nota: Las imágenes deben ser archivos PNG menores a 10 MB.
La imagen ya está disponible#
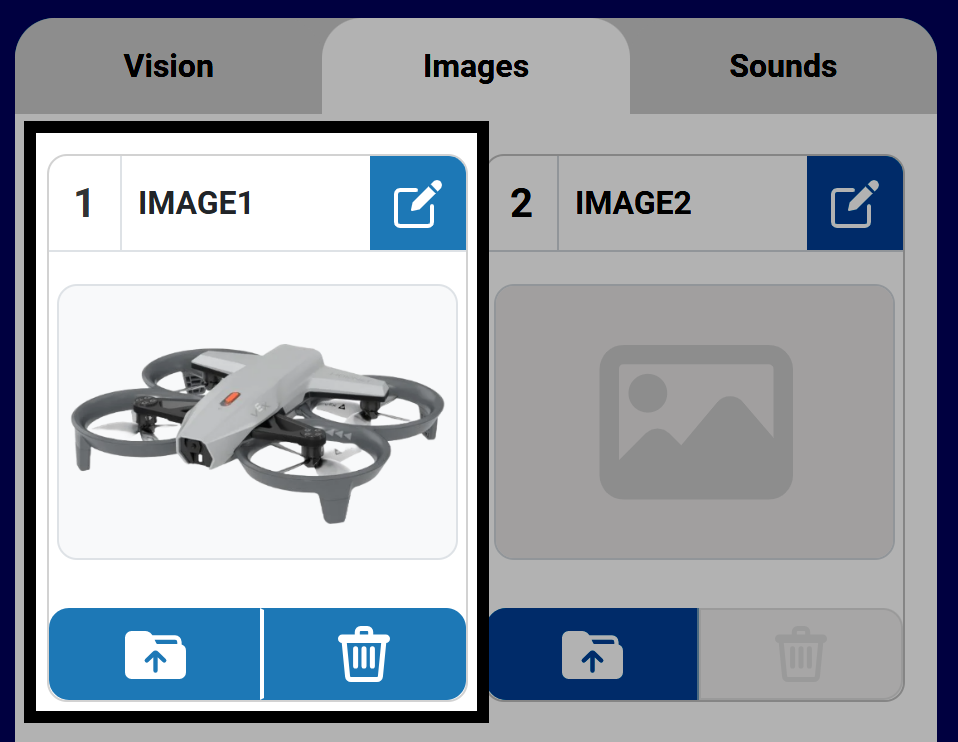
Una vez seleccionada la imagen, esta aparecerá en el Panel de Control en la ranura elegida. Por defecto, las imágenes se llamarán IMAGEN1 con el número correspondiente a la ranura donde se cargó.
Los botones en la ranura de la imagen cargada se activan al cargarla. Permiten sobrescribir, eliminar o renombrar el archivo de imagen cargado.
Puede utilizar la imagen personalizada en un proyecto usando los siguientes comandos en la categoría Pantalla para Bloques o Python:
[Select your image from the dropdown.]
mostrar archivo de imagen [IMAGE1 v]
# Change IMAGE1 to the name of your image
controller.screen.show_file(IMAGE1, x=0, y=0)
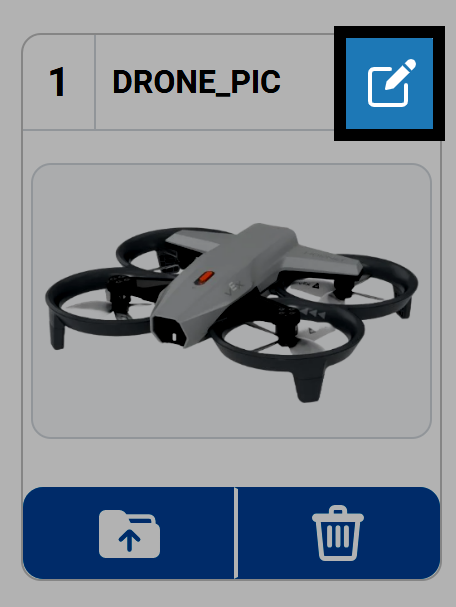
Cambiar el nombre de un archivo de imagen#
Selecciona el ícono Lápiz para renombrar la imagen. Este será el nombre que tendrá al usarla en tus proyectos.
Nota: Los nombres no pueden comenzar con un número y no deben tener más de 14 caracteres.
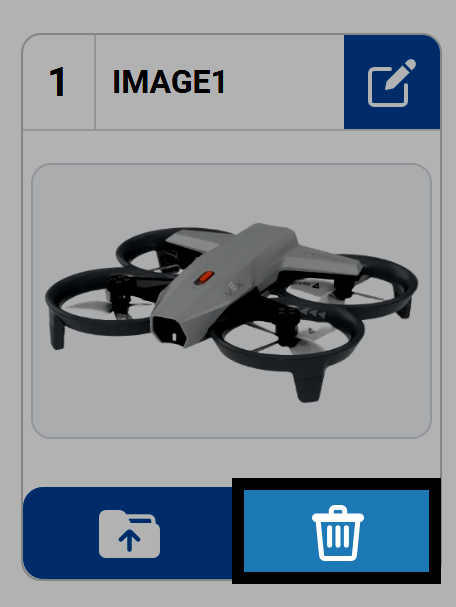
Eliminar un archivo de imagen#
Presione el ícono Papelera para eliminar un archivo de imagen de una ranura.
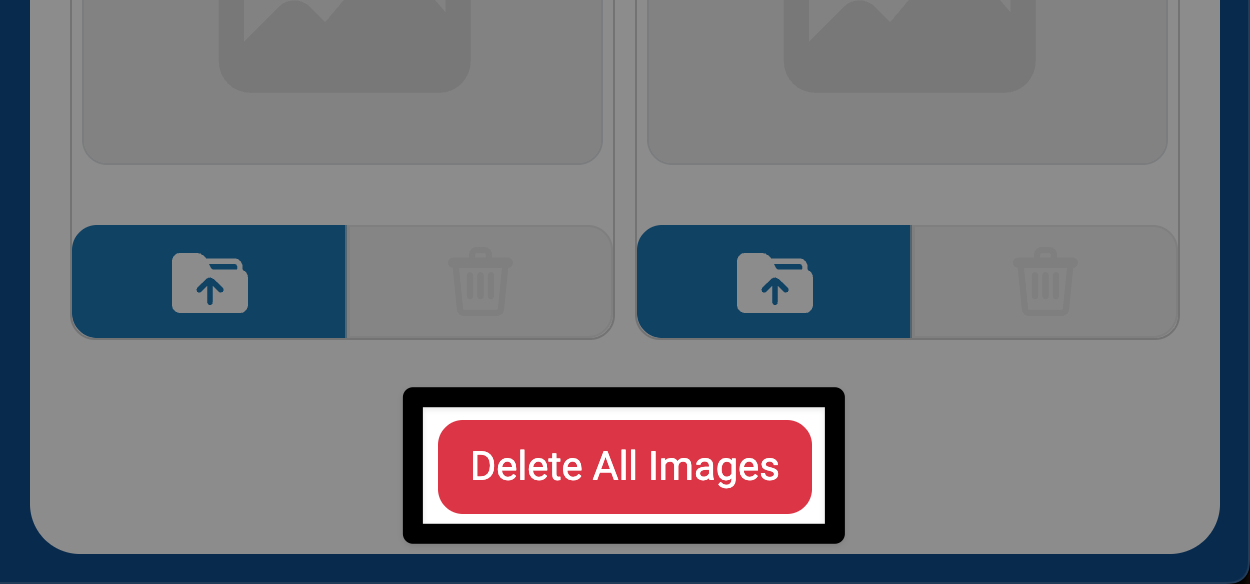
Para eliminar todas las imágenes a la vez, seleccione el botón Eliminar todas las imágenes en la parte inferior de la pestaña Sonidos.