
Wait Until True#
Wait Until True
This tutorial walks you through using the wait until block to pause a project until a condition is true, using an LED Bumper as an example. By the end, you’ll have a project that turns the LED Bumper green once it’s pressed.
Make sure your robot has an LED Bumper connected. See Configuring Devices if you haven’t added one yet.
Drag a wait until block below the when started block.
An empty wait until block, below when started.#
    when started :: hat events
        wait until <>
Drag the LED Bumper’s pressed? Boolean block into the wait until block’s condition slot.
The LED Bumper’s pressed? block added to the condition.#
    when started :: hat events
        wait until <[LEDBumper2 v] pressed? :: custom-led>
Attach a Set Bumper color block below the wait until block.
The Set Bumper color block, attached below wait until.#
    when started :: hat events
        wait until <[LEDBumper2 v] pressed? :: custom-led>
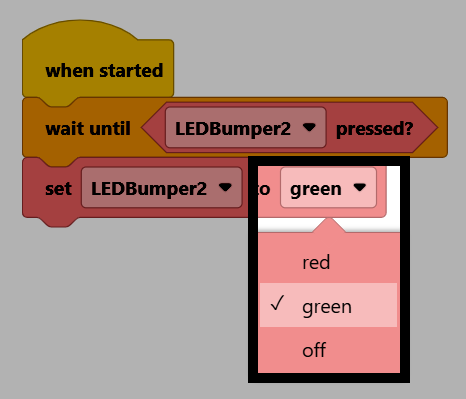
        set [LEDBumper2 v] to [red v] :: custom-led
Change the color parameter to green.
Make sure your robot is connected to VEXcode. See Connecting to Your Robot if it isn’t connected yet.
Select Start to run the project.

Press the LED Bumper to turn the bumper green.