Screen#
Introduction#
The Screen blocks control how the VEX AIM Coding Robot shows text, numbers, and graphics on its screen, and how it responds to screen presses.
Below is a list of all blocks:
Cursor Print — Manage text display using a row-and-column cursor system.
print on screen — Displays text on the screen at the current cursor position.
set cursor to row column on screen — Moves the cursor to a specific row and column.
set cursor to next row on screen — Moves the cursor to column 1 of the next row.
clear row on screen — Clears a specified row of text.
screen cursor column — Reports the column number where text will be printed.
screen cursor row — Reports the row number where text will be printed.
XY Print — Print text at pixel-based coordinates.
print at coordinate on screen — Displays text at a specified x and y coordinate.
set screen origin — Changes the origin used for drawing and printing.
Settings — Customize text formatting and screen display.
clear screen — Erases all text and drawings from the screen.
fill screen — Erases all text and drawings from the screen, then sets the screen’s background color.
set font on screen — Changes the font type and size for text display.
set print precision on screen — Sets how many decimal places to show when printing numbers.
set pen width on screen — Sets the thickness of drawn lines and shape outlines.
set pen / font color on screen — Sets the color of text, pixels, lines, and shape outlines.
set fill color on screen — Sets the fill color for drawn shapes.
Draw — Create graphics and visual elements.
show image file on screen — Displays a user-uploaded image on the screen.
draw pixel on screen — Draws a single pixel at a specified coordinate.
draw line on screen — Draws a line between two points.
draw rectangle on screen — Draws a rectangle with specified dimensions.
draw circle on screen — Draws a circle with a given radius.
Touch — Detect screen interactions.
screen pressed — Reports whether the screen is currently being pressed.
screen position — Reports the selected x or y coordinate of the last screen press.
when screen event — Runs attached blocks when the screen is pressed or released.
Cursor Print#
print on screen#
The print on screen stack block prints text, numbers, or variable values on the robot’s screen at the current cursor position and font.
print [VEXcode] on screen ▶
Parameters |
Description |
|---|---|
value |
The text, number, or variable value to display on the screen. |
and set cursor to next row |
Select the arrow ( ▶ ) to expand the block to say and set cursor to next row, so the cursor moves to column 1 of the next row after printing. |
Example
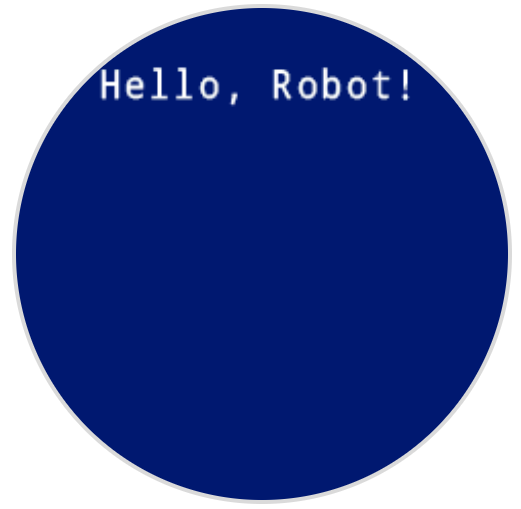
    when started
    [Display a message at the starting cursor position.]
    print [Hello, Robot!] on screen ▶
set cursor to row column on screen#
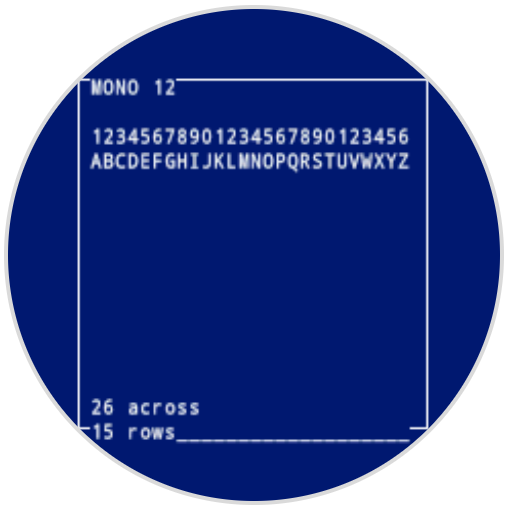
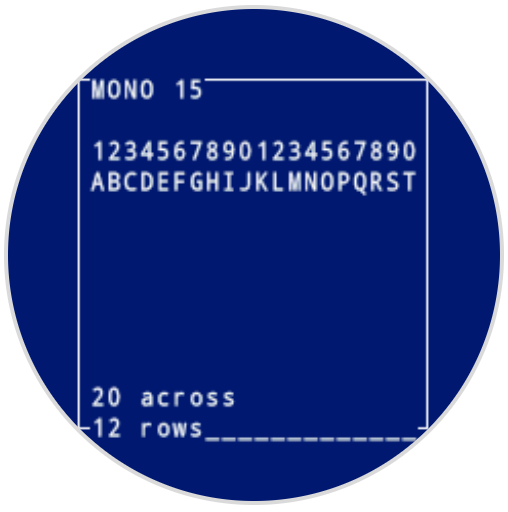
The set cursor to row column on screen stack block moves the cursor to a specific row and column on the robot’s screen. The next print on screen block will start printing at that location. How many rows and columns can comfortably fit depends on the selected font. With the default monospaced medium font, up to 8 rows and 13 columns can be displayed clearly. Text placed beyond this range may be cut off or become difficult to read.
Monospaced fonts have characters that are all the same width, making text placement consistent. In contrast, proportional fonts vary in character width, so some letters take up more space than others. However, regardless of which type is used, the set cursor to row column on screen stack block positions the cursor based on row and column size, not font style. The font size can be adjusted using the set font on screen stack block.
set cursor to row [1] column [1] on screen
Parameters |
Description |
|---|---|
row |
The row to move the cursor to. |
column |
The column to move the cursor to. |
Examples
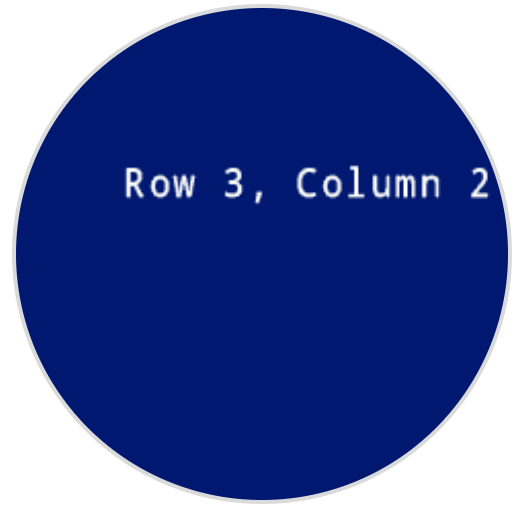
    when started
    [Display text starting at Row 3 Column 2.]
    set cursor to row (3) column (2) on screen
    print [Row 3, Column 2] on screen ▶
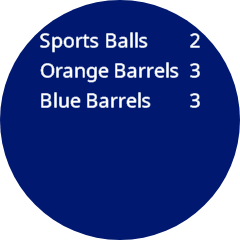
    when started
    [Display cargo amounts in an organized list.]
    set font to [proportional v] [large v] on screen
    print [Sports Balls] on screen ◀ and set cursor to next row
    print [Orange Barrels] on screen ◀ and set cursor to next row
    print [Blue Barrels] on screen ▶
    set cursor to row [1] column [11] on screen
    print [2] on screen ▶
    set cursor to row [2] column [11] on screen
    print [3] on screen ▶
    set cursor to row [3] column [11] on screen
    print [3] on screen ▶
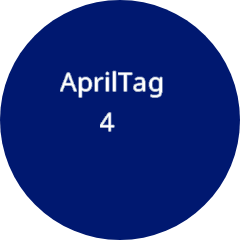
    when started
    [Display the ID of the detected AprilTag.]
    set font to [proportional v] [extra large v] on screen
    forever
    clear screen
    print [AprilTag] on screen ▶
    get [all AprilTags v] data from AI Vision
    if <AI Vision object exists?> then
    set cursor to row [3] column [4] on screen
    print (AI Vision object [tagID v]) on screen ▶
    end
    wait [0.1] seconds
set cursor to next row on screen#
The set cursor to next row on screen stack block moves the cursor to column 1 on the next row on the robot’s screen.
set cursor to next row on screen
Parameters |
Description |
|---|---|
This block has no parameters. |
Example
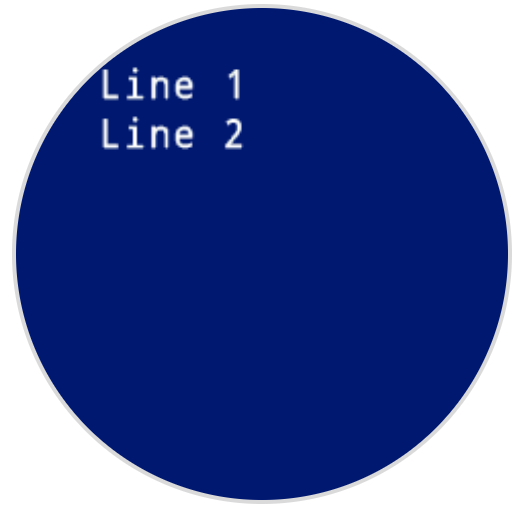
    when started
    [Display two lines of text.]
    print [Line 1] on screen ▶
    set cursor to next row on screen
    print [Line 2] on screen ▶
clear row on screen#
The clear row on screen stack block clears a single row of text on the robot’s screen.
clear row [1] on screen
Parameters |
Description |
|---|---|
row |
The row number to clear. |
Example
    when started
    [Display text on two rows.]
    print [This text stays] on screen ▶
    set cursor to next row on screen
    print [This text disappears] on screen ▶
    wait [3] seconds
    clear row [2] on screen
screen cursor column#
The screen cursor column reporter block reports the column number where text will be printed as a whole number.
(screen cursor column)
Parameters |
Description |
|---|---|
This block has no parameters. |
Example
    when started
    [Display the cursor's current column.]
    set cursor to row [3] column [2] on screen
    print (screen cursor column) on screen ▶
screen cursor row#
The screen cursor row reporter block reports the row number where text will be printed as a whole number.
(screen cursor row)
Parameters |
Description |
|---|---|
This block has no parameters. |
Example
    when started
    [Display the cursor's current row.]
    set cursor to row [3] column [2] on screen
    print (screen cursor row) on screen ▶
XY Print#
print at coordinate on screen#
The print at coordinate on screen stack block prints text, numbers, or variable values on the robot’s screen at a specified x and y coordinate in pixels with the currently set font.
By default, the origin is located at the top-left corner of the screen at (0, 0). On the x-axis, 0 is on the left side of the screen, and 240 is on the right side. On the y-axis, 0 is at the top of the screen, and 240 is at the bottom. You can use the set screen origin block to move the origin to a different location. When the origin is changed, the x- and y-coordinate ranges will also change.
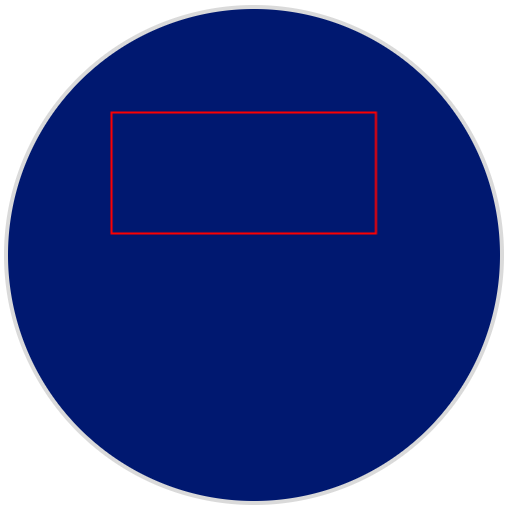
For example, if the origin is set to (120, 120), the x and y range will be from -120 to 120 for the x and y coordinates.
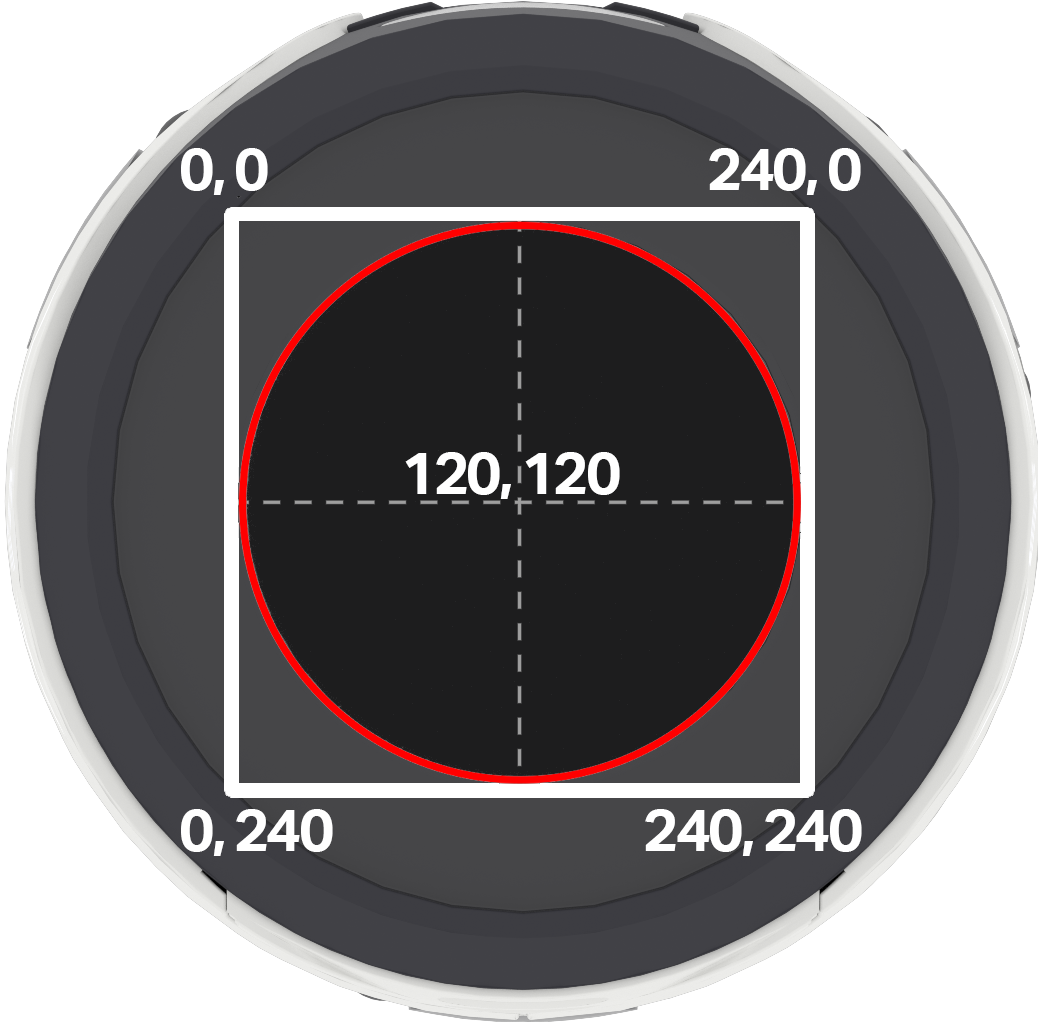
Note: The red circle shows which coordinates will be visible on the AIM robot’s circular screen. Coordinates that fall outside the red circle exist within the 0–240 range but will not appear on the screen.
print [VEXcode] at x:[80] y:[120] on screen
Parameters |
Description |
|---|---|
value |
The text, number, or variable value to display on the screen. |
x |
The x-coordinate in pixels, from 0 to 240 with the default origin. |
y |
The y-coordinate in pixels, from 0 to 240 with the default origin. |
Example
when started
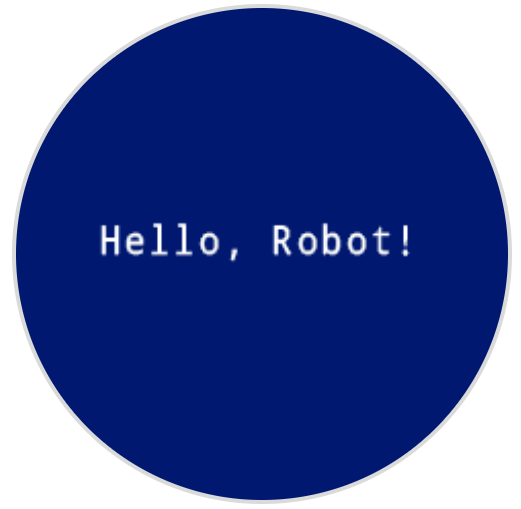
[Display a message in the middle of the screen.]
print [Hello, Robot!] at x:[40] y:[120] on screen
set screen origin#
The set screen origin stack block changes the origin (0, 0) used for drawing or printing on the robot’s screen. By default, the origin is the top-left corner of the screen. This block can reset the origin to an alternate (x, y) screen coordinate location.
set screen origin x:[0] y:[0]
Parameters |
Description |
|---|---|
x |
The x-coordinate in pixels to set as the new origin. |
y |
The y-coordinate in pixels to set as the new origin. |
Example
when started
[Set the origin to the center of the screen.]
set screen origin x:[120] y:[120]
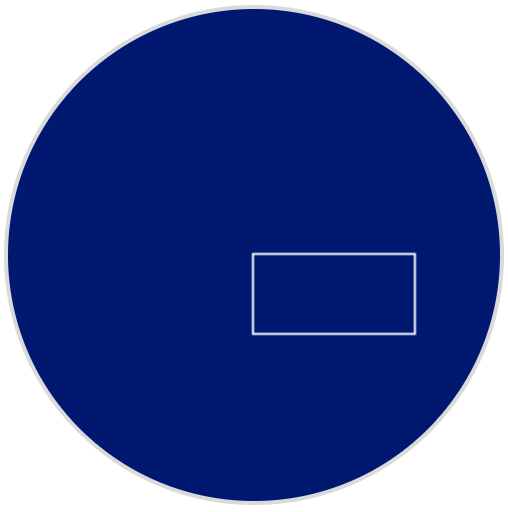
[Draw a rectangle at the new origin.]
draw rectangle [0] [0] [80] [40] on screen
Settings#
clear screen#
The clear screen stack block clears all drawings and text from the robot’s screen and resets the cursor position to row 1, column 1.
clear screen
Parameters |
Description |
|---|---|
This block has no parameters. |
Example
    when started
    [Draw a circle, and clear it after 2 seconds.]
    draw circle [120] [120] [40] on screen
    wait [2] seconds
    clear screen
fill screen#
The fill screen stack block clears all drawings and text from the robot’s screen, then changes the background to a specified color.
fill screen with [red v]
Parameters |
Description |
|---|---|
color |
The background color to use:
|
Example
    when started
    [Say "Hello" then turn screen yellow.]
    print [Hello] on screen ▶
    wait [2] seconds
    fill screen with [yellow v]
set font on screen#
The set font on screen stack block sets the font and size used for displaying text on the robot’s screen. This font will apply to all subsequently printed text.
set font to [monospaced v] [super small v] on screen
Parameters |
Description |
|---|---|
type |
The font type: monospaced or proportional |
size |
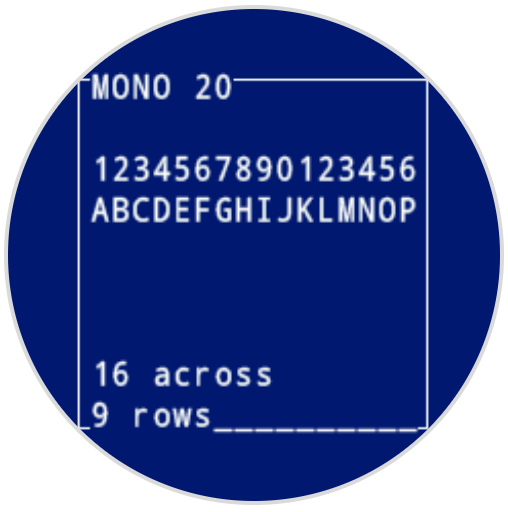
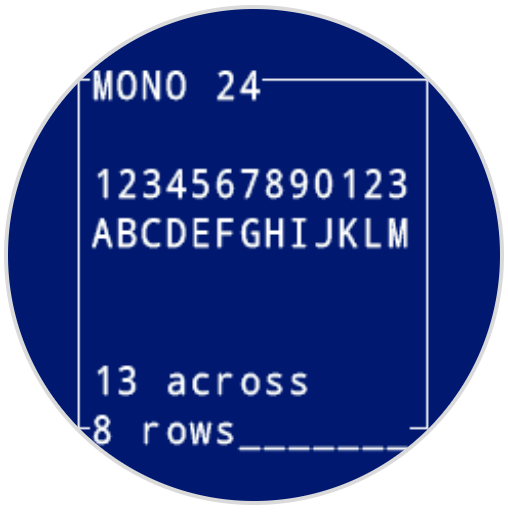
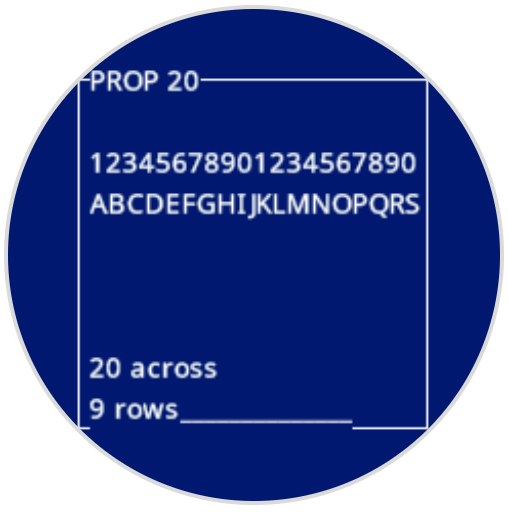
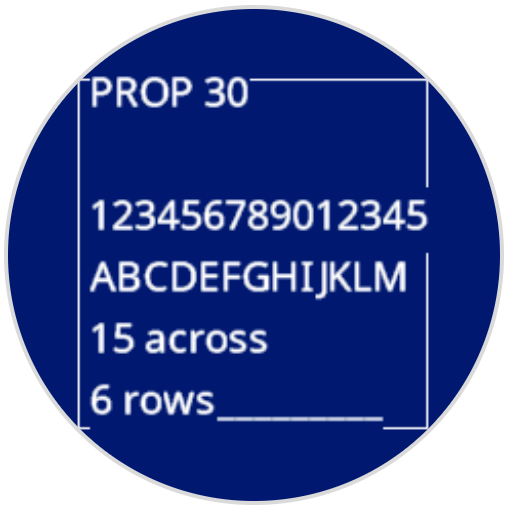
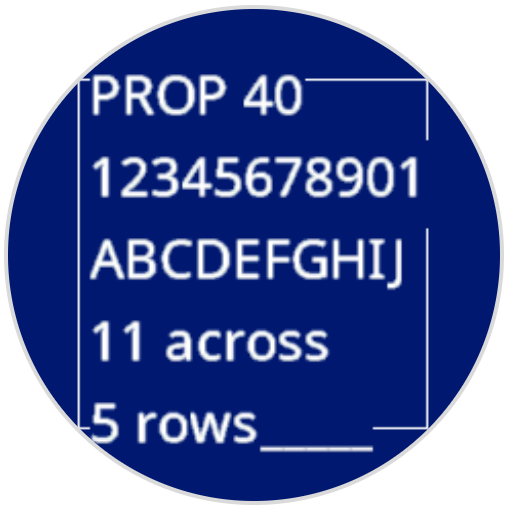
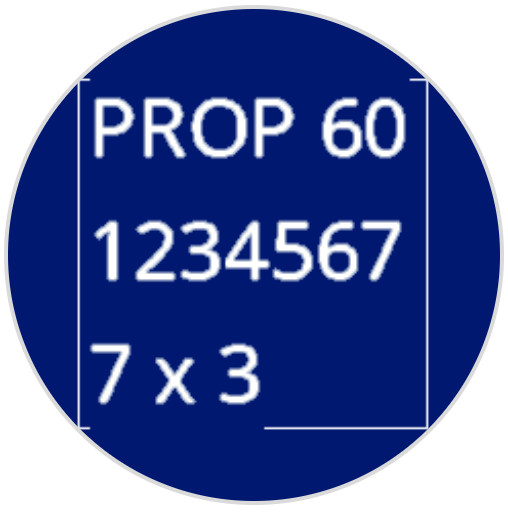
The font size (shown below):
|
|
|
|
|---|---|---|
|
|
|
|
|
|
|
|

Example
when started
[Display text using a larger font]
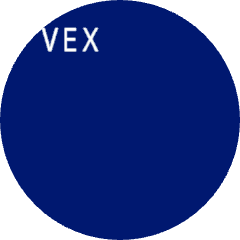
set font to [monospaced v] [extra large v] on screen
print [VEX] on screen ▶
set print precision on screen#
The set print precision on screen stack block sets how many decimal places to show when printing numbers on the robot’s screen. This print precision will apply to all subsequently printed numbers.
set print precision to [0.1 v] on screen
Parameters |
Description |
|---|---|
precision |
The print precision to use:
|
Example
when started
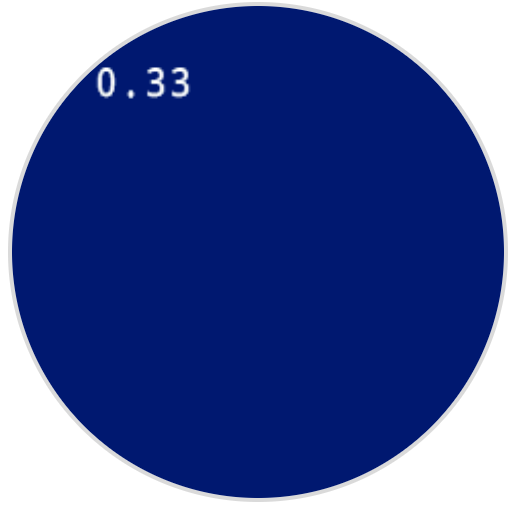
[Print 1/3 as 0.33.]
set print precision to [0.01 v] on screen
print ([1] [math_division v] [3]) on screen ▶
set pen width on screen#
The set pen width on screen stack block sets the thickness of drawn lines and shape outlines.
set pen width to [10] on screen
Parameters |
Description |
|---|---|
width |
The pen width, in pixels, from 0 to 32. |
Example
    when started
    [Draw a rectangle with a pen width of 10.]
    set pen width to [10] on screen
    draw rectangle [50] [50] [130] [60] on screen
set pen / font color on screen#
The set pen / font color on screen stack block sets the color of text, pixels, lines, and shape outlines.
set pen / font color to [red v] on screen
Parameters |
Description |
|---|---|
color |
The pen and font color to use:
|
Example
    when started
    [Draw a rectangle with a red pen.]
    set pen / font color to [red v] on screen
    draw rectangle [50] [50] [130] [60] on screen
set fill color on screen#
The set fill color on screen stack block sets the fill color used when shapes are drawn.
set fill color to [red v] on screen
Parameters |
Description |
|---|---|
color |
The fill color to use:
|
Examples
when started
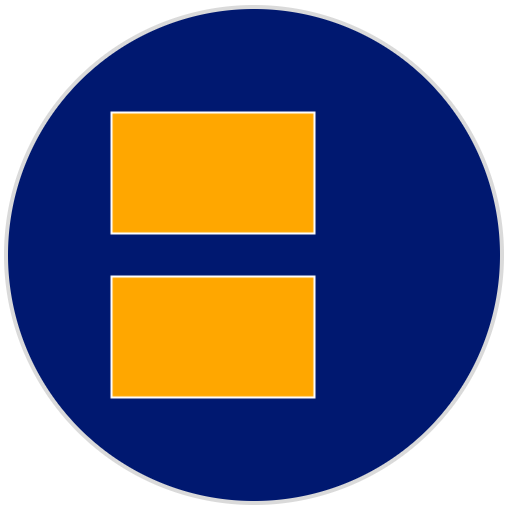
[Draw two orange rectangles.]
set fill color to [orange v] on screen
draw rectangle [50] [50] [100] [60] on screen
draw rectangle [50] [130] [100] [60] on screen
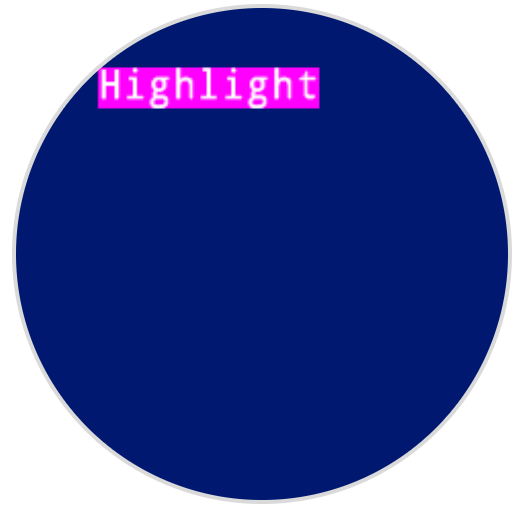
    when started
    [Display text with a purple background.]
    set fill color to [purple v] on screen
    print [Highlight] on screen ▶
Draw#
show image file on screen#
The show image file on screen stack block draws a custom user-uploaded image on the robot’s screen.
show image file [1 v]
Parameters |
Description |
|---|---|
image slot number |
The custom image to use, number 1 to 10. The image number aligns with the number shown in the AIM control panel. |
Example
    when started
    [Draw uploaded Image 1.]
    show image file [1 v]
draw pixel on screen#
The draw pixel on screen stack block draws one pixel at the selected x and y coordinate using the current pen color.
By default, the origin is located at the top-left corner of the screen at (0, 0). On the x-axis, 0 is on the left side of the screen, and 240 is on the right side. On the y-axis, 0 is at the top of the screen, and 240 is at the bottom. You can use the set screen origin block to move the origin to a different location. When the origin is changed, the x- and y-coordinate ranges will also change.
For example, if the origin is set to (120, 120), the x and y range will be from -120 to 120 for the x and y coordinates.
draw pixel [0] [0] on screen
Parameters |
Description |
|---|---|
x |
The x-coordinate to draw the pixel, from 0 to 240 with the default origin. |
y |
The y-coordinate to draw the pixel, from 0 to 240 with the default origin. |
Example
    when started
    [Draw a pixel at the center of the screen.]
    draw pixel [120] [120] on screen
![]()
draw line on screen#
The draw line on screen stack block draws a line from the first screen coordinate (x1, y1) to the second screen coordinate (x2, y2) using the current pen width and pen color.
By default, the origin is located at the top-left corner of the screen at (0, 0). On the x-axis, 0 is on the left side of the screen, and 240 is on the right side. On the y-axis, 0 is at the top of the screen, and 240 is at the bottom. You can use the set screen origin block to move the origin to a different location. When the origin is changed, the x- and y-coordinate ranges will also change.
For example, if the origin is set to (120, 120), the x and y range will be from -120 to 120 for the x and y coordinates.
draw line [0] [0] [10] [10] on screen
Parameters |
Description |
|---|---|
x1 |
The x-coordinate in pixels of the start of the line, from 0 to 240 with the default origin. |
y1 |
The y-coordinate in pixels of the start of the line, from 0 to 240 with the default origin. |
x2 |
The x-coordinate in pixels of the end of the line, from 0 to 240 with the default origin. |
y2 |
The y-coordinate in pixels of the end of the line, from 0 to 240 with the default origin. |
Example
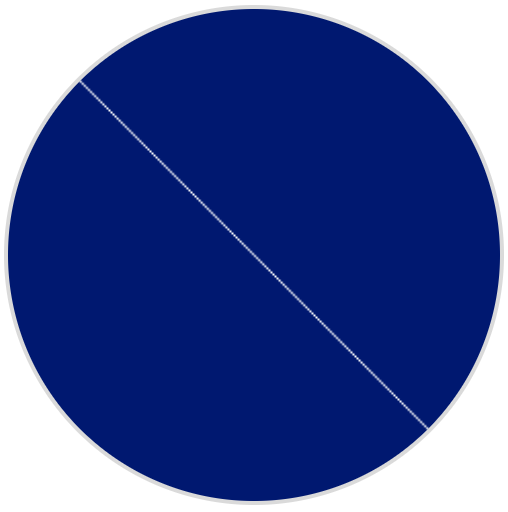
    when started
    [Draw a line from the top left to bottom right of the screen.]
    draw line [0] [0] [240] [240] on screen
draw rectangle on screen#
The draw rectangle on screen stack block draws a rectangle using the current pen width, pen color, and fill color.
By default, the origin is located at the top-left corner of the screen at (0, 0). On the x-axis, 0 is on the left side of the screen, and 240 is on the right side. On the y-axis, 0 is at the top of the screen, and 240 is at the bottom. You can use the set screen origin block to move the origin to a different location. When the origin is changed, the x- and y-coordinate ranges will also change.
For example, if the origin is set to (120, 120), the x and y range will be from -120 to 120 for the x and y coordinates.
draw rectangle [0] [0] [10] [10] on screen
Parameters |
Description |
|---|---|
x |
The x-coordinate in pixels of the top-left corner of the rectangle, from 0 to 240 with the default origin. |
y |
The y-coordinate in pixels of the top-left corner of the rectangle, from 0 to 240 with the default origin. |
width |
The width of the rectangle in pixels. |
height |
The height of the rectangle in pixels. |
Example
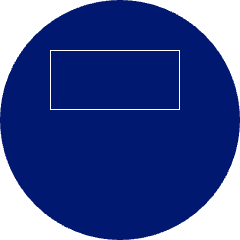
when started
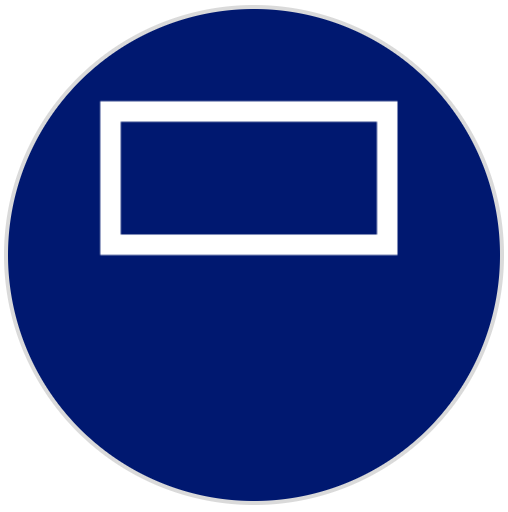
[Draw a rectangle on the screen.]
draw rectangle [50] [50] [130] [60] on screen
draw circle on screen#
The draw circle on screen stack block draws a circle using the current pen width, pen color, and fill color.
By default, the origin is located at the top-left corner of the screen at (0, 0). On the x-axis, 0 is on the left side of the screen, and 240 is on the right side. On the y-axis, 0 is at the top of the screen, and 240 is at the bottom. You can use the set screen origin block to move the origin to a different location. When the origin is changed, the x- and y-coordinate ranges will also change.
For example, if the origin is set to (120, 120), the x and y range will be from -120 to 120 for the x and y coordinates.
draw circle [0] [0] [10] on screen
Parameters |
Description |
|---|---|
x |
The x-coordinate in pixels of the center of the circle, from 0 to 240 with the default origin. |
y |
The y-coordinate in pixels of the center of the circle, from 0 to 240 with the default origin. |
radius |
The radius of the circle in pixels. |
Example
    when started
    [Draw a circle on the screen.]
    draw circle [120] [120] [40] on screen

Touch#
screen pressed#
The screen pressed Boolean block reports whether the robot’s screen is currently being pressed.
True — The screen is being pressed.
False — The screen is not being pressed.
<screen pressed?>
Parameters |
Description |
|---|---|
This block has no parameters. |
Example
    when started
    [Turn LEDs white only when the screen is pressed.]
    forever
        if <screen pressed?> then
            set [lightall v] LED color to [white v]
        else
            set [lightall v] LED color to [off v]
        end
    end
screen position#
The screen position reporter block reports the selected coordinate of the last screen press. The x-coordinate is from 0 (left) to 240 (right). The y-coordinate is from 0 (top) to 240 (bottom).
(screen [x v] position)
Parameters |
Description |
|---|---|
coordinate |
The coordinate of the last screen press to report: x reports the horizontal position, and y reports the vertical position. |
Example
    when started
    [Display the x and y coordinate of where the screen is pressed.]
    forever
        if <screen pressed?> then
            clear screen
            print (screen [x v] position) on screen ▶
            set cursor to next row on screen
            print (screen [y v] position) on screen ▶
        end
    end
when screen event#
The when screen event hat block runs the attached stack of blocks when the robot’s screen is pressed or released.
when screen [pressed v]
Parameters |
Description |
|---|---|
action |
When to run the attached stack of blocks: pressed runs when the screen is pressed, and released runs when the screen is released. |
Example
    when screen [pressed v]
        [Set the LEDs to green when the screen is pressed.]
        set [lightall v] LED color to [green v]