Screen#
Introduction#
The Screen methods control how the VEX AIR Drone Controller shows text, numbers, graphics, and images on its screen, and how it responds to screen presses.
Below is a list of available methods:
Cursor Print – Display text and manage the print cursor.
print– Prints text, numbers, or variable values at the current cursor position.set_cursor– Moves the cursor to a specific row and column.next_row– Moves the cursor to column 1 of the next row.clear_row– Clears a row of text.get_row– Returns the row where text will be printed.get_column– Returns the column where text will be printed.
XY Print – Print text at pixel-based coordinates.
print_at– Prints text, numbers, or variable values at a specific x and y coordinate.set_origin– Sets the origin used for coordinate-based printing and drawing.
Mutators – Change screen settings, colors, and drawing behavior.
clear_screen– Clears all drawings, text, and images from the controller screen.wait_for_render– Switches screen drawing to render-later behavior.set_font– Sets the font for printed text.set_pen_width– Sets the thickness of drawn lines and shape outlines.set_pen_color– Sets the color of text, pixels, lines, and shape outlines.set_text_fill_color– Sets the fill color behind printed text.set_fill_color– Sets the fill color for drawn shapes.
Draw – Add graphics and images to the screen.
draw_pixel– Draws one pixel at a specific x and y position.draw_line– Draws a line between two points.draw_rectangle– Draws a rectangle using the current pen and fill colors.draw_circle– Draws a circle using the current pen and fill colors.show_file– Draws an uploaded image.
Touch – Detect and respond to screen presses.
pressing– Returns whether the screen is currently being pressed.x_position– Returns the x-coordinate of the last screen press.y_position– Returns the y-coordinate of the last screen press.
Callbacks – Run functions when the screen is pressed or released.
Cursor Print#
print#
print prints text, numbers, or variable values on the controller screen at the current cursor position and font.
Usage:
controller.screen.print(text)
Parameters |
Description |
|---|---|
|
The text, number, or variable value to print on the screen. |
|
Optional. The separator between printed text. By default, |
|
Optional. The string appended after the last printed text. By default, |
|
Optional. The number of decimals a float will print with as an integer. By default, |
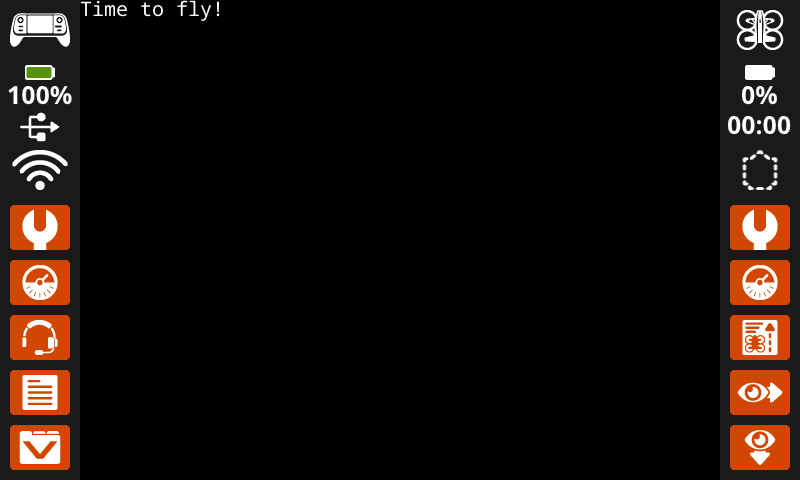
# Display a message at the starting cursor position.
controller.screen.print("Time to fly!")
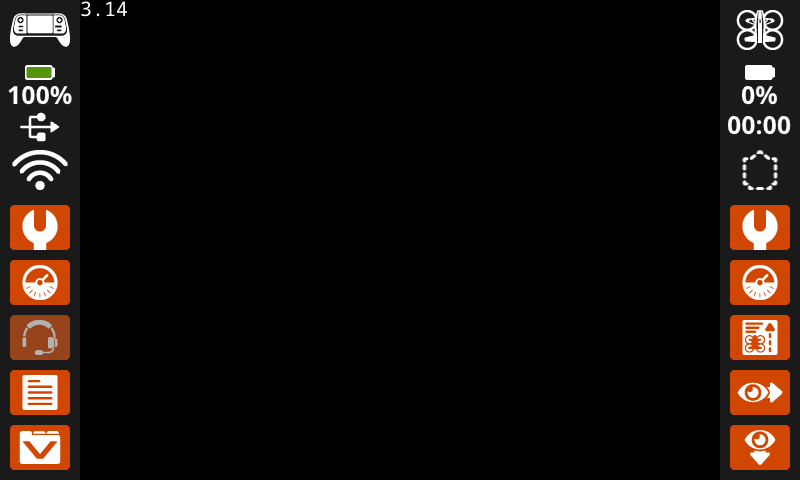
# Display the first 2 decimals of pi
controller.screen.print(3.1415, precision = 2)
set_cursor#
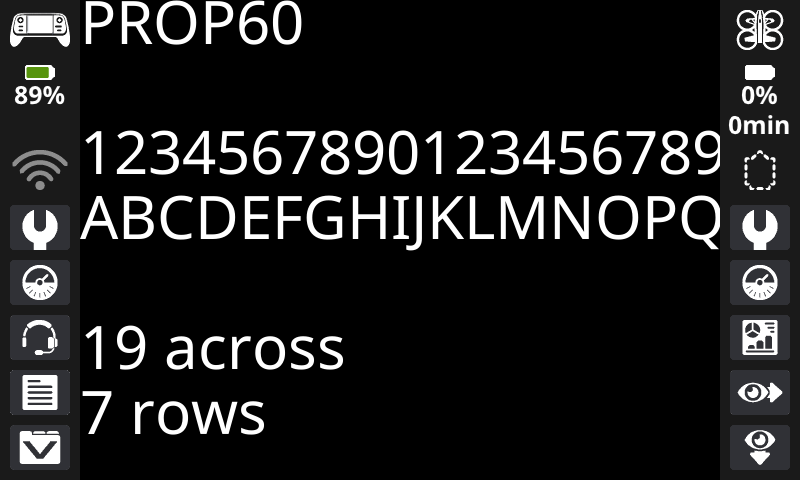
set_cursor moves the cursor to a specific row and column on the controller screen. The next print call will start printing at that location. The row and column spacing will take into account the selected font. With the default monospaced medium font, the screen can clearly display up to 18 rows and 53 columns. Text placed beyond this range may be cut off or harder to read.
Usage:
controller.screen.set_cursor(row, col)
Parameters |
Description |
|---|---|
|
The row to move the cursor to. |
|
The column to move the cursor to. |
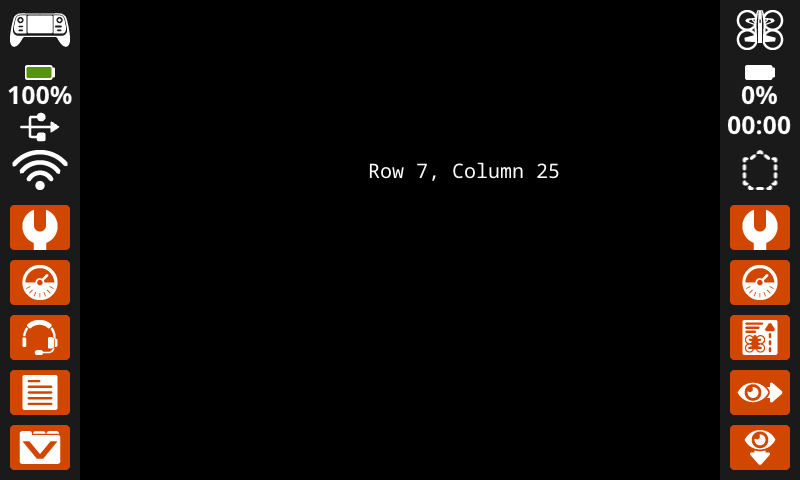
# Display text starting at Row 7 Column 25.
controller.screen.set_cursor(row=7, col=25)
controller.screen.print("Row 7, Column 25")
next_row#
next_row moves the cursor to column 1 on the next row on the controller screen.
Usage:
controller.screen.next_row()
Parameters |
Description |
|---|---|
This method has no parameters. |
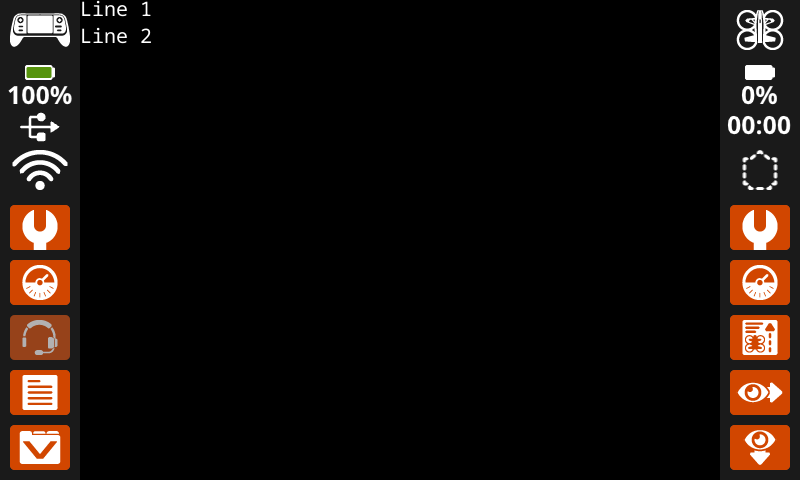
# Display two lines of text.
controller.screen.print("Line 1")
controller.screen.next_row()
controller.screen.print("Line 2")
clear_row#
clear_row clears a row of text on the controller screen.
Usage:
controller.screen.clear_row(row, color)
Parameter |
Description |
|---|---|
|
Optional. The row to clear. The default is the current cursor row. |
|
Optional. The color to apply to the cleared row. If a color is not specified, the
|
# Clear only the second row of text
controller.screen.print("This text stays")
controller.screen.next_row()
controller.screen.print("This text disappears")
wait(3, SECONDS)
controller.screen.clear_row(2)
# Turn the 5th row green.
controller.screen.clear_row(5, GREEN)
get_row#
get_row returns the current row where text will be printed, as an integer.
Usage:
controller.screen.get_row()
Parameters |
Description |
|---|---|
This method has no parameters. |
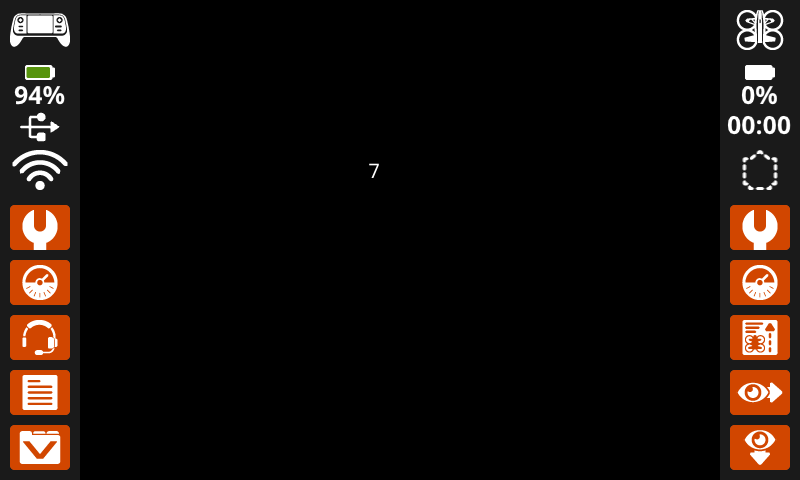
# Display the cursor's current row.
controller.screen.set_cursor(row=7, col=25)
controller.screen.print(controller.screen.get_row())
get_column#
get_column returns the current column where text will be printed, as an integer.
Usage:
controller.screen.get_column()
Parameters |
Description |
|---|---|
This method has no parameters. |
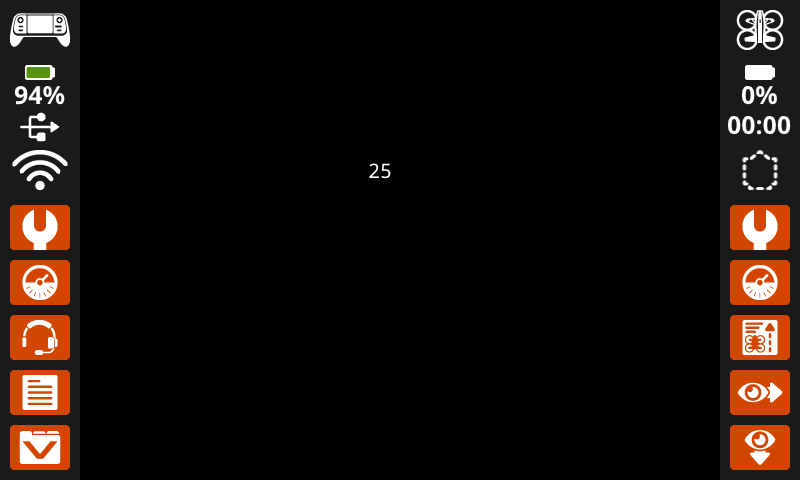
# Display the cursor's current column.
controller.screen.set_cursor(row=7, col=25)
controller.screen.print(controller.screen.get_column())
XY Print#
print_at#
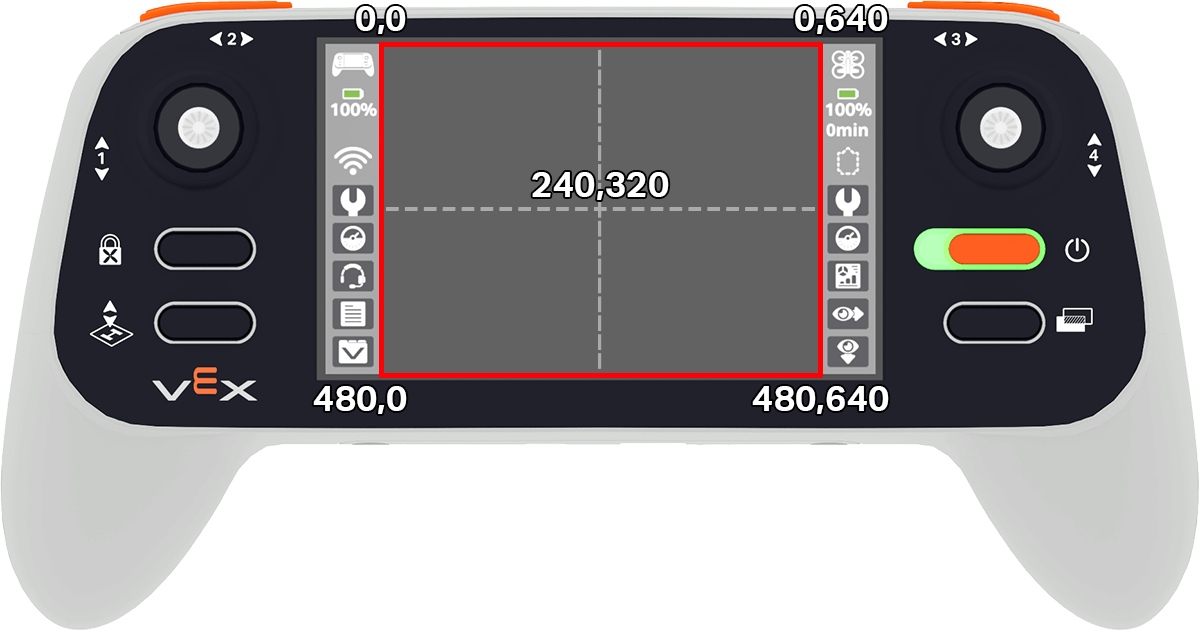
print_at prints text, numbers, or variable values on the controller screen at a specific (x, y) position in pixels, using the current font and origin. x sets how far from the left side the text begins, and y sets where the bottom of the letters sit. This method disregards the current cursor position.
Usage:
controller.screen.print_at(text, x, y)
Parameter |
Description |
|---|---|
|
The text, number, or variable value to print on the screen. |
|
The horizontal position of the text, as an integer from 0 to 640 pixels. 0 is left; 640 is right. |
|
The vertical position of the text, as an integer from 0 to 480 pixels. 0 is the top; 480 is the bottom. |
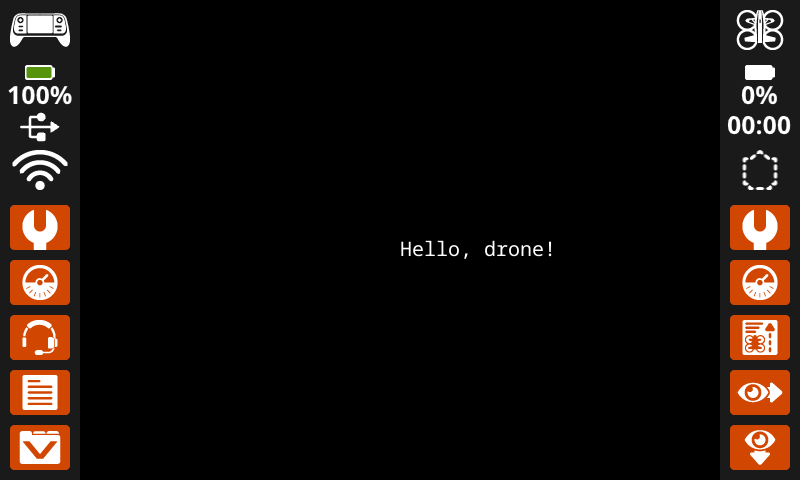
# Display a message in the middle of the screen.
controller.screen.print_at("Hello, drone!", x=320, y=240)
set_origin#
set_origin sets the origin (0, 0) used for drawing and coordinate-based printing on the controller screen. By default, the origin is the top-left corner of the screen. This method can reset the origin to an alternate (x, y) screen coordinate location.
Usage:
controller.screen.set_origin(x, y)
Parameter |
Description |
|---|---|
|
The new x-coordinate to set as the origin, given as an integer from 0 to 640. |
|
The new y-coordinate to set as the origin, given as an integer from 0 to 480. |
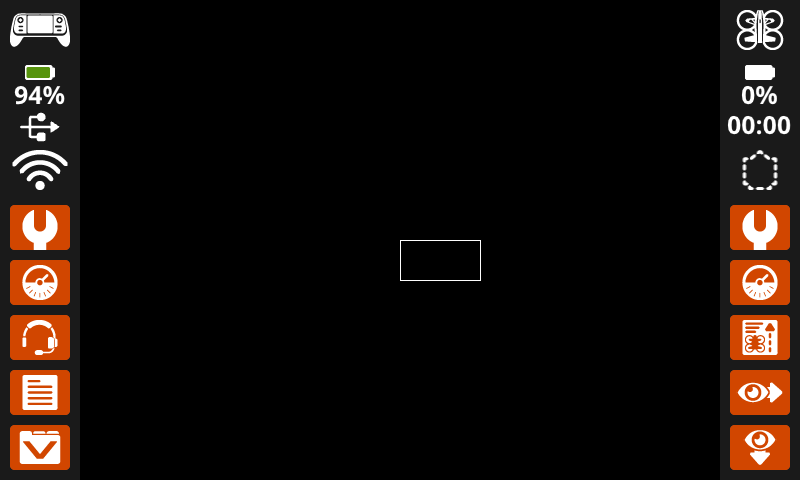
# Set the origin to the center of the screen.
controller.screen.set_origin(x=320, y=240)

# Draw a rectangle at the new origin.
controller.screen.draw_rectangle(x=0, y=0, width=80, height=40)
Mutators#
clear_screen#
clear_screen clears all drawings, text, and images from the controller screen.
Usage:
controller.screen.clear_screen(row, col, color)
Parameter |
Description |
|---|---|
|
Optional. The row to move the cursor to after clearing the screen. The default is 1. |
|
Optional. The column to move the cursor to after clearing the screen. The default is 1. |
|
Optional. Sets the screen color. If
|
# Draw a circle, and clear it after 2 seconds.
controller.screen.draw_circle(x=320, y=240, radius=80)
wait(2, SECONDS)
controller.screen.clear_screen()
# Print two messages in the same spot
controller.screen.print("Hello!")
wait(3,SECONDS)
controller.screen.clear_screen(row=1, col=1)
controller.screen.print("Goodbye!")
# Set the background color of the screen to red.
controller.screen.clear_screen(color=RED)
wait_for_render#
wait_for_render switches screen drawing to render-later behavior. Once this method runs, following screen commands will not appear on the controller screen until the next wait_for_render method runs.
Note: Use this before drawing a group of text, shapes, or images, then use it again to render the full update at once.
Usage:
controller.screen.wait_for_render()
Parameter |
Description |
|---|---|
This method has no parameters. |
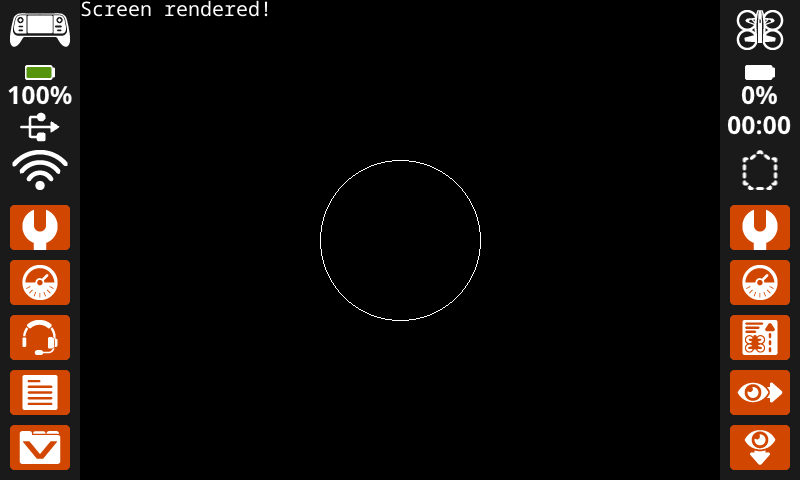
# Display text and images when button 7 is pressed.
controller.screen.wait_for_render()
controller.screen.print("Screen rendered!")
controller.screen.draw_circle(x=320, y=240, radius=80)
while not controller.button7.pressing():
    wait(5, MSEC)
controller.screen.wait_for_render()
set_font#
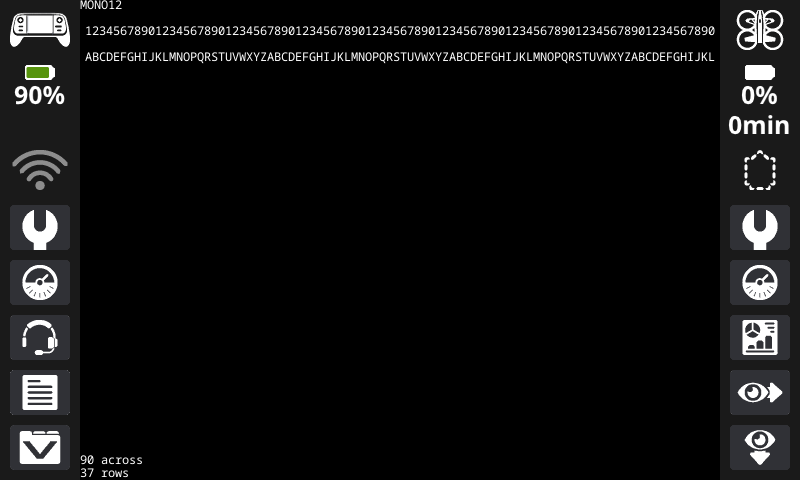
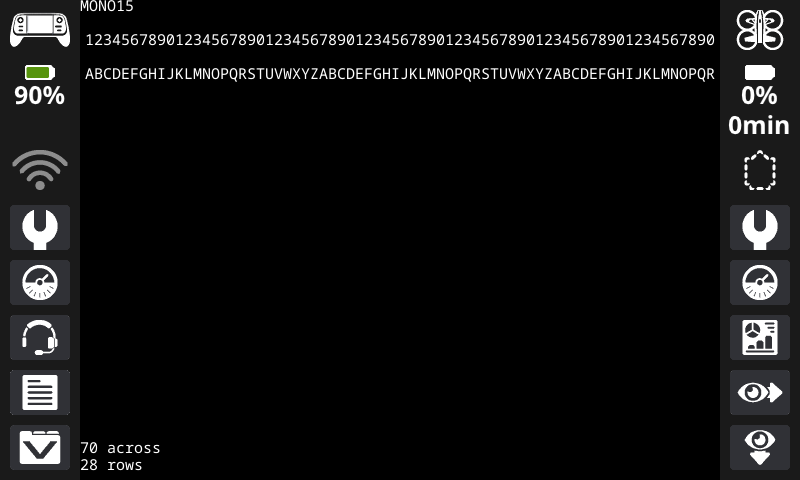
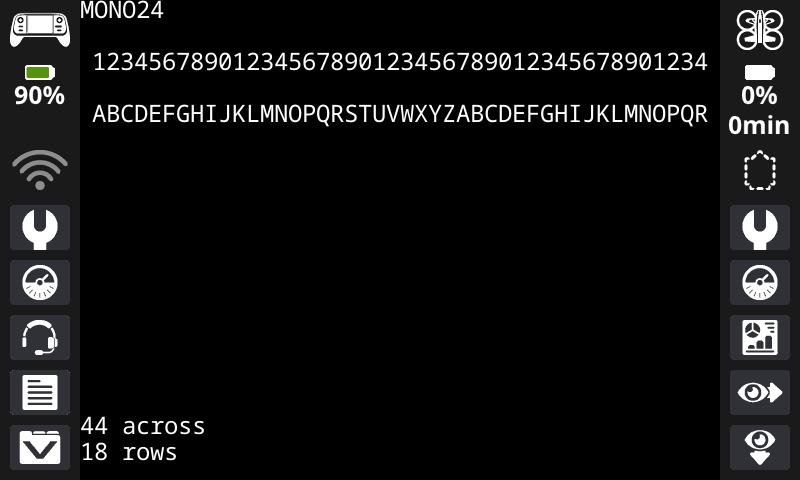
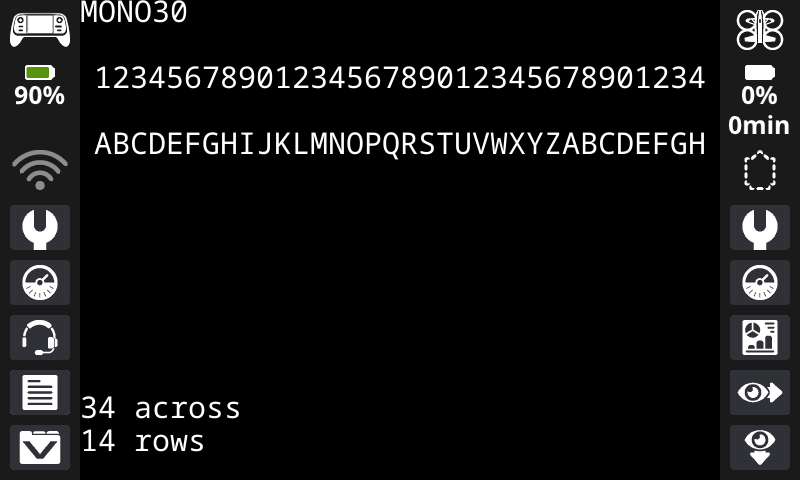
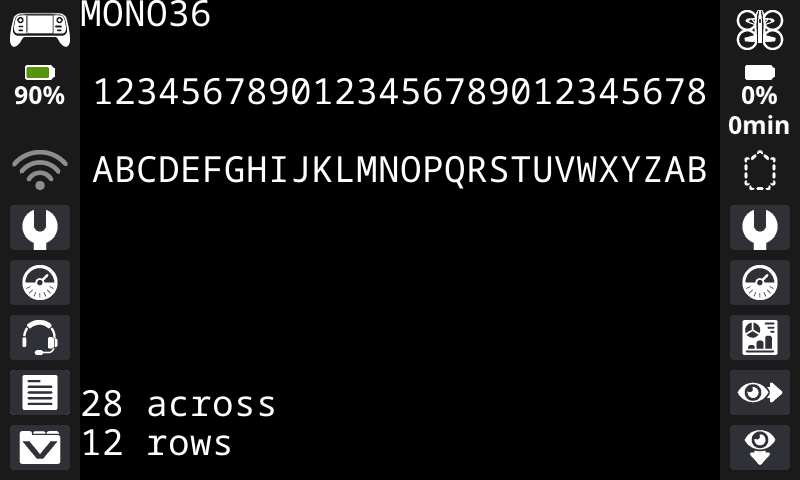
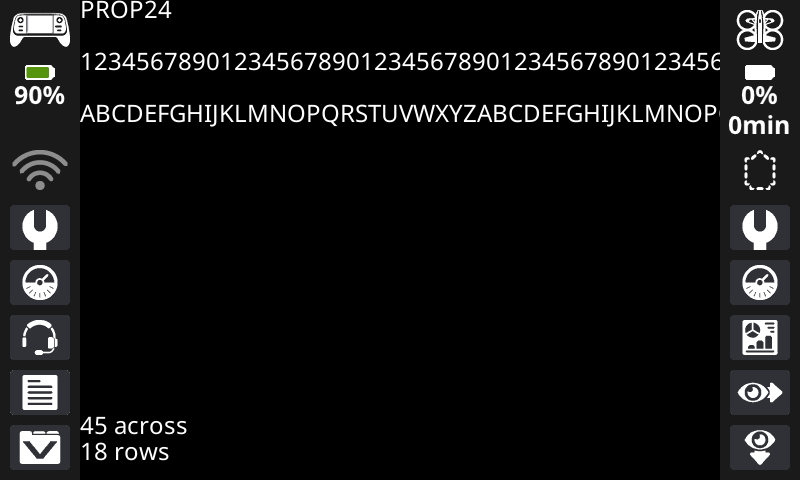
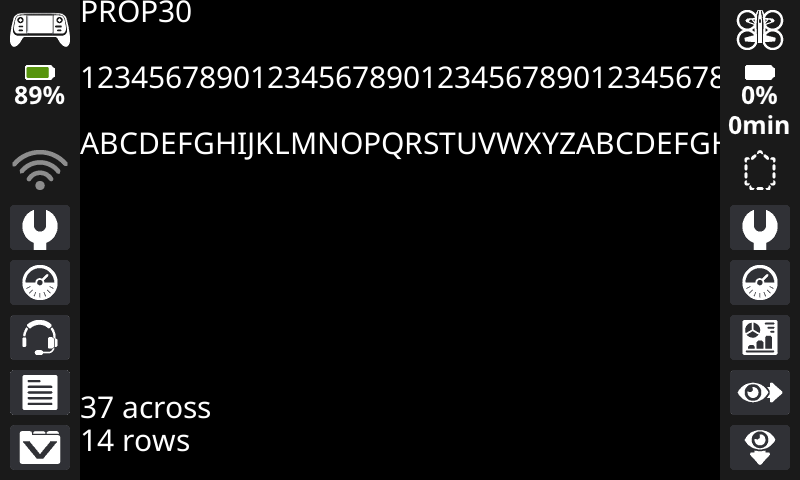
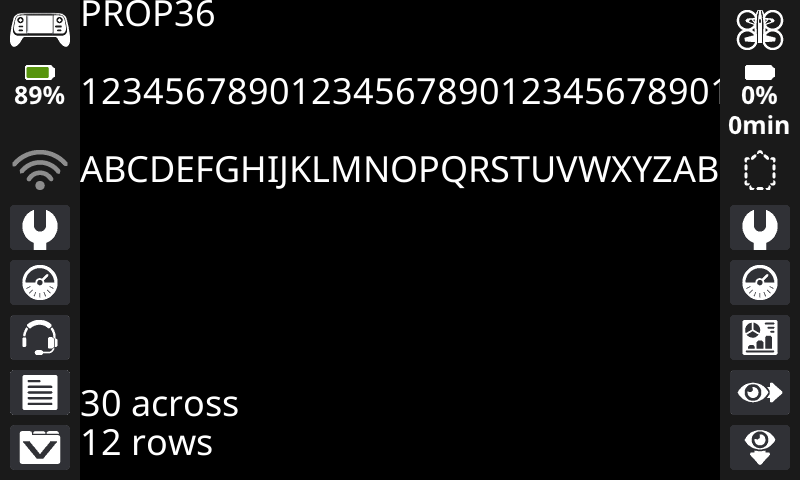
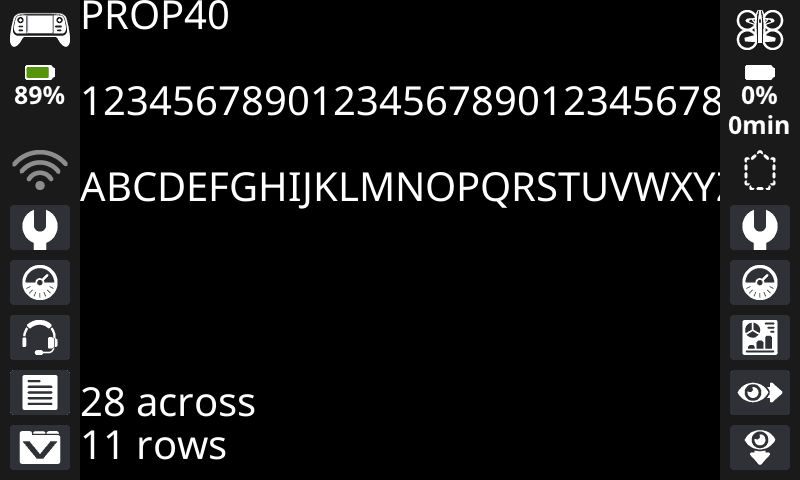
set_font sets the font used for displaying text on the controller screen. This font will apply to all text printed after this method runs. The default font at the start of a project is MONO20.
Usage:
controller.screen.set_font(fontname)
Parameter |
Description |
|---|---|
|
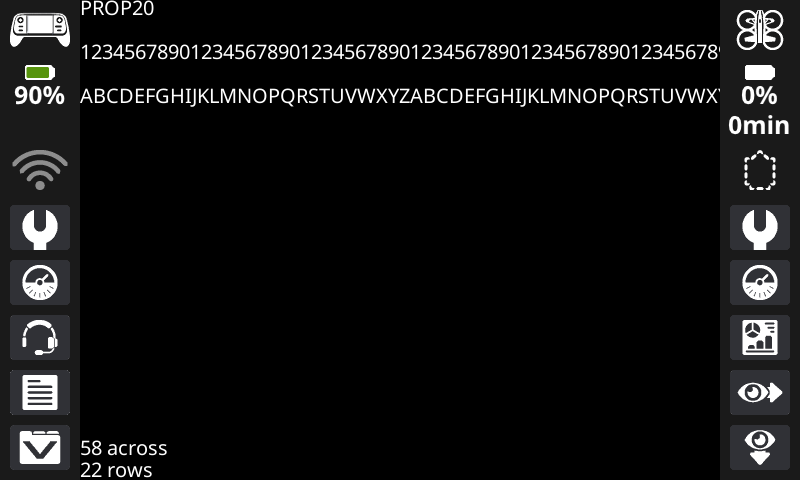
Sets the font to one of the following:
|
|
|
|
|---|---|---|
|
|
|
|
|
|
|
|
|
|
|

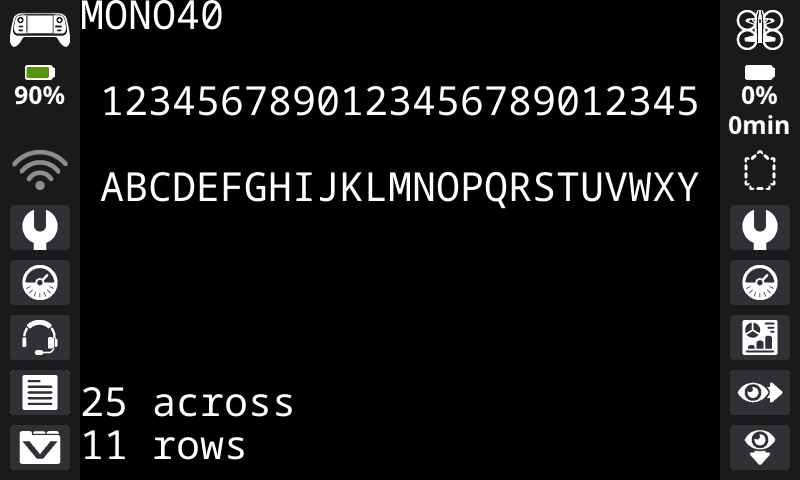

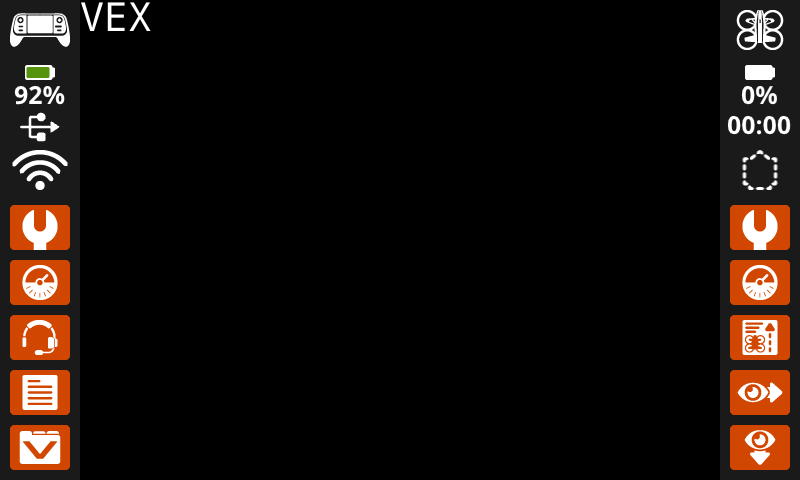
# Display text using a larger font.
controller.screen.set_font(MONO40)
controller.screen.print("VEX")
set_pen_width#
set_pen_width sets the thickness of drawn lines and shape outlines.
Usage:
controller.screen.set_pen_width(width)
Parameter |
Description |
|---|---|
|
The pen width, given as an integer in pixels. |
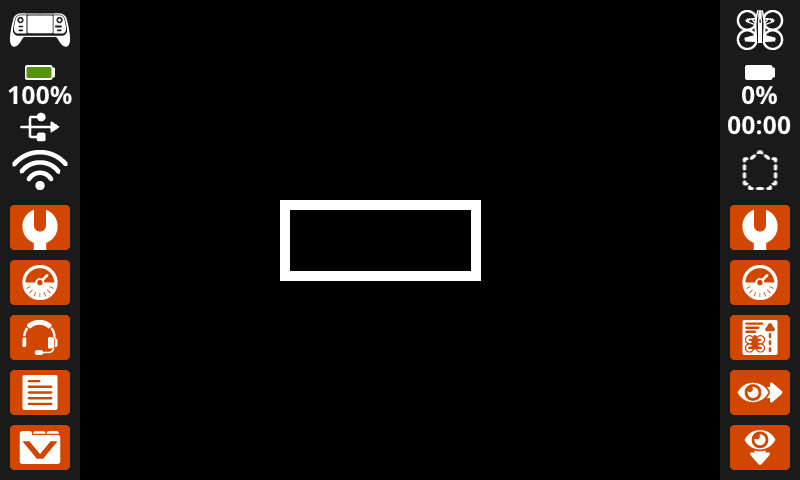
# Draw a rectangle with a pen width of 10.
controller.screen.set_pen_width(10)
controller.screen.draw_rectangle(x=200, y=200, width=200, height=80)
set_pen_color#
set_pen_color sets the color of text, pixels, lines, and shape outlines.
Usage:
controller.screen.set_pen_color(color)
Parameter |
Description |
|---|---|
|
Optional. Sets the pen and font color. Options include:
|
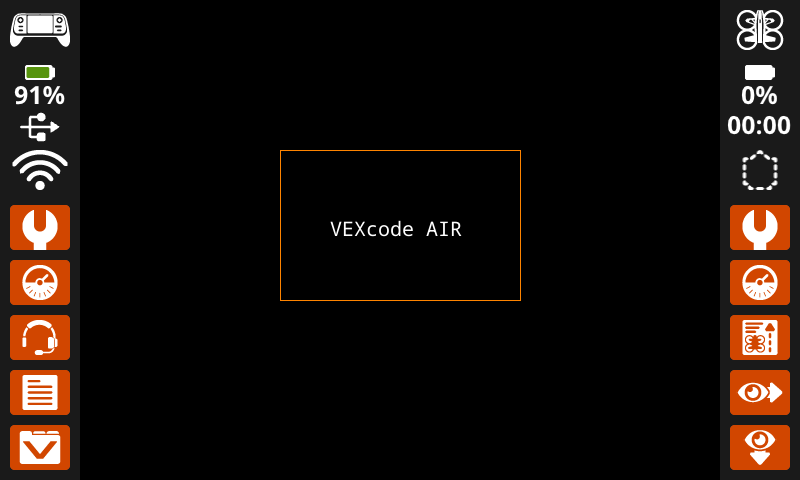
# Draw a rectangle with an orange outline.
controller.screen.set_pen_color(ORANGE)
controller.screen.draw_rectangle(x=200, y=150, width=240, height=150)
controller.screen.set_pen_color(WHITE)
controller.screen.print_at("VEXcode AIR", x=250, y=220)
set_text_fill_color#
set_text_fill_color sets the fill color behind printed text. The default text fill color is transparent.
Usage:
controller.screen.set_text_fill_color(color)
Parameter |
Description |
|---|---|
|
Optional. Sets the text fill color. Options include:
|
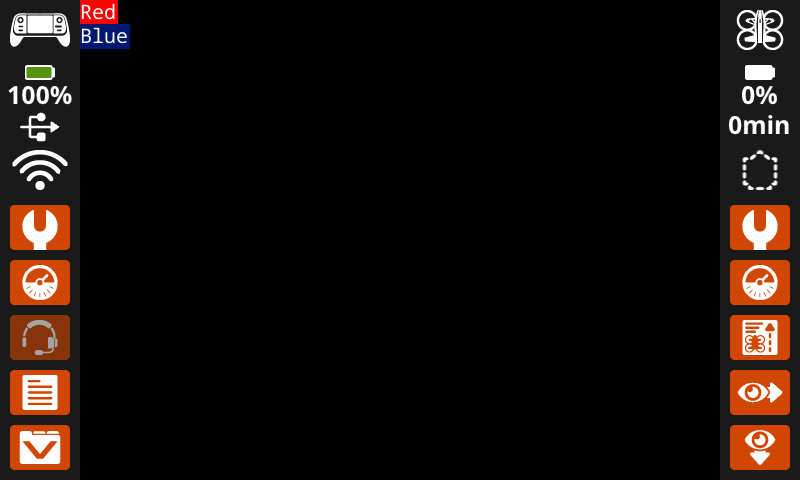
# Display two colors behind text
controller.screen.set_text_fill_color(RED)
controller.screen.print("Red")
controller.screen.next_row()
controller.screen.set_text_fill_color(BLUE)
controller.screen.print("Blue")
set_fill_color#
set_fill_color sets the fill color used when shapes are drawn. The default fill color is black.
Usage:
controller.screen.set_fill_color(color)
Parameter |
Description |
|---|---|
|
Optional. Sets the fill color. Options include:
|
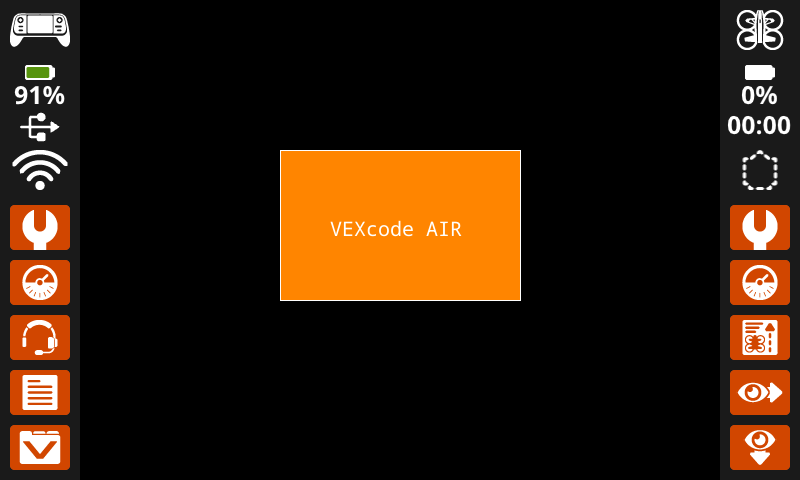
# Draw an orange-filled rectangle with text on top
controller.screen.set_fill_color(ORANGE)
controller.screen.draw_rectangle(x=200, y=150, width=250, height=150)
controller.screen.print_at("VEXcode AIR", x=250, y=220)
Draw#
draw_pixel#
draw_pixel draws one pixel at the selected x and y coordinate using the current pen color.
Usage:
controller.screen.draw_pixel(x, y)
Parameter |
Description |
|---|---|
|
The x-coordinate where the pixel will be drawn, given as an integer from 0 to 640. |
|
The y-coordinate where the pixel will be drawn, given as an integer from 0 to 480. |
# Draw five pixels in a diagonal.
controller.screen.draw_pixel(x=360, y=200)
controller.screen.draw_pixel(x=340, y=220)
controller.screen.draw_pixel(x=320, y=240)
controller.screen.draw_pixel(x=300, y=260)
controller.screen.draw_pixel(x=280, y=280)
![]()
draw_line#
draw_line draws a line from the first screen coordinate (x1, y1) to the second screen coordinate (x2, y2) using the current pen width and pen color.
The x and y-coordinates use the default origin of (0, 0) unless a different origin has been set using set_origin.
Usage:
controller.screen.draw_line(x1, y1, x2, y2)
Parameter |
Description |
|---|---|
|
The starting x-coordinate of the line, given as an integer from 0 to 640. |
|
The starting y-coordinate of the line, given as an integer from 0 to 480. |
|
The ending x-coordinate of the line, given as an integer from 0 to 640. |
|
The ending y-coordinate of the line, given as an integer from 0 to 480. |
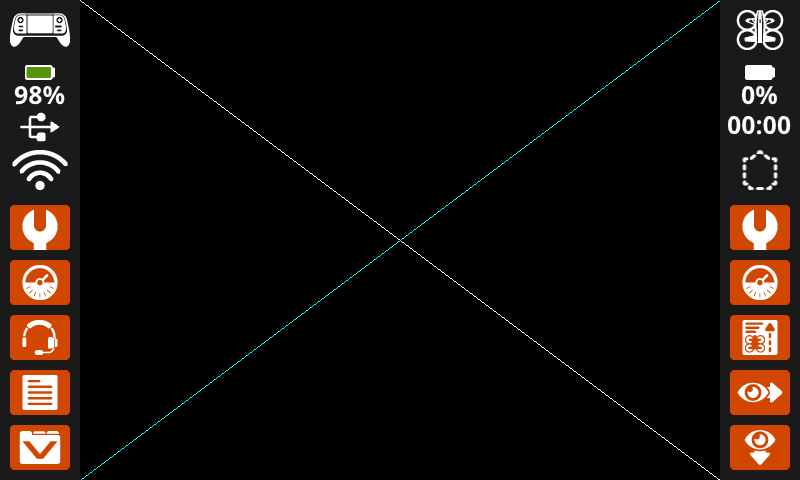
# Make an X across the screen.
controller.screen.draw_line(x1=0, y1=0, x2=640, y2=480)
controller.screen.set_pen_color(CYAN)
controller.screen.draw_line(x1=0, y1=480, x2=640, y2=0)
draw_rectangle#
draw_rectangle draws a rectangle using the current pen width, pen color, and fill color, unless the optional color parameter is used.
The x and y-coordinates use the default origin of (0, 0) unless a different origin has been set using set_origin.
Usage:
controller.screen.draw_rectangle(x, y, width, height, color)
Parameter |
Description |
|---|---|
|
The x-coordinate of the top-left corner of the rectangle, given as an integer from 0 to 640. |
|
The y-coordinate of the top-left corner of the rectangle, given as an integer from 0 to 480. |
|
The width of the rectangle, given as an integer from 0 to 640. |
|
The height of the rectangle, given as an integer from 0 to 480. |
|
Optional. Sets the fill color of the rectangle. Options include:
|
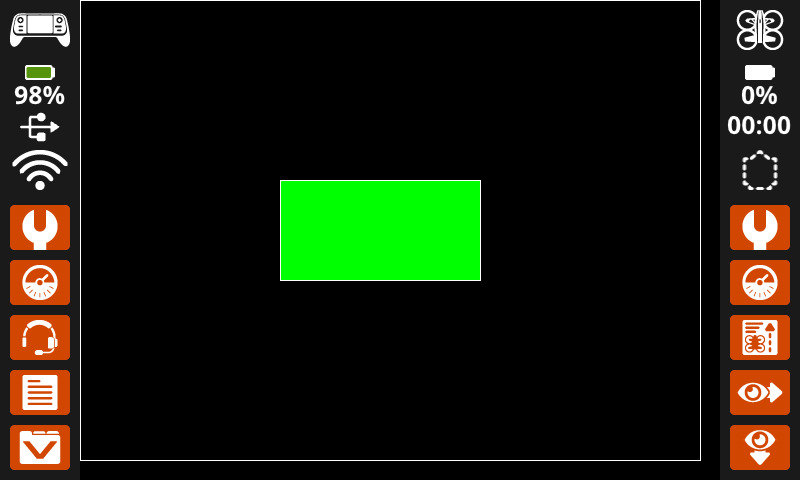
# Draw two rectangles on the screen.
controller.screen.draw_rectangle(x=0, y=0, width=620, height=460)
controller.screen.draw_rectangle(x=200, y=180, width=200, height=100, color=GREEN)
draw_circle#
draw_circle draws a circle using the current pen width, pen color, and fill color, unless the optional color parameter is used.
The x and y-coordinates use the default origin of (0, 0) unless a different origin has been set using set_origin.
Usage:
controller.screen.draw_circle(x, y, radius, color)
Parameter |
Description |
|---|---|
|
The x-coordinate of the center of the circle, given as an integer from 0 to 640. |
|
The y-coordinate of the center of the circle, given as an integer from 0 to 480. |
|
The radius of the circle, given as an integer from 0 to 480 pixels. |
|
Optional. Sets the fill color of the circle. Options include:
|
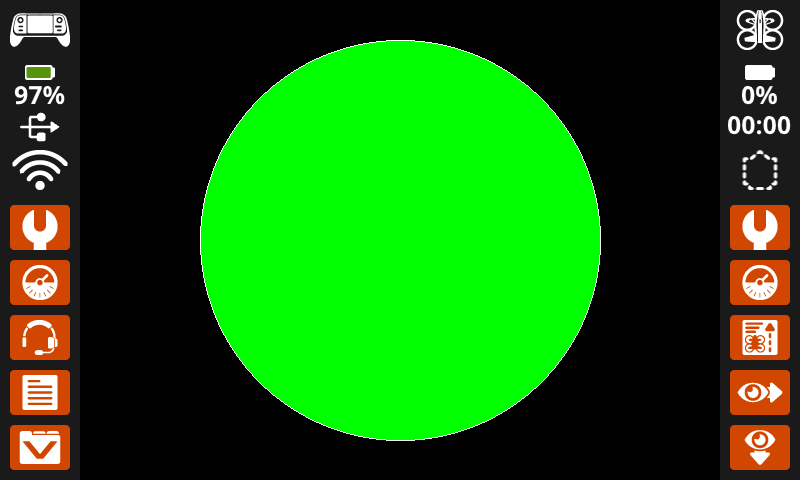
# Draw one green circle on the screen.
controller.screen.set_fill_color(GREEN)
controller.screen.draw_circle(x=320, y=240, radius=200, color=GREEN)
show_file#
show_file draws a custom uploaded image on the controller screen at an x and y position, with optional scaling, rotation, and alpha transparency.
Usage:
controller.screen.show_file(file, x, y, scale_width, scale_height, rotation, use_alpha)
Parameter |
Description |
|---|---|
|
The user-uploaded image to use. Options will change if image names are edited in the Control Panel. |
|
The horizontal offset for the image, given as an integer in pixels. Positive values move it right; negative values move it left. |
|
The vertical offset for the image, given as an integer in pixels. Positive values move it down; negative values move it up. |
|
Optional. The image width being scaled to, given as an integer in pixels. |
|
Optional. The image height being scaled to, given as an integer in pixels. |
|
Optional. The number of degrees to rotate the image, given as an integer from 0 to 359. |
|
Optional. Whether to use the image’s alpha channel for transparency. Options include: |
# Display uploaded Image 1 in the top left corner.
controller.screen.show_file(IMAGE1, x=0, y=0)
# Display uploaded Image 1 scaled to the full screen.
controller.screen.show_file(IMAGE1, x=65, y=0, scale_width=640, scale_height=480)
# Display uploaded Image 1 with rotation of 180 degrees.
controller.screen.show_file(IMAGE1, x=-65, y=0, rotation=180)
# Upload an image with a transparent background.
# Display uploaded Image 1 with alpha channel enabled.
controller.screen.show_file(IMAGE1, x=0, y=0, use_alpha=True)
Touch#
pressing#
pressing returns a Boolean indicating whether the robot’s screen is currently being pressed.
True– The screen is being pressed.False– The screen is not being pressed.
Usage:
controller.screen.pressing()
Parameters |
Description |
|---|---|
This method has no parameters. |
# Play a sound when the screen is pressed.
while True:
    if controller.screen.pressing():
        controller.sound.play_note("C5", 500)
    wait(5, MSEC)
# Display different messages after the screen is pressed
while not controller.screen.pressing():
    wait(5, MSEC)
controller.screen.print("First message!")
controller.screen.next_row()
# Lift finger to press the screen again
while controller.screen.pressing():
    wait(5, MSEC)
while not controller.screen.pressing():
    wait(5, MSEC)
controller.screen.print("Second message!")
controller.screen.next_row()
x_position#
x_position returns the x-coordinate in pixels where the screen was last pressed, as an integer from 0 (left) to 640 (right).
Usage:
controller.screen.x_position()
Parameters |
Description |
|---|---|
This method has no parameters. |
# Play a high or low note based on where screen is pressed.
while True:
    if controller.screen.pressing():
        if controller.screen.x_position() > 320:
            controller.sound.play_note("C6", 500)
        else:
            controller.sound.play_note("C4", 500)
    wait(5, MSEC)
y_position#
y_position returns the y-coordinate in pixels where the screen was last pressed, as an integer from 0 (top) to 480 (bottom).
Usage:
controller.screen.y_position()
# Play a high or low note based on where screen is pressed.
while True:
    if controller.screen.pressing():
        if controller.screen.y_position() > 240:
            controller.sound.play_note("C6", 500)
        else:
            controller.sound.play_note("C4", 500)
    wait(5, MSEC)
Callbacks#
pressed#
pressed registers a function to be called when the controller screen is pressed.
Usage:
controller.screen.pressed(callback, arg)
Parameters |
Description |
|---|---|
|
A function that is previously defined to execute when the controller screen is pressed. |
|
Optional. A tuple containing arguments to pass to the callback function. See Using Functions with Parameters for more information. |
# Play a sound when the screen is pressed.
def play_sound():
    controller.sound.play_note("C5", 500)

controller.screen.pressed(play_sound)
released#
released registers a function to be called when the controller screen is released.
Usage:
controller.screen.released(callback, arg)
Parameters |
Description |
|---|---|
|
A function that is previously defined to execute when the controller screen is released. |
|
Optional. A tuple containing arguments to pass to the callback function. See Using Functions with Parameters for more information. |
# Play a sound when the screen is pressed.
def play_sound():
    controller.sound.play_note("C5", 500)

controller.screen.released(play_sound)