
Atravesando bloques#
This tutorial walks you through using the Step button to run a project one block at a time in VEXcode GO. By the end, you’ll know how to step through a project to see exactly what each block does.
For example, take this project:
cuando inicie :: hat events
conducir [adelante v] por (100) [mm v] ▶
girar [derecha v] por (90) grados ▶
conducir [adelante v] por (100) [mm v] ▶
imprimir [Done!] ▶
Select Step. This loads the project to the Brain, the same as pressing Start.
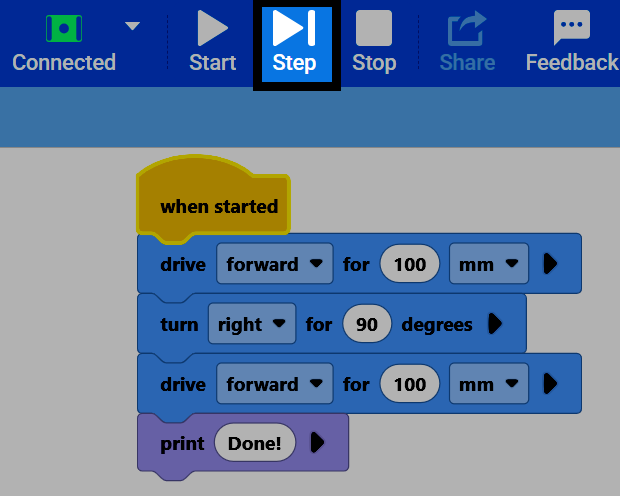
Once it’s loaded, the first block below when started is highlighted yellow, showing it’s next to run.
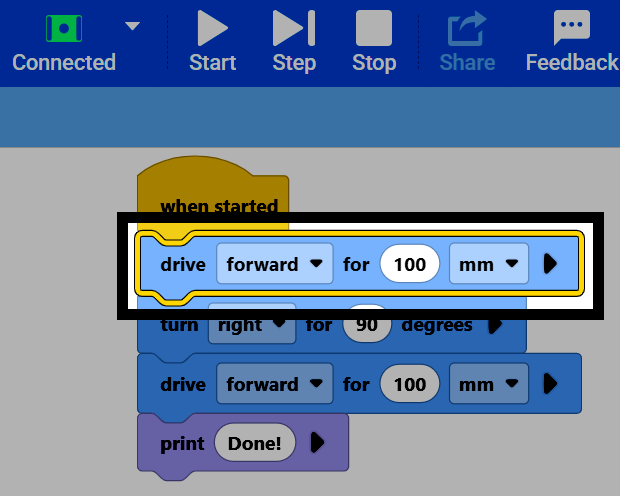
Select Step again to run the highlighted block. It turns green while running.
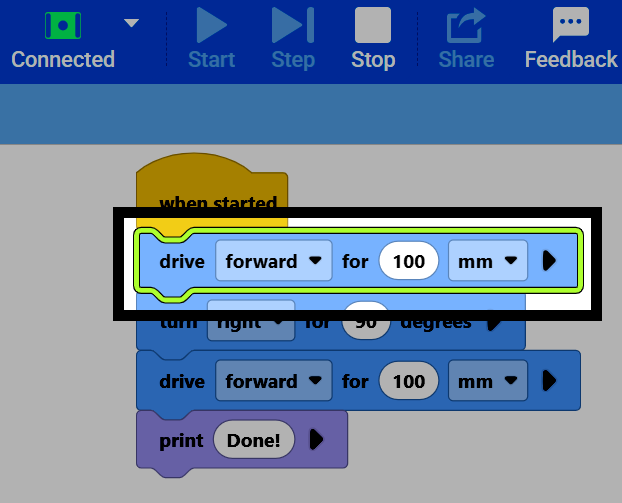
Once it’s done, the next block in the stack turns yellow.
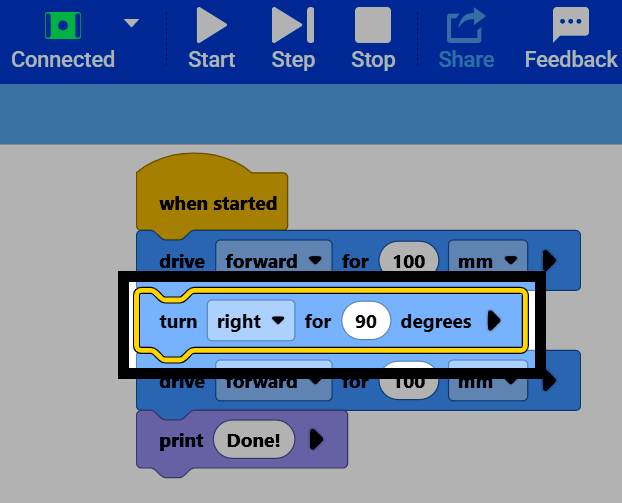
Keep selecting Step to run each yellow-highlighted block in turn, one at a time.
Select Stop at any point to stop the project.
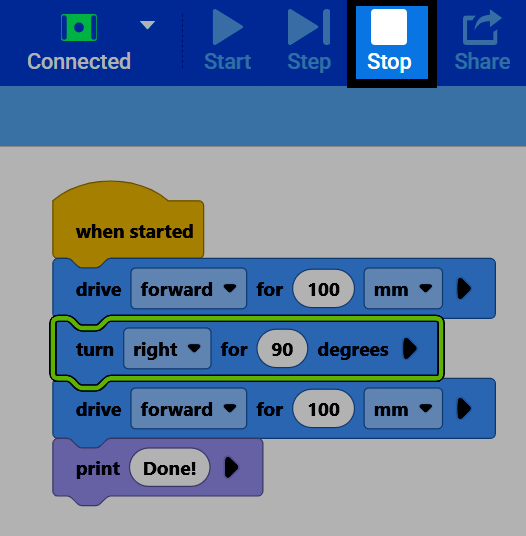
Stepping through a project like this is useful for debugging as you can watch what each block does before moving on to the next one, instead of running the whole project at once.