
Creating a My Block#
This tutorial walks you through creating a My Block in VEXcode GO, using a My Block that drives your robot in a square as an example. By the end, you’ll have a reusable My Block and a project that uses it to drive in a square.
My Blocks let you group a sequence of blocks you’ll want to use multiple times in a project, without needing to duplicate or recreate that sequence over and over. This can help break up longer projects to make them easier to work with.
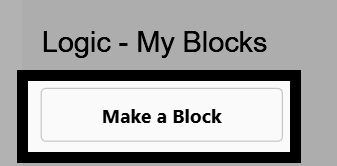
Go to the Logic - My Blocks category in the toolbox, and select Make a Block.
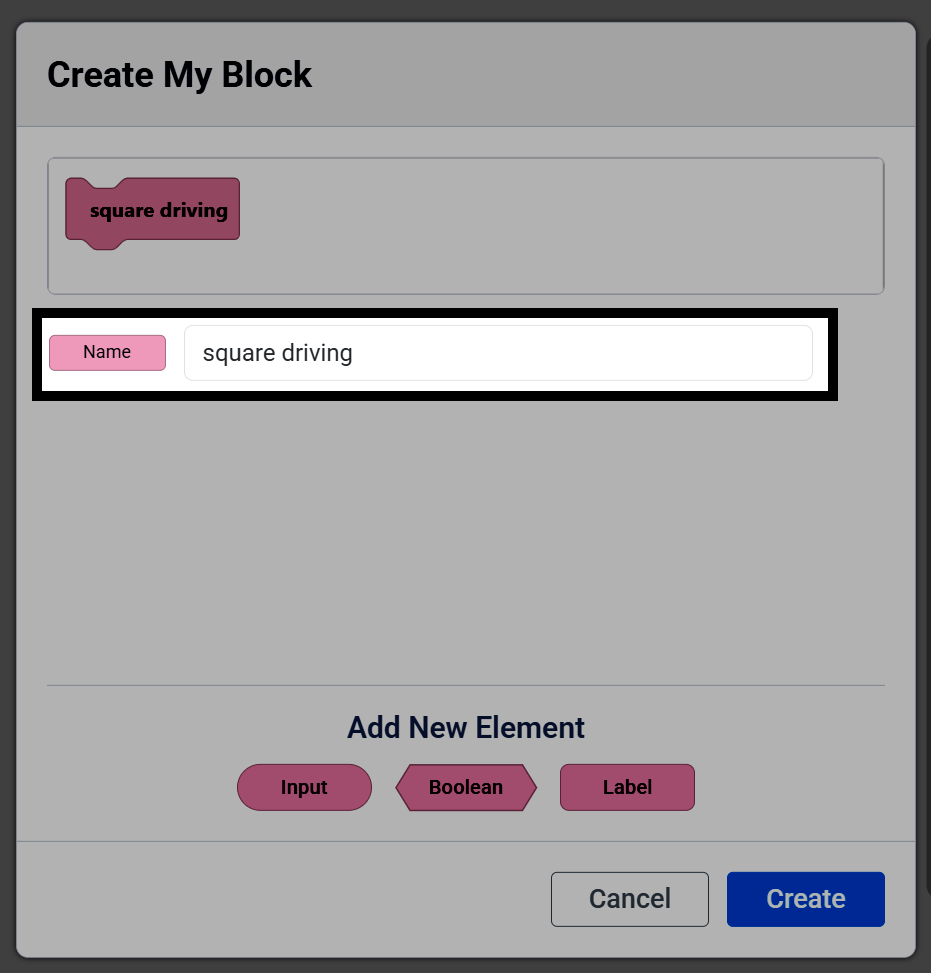
Change the Name field to square driving.
Select Create.
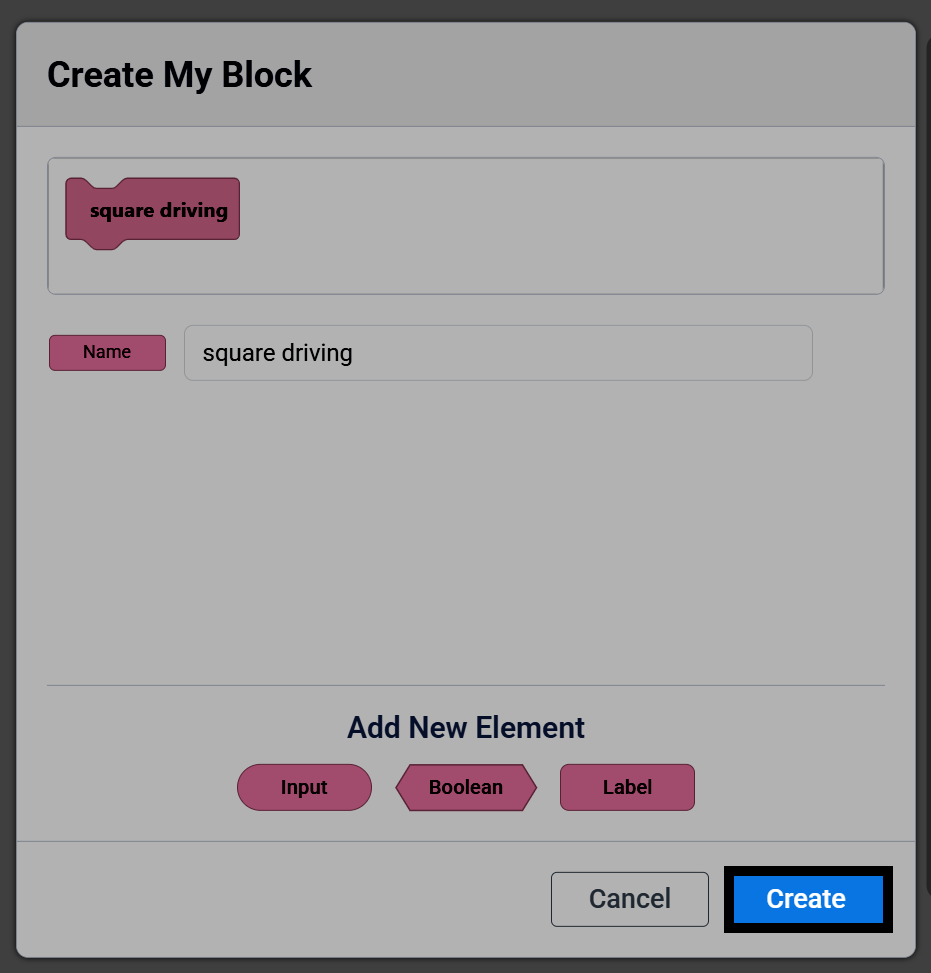
A define square driving hat block will appear in the workspace, and the My Block will appear in the toolbox. Any blocks you attach below the define block will run every time the My Block is used in a project.
definir square driving :: custom
Note: If you delete a My Block’s define block from your workspace, it will also remove that My Block from your toolbox, and you will need to recreate it.
Attach a drive for block and a turn for block below the define block, to drive and turn for one side of the square.
definir square driving :: custom
conducir [adelante v] por (200) [mm v] ▶
girar [derecha v] por (90) grados ▶
As written, the My Block only drives and turns for one side of the square. To make it drive a full square on its own, wrap the drive for and turn for blocks in a repeat block set to 4.
definir square driving :: custom
repetir (4)
conducir [adelante v] por (200) [mm v] ▶
girar [derecha v] por (90) grados ▶
Attach a when started block, then pull square driving from the toolbox and attach it below. Your workspace now has both the define block and the when started block that calls it.
definir square driving :: custom
repetir (4)
conducir [adelante v] por (200) [mm v] ▶
girar [derecha v] por (90) grados ▶

cuando inicie :: hat events
square driving
After connecting your robot to VEXcode, select Start to run the project. The robot will drive in a square.
