Traslado y remoción de bloques#
Moving and Removing Blocks
This tutorial covers how to move, attach, rearrange, and delete blocks in a project. By the end, you’ll know how to organize your blocks and remove the ones you don’t need.
To add a block to your project, click and drag the block from the toolbox, and release to drop it into the workspace.
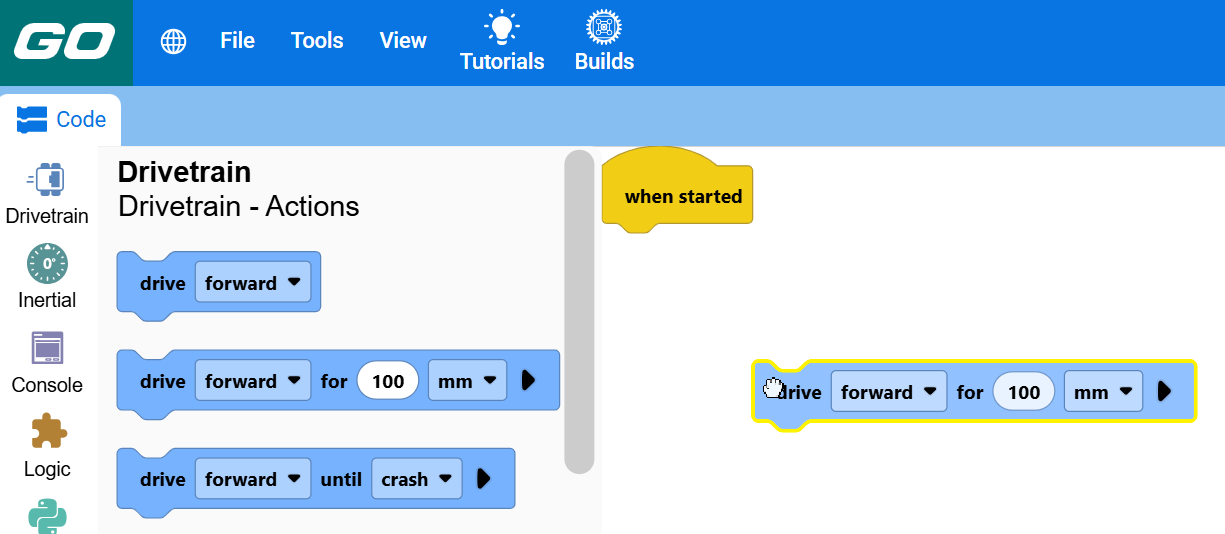
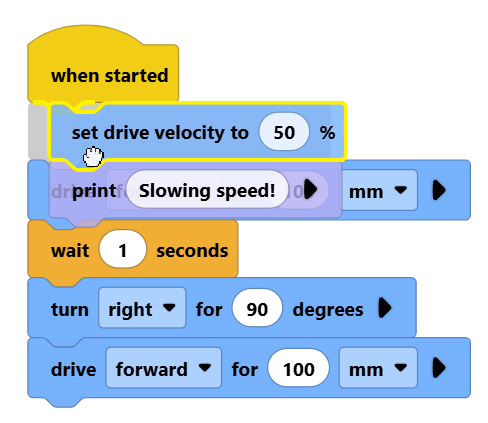
Drag a block next to other blocks to attach them together. Blocks will run from top to bottom in order.
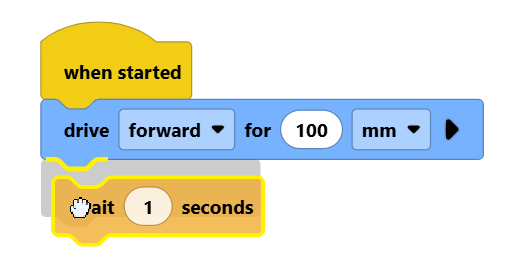
Blocks attached below a block move with it when you drag it.
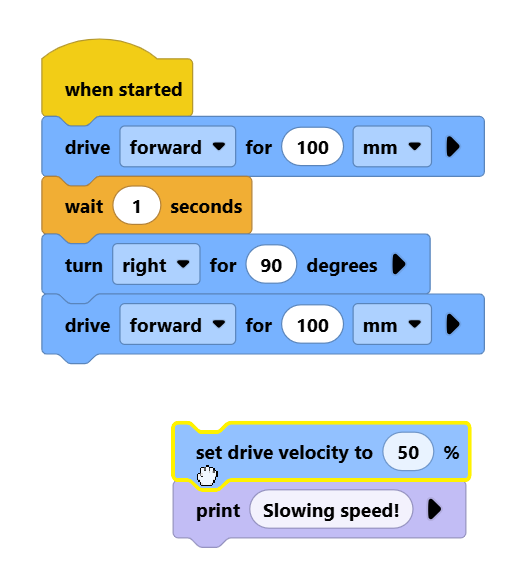
Dragging a stack of blocks above others allows you to insert them into the stack of blocks.
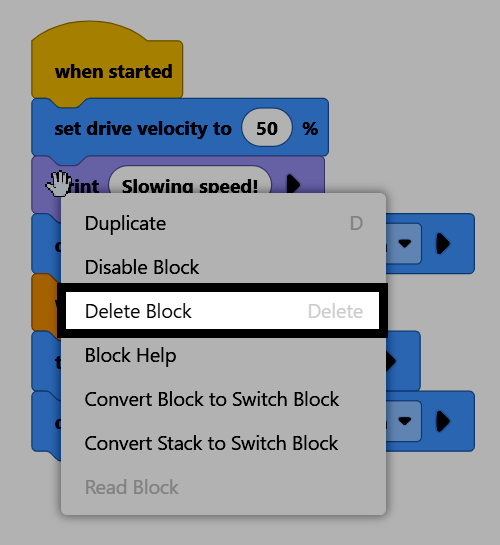
To delete a block, right-click the block and select Delete Block from the context menu. You can also drag the block back into the toolbox, or select the block and press the delete key on your keyboard.