Configuring a Motor#

Configuring a Motor

This tutorial walks you through adding a Motor to your project. By the end, you’ll have a Motor device set up and ready to use in your blocks.

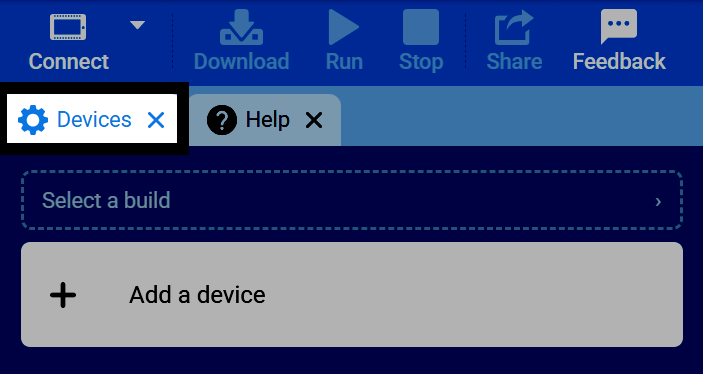
  1. Open the Devices tab.

Screenshot of VEXcode's tab bar, with the Devices tab highlighted.
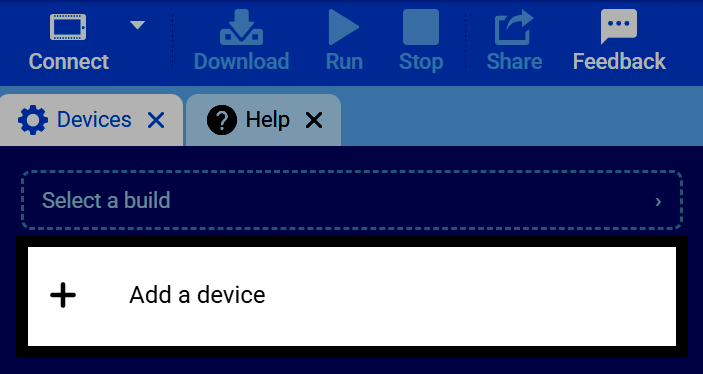
  1. Select Add a Device.

Screenshot of the Devices tab, with the Add a Device button highlighted.
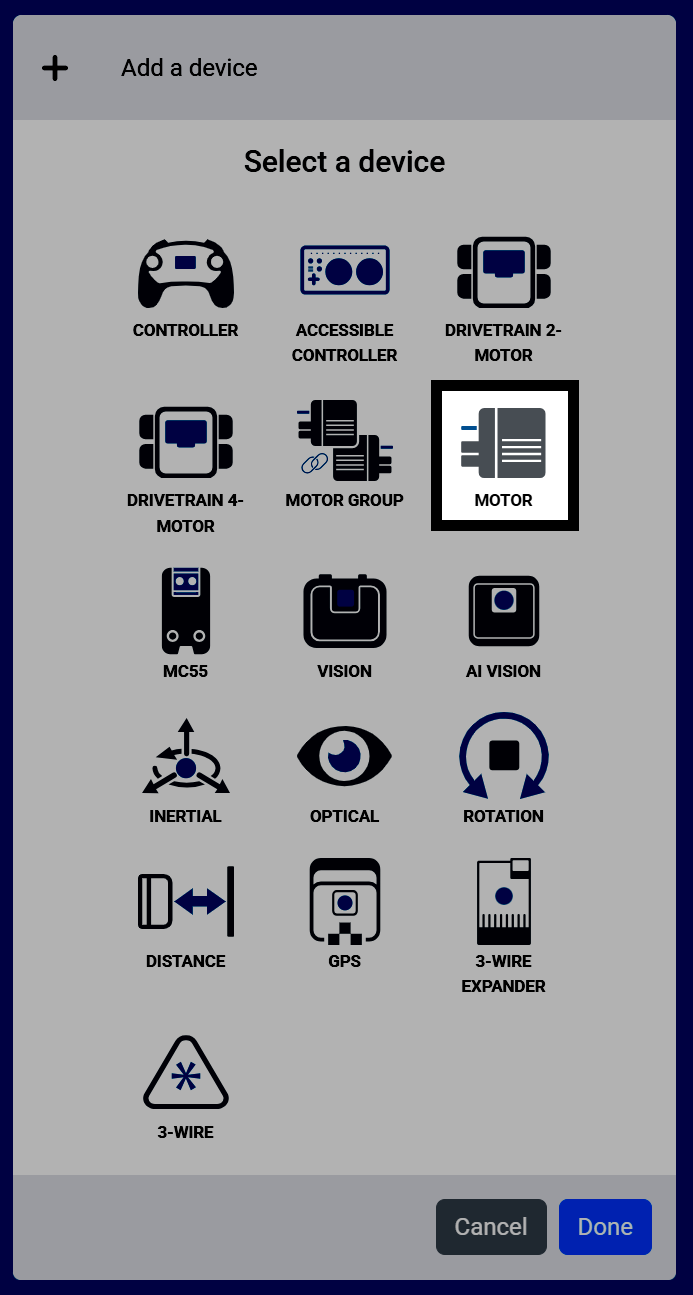
  1. Select Motor.

Screenshot of the Select a device screen, with Motor highlighted.
  1. Select the port the motor is connected to.
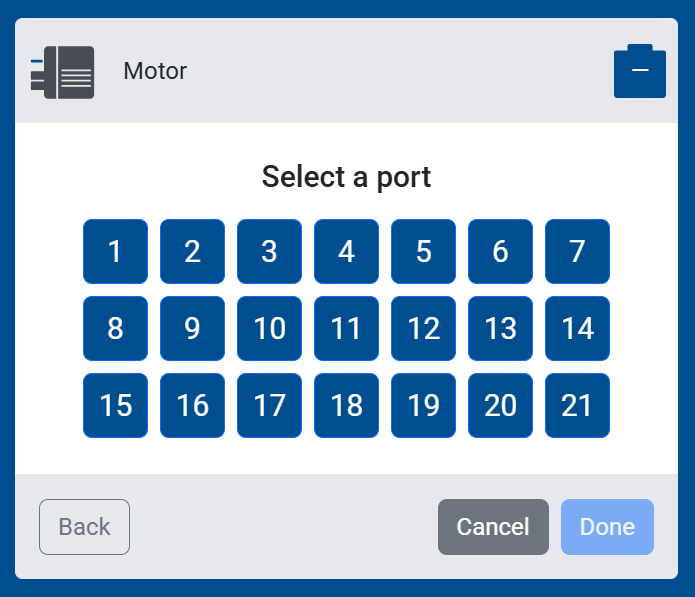
Screenshot of the Select a port screen for a Motor, showing ports 1 through 21 to choose from.
  1. By default, the forward direction is counterclockwise.
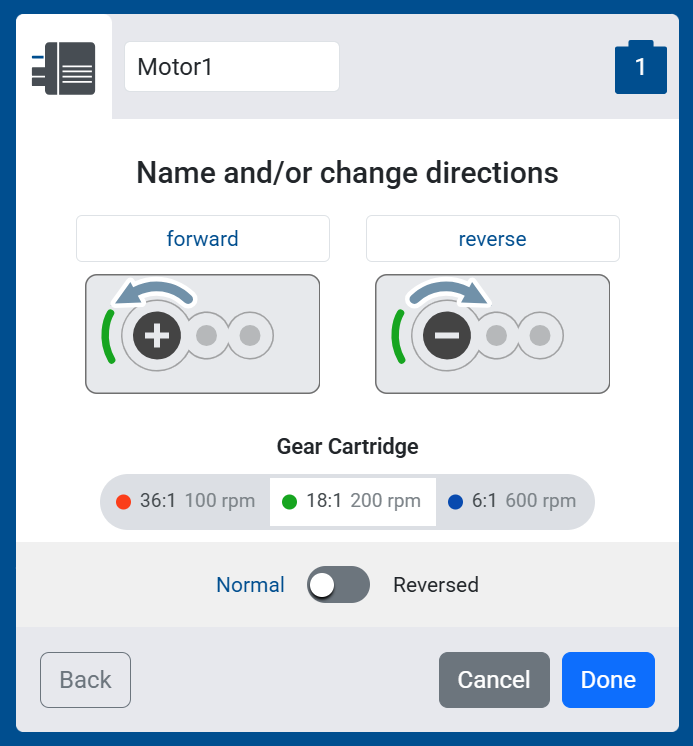
Screenshot of the Name and/or change directions screen, showing the forward and reverse direction previews and the Normal/Reversed toggle.
  1. The default Gear Cartridge is green (18:1, 200 RPM).
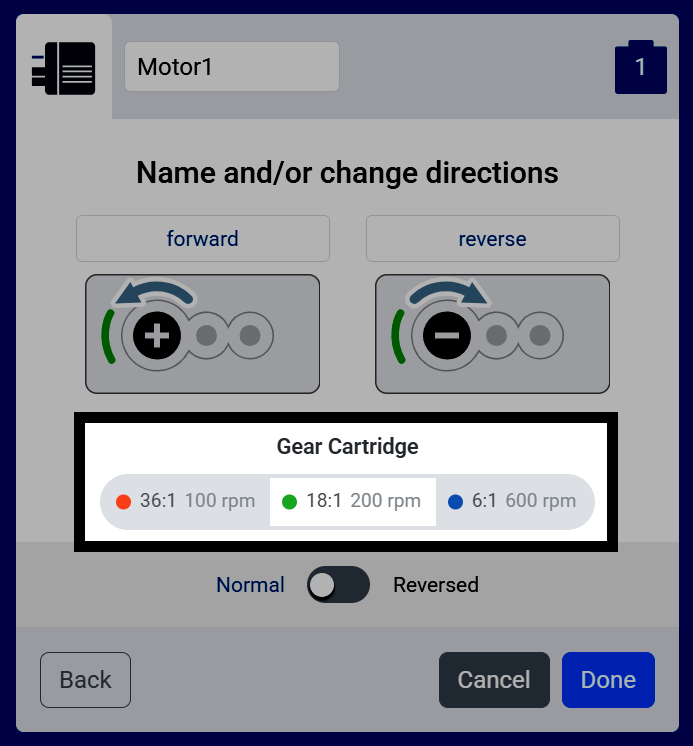
Screenshot of the Name and/or change directions screen, with the Gear Cartridge options highlighted, showing red, green, and blue cartridge options.
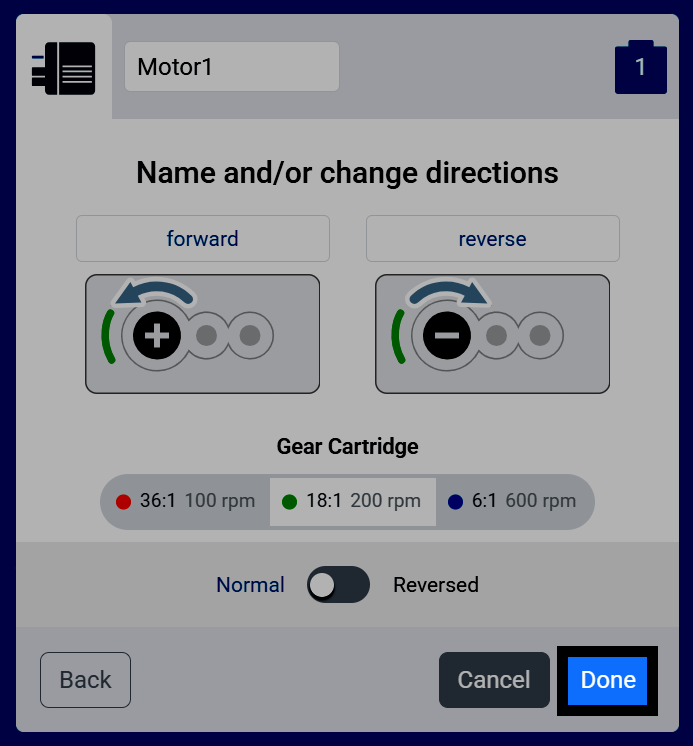
  1. Select Done.

Screenshot of the Name and/or change directions screen, with the Done button highlighted.
  1. The Motor will now appear in your list of Devices.
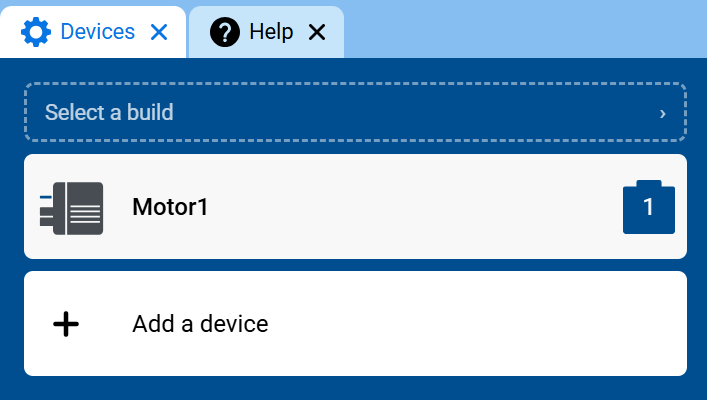
Screenshot of the Devices tab, showing Motor1 in the list of devices.
  1. The Motor’s blocks will now appear in the toolbox, within the Motion category.
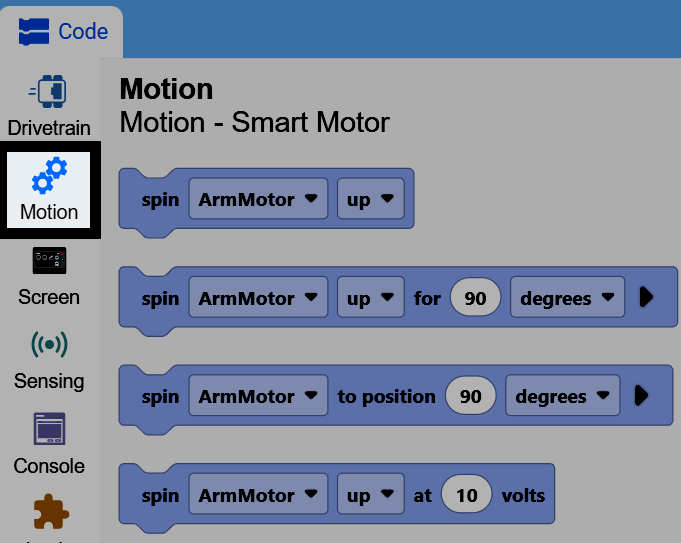
Screenshot of the toolbox with the Motion category open, showing the spin Motor1 and stop Motor1 blocks.