Moving Your Robot#
Moving Your Robot
This tutorial walks you through using the drive for block to move your robot forward and backward in VEXcode V5. By the end, you’ll have a project that drives your robot forward, then in reverse.
Make sure your robot is configured with a Drivetrain, so you see the Drivetrain blocks in the toolbox. See Configuring a Drivetrain if you haven’t added one yet.
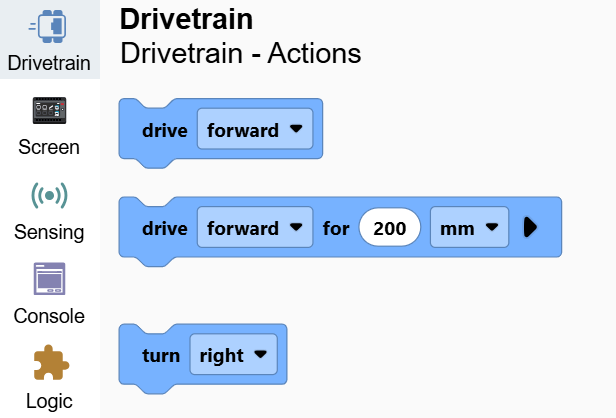
Attach two drive for blocks below the when started block.
Two drive for blocks connected below when started.#
    when started
        drive [forward v] for (200) [mm v] ▶
        drive [forward v] for (200) [mm v] ▶
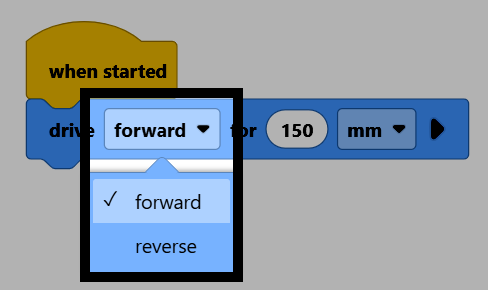
On the second block, change the direction parameter to reverse.
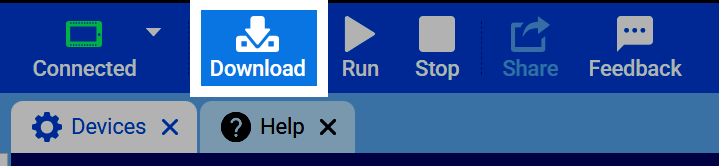
Make sure your robot is connected to VEXcode, then select Download to download the project to the Brain.
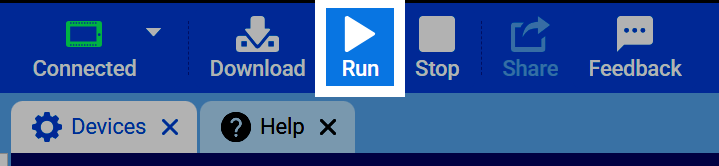
Select Run to run the project. The robot will drive forward, then drive the same distance in reverse.