Uploading Custom Images#
Open the Control Panel#
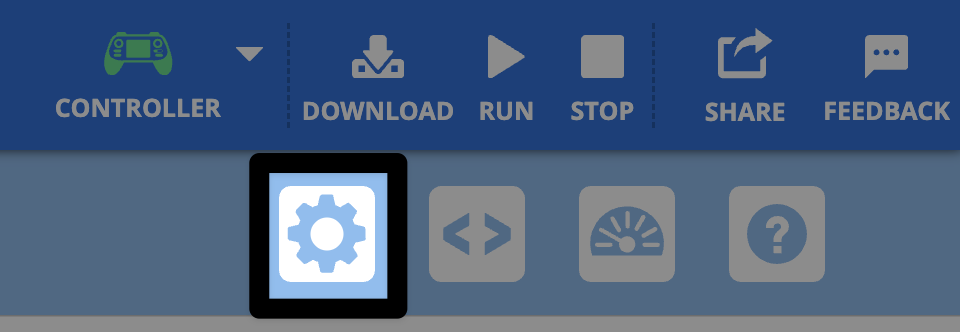
Select the Gear icon to open the Control Panel.
Select the Images tab#
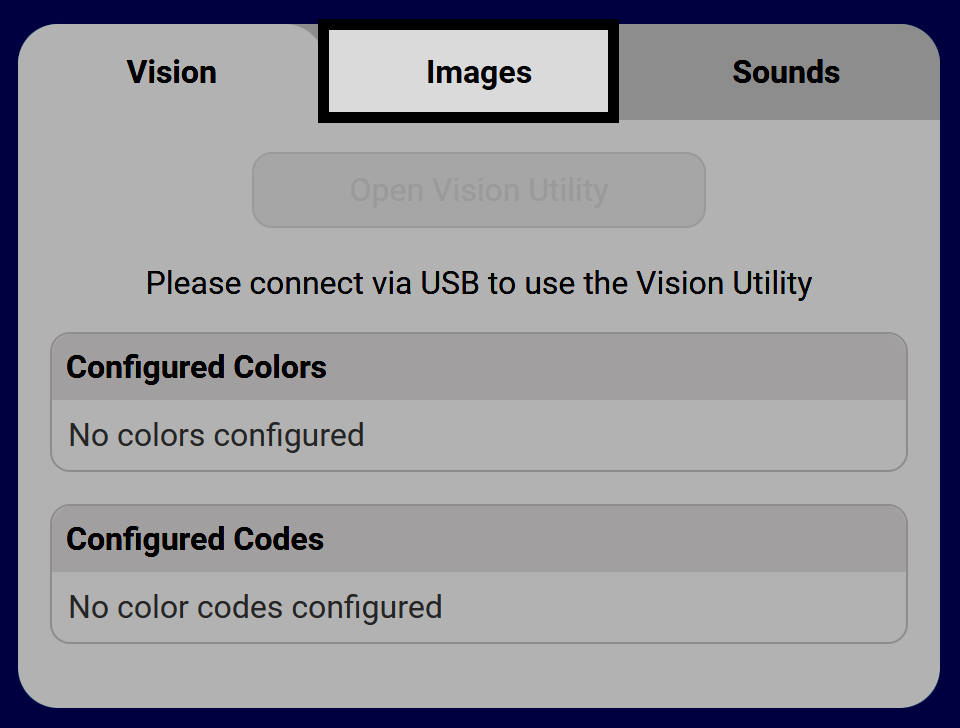
Select an Upload icon#

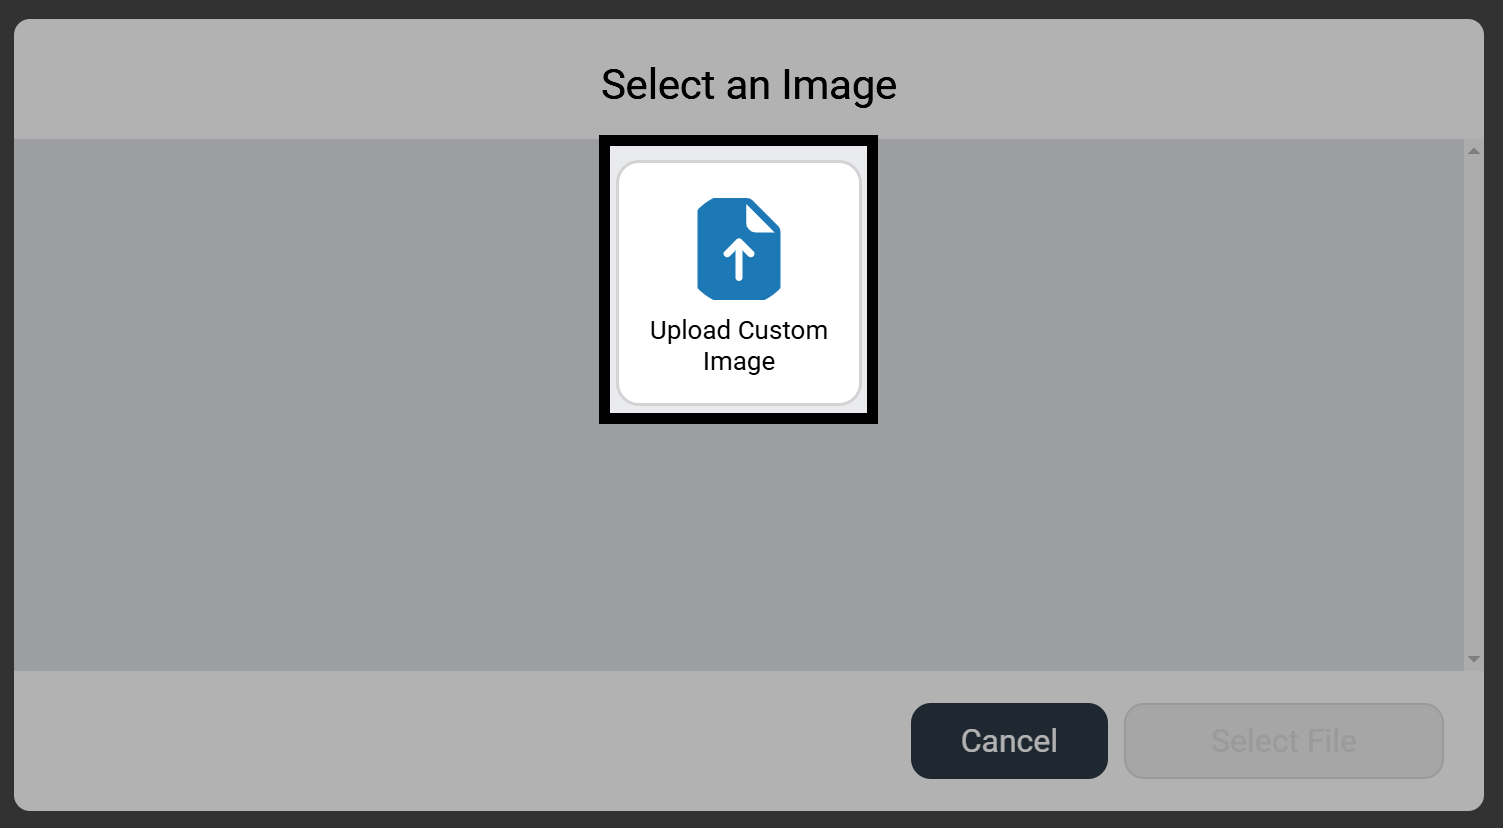
Select Upload Custom Image#
To upload a custom image, select Upload Custom Image before selecting Select File to open your device’s file navigation.
Note: Images must be PNGs that are smaller than 10 MB.
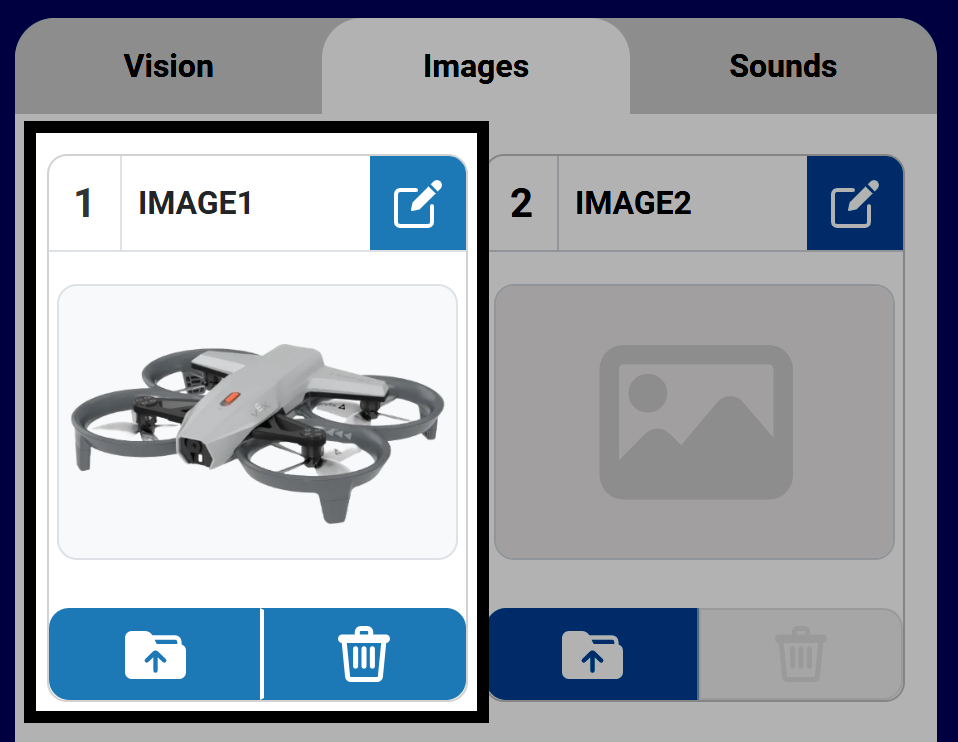
The image is now available#
After the image is selected, it will appear in the Control Panel in the chosen slot. By default, images will be named IMAGE1 with the number matching the slot the image is uploaded to.
The buttons in the uploaded image’s slot become enabled once an image is uploaded. The buttons allow you to overwrite, delete, or rename the uploaded image file.
You can use the custom image in a project using the following commands in the Screen category for Blocks or Python:
    [Select your image from the dropdown.]
    show image file [IMAGE1 v]
# Change IMAGE1 to the name of your image
controller.screen.show_file(IMAGE1, x=0, y=0)
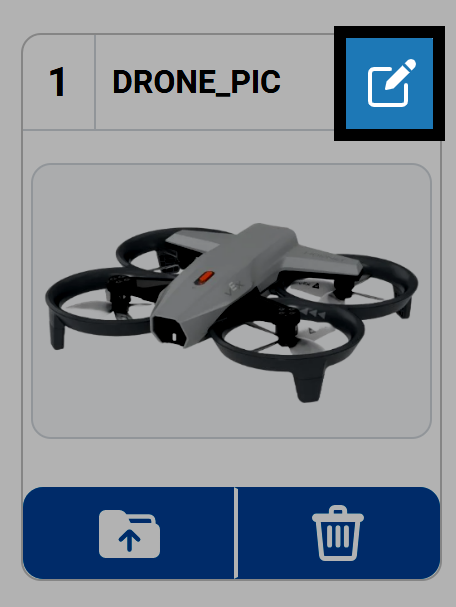
Rename an image file#
Select the Pencil icon to rename the image. This will be the image’s name when using the image file in your projects.
Note: Names cannot begin with a number and must be no longer than 14 characters.
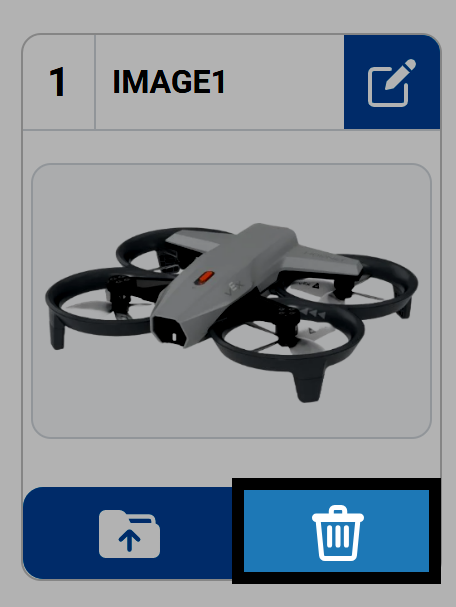
Delete an image file#
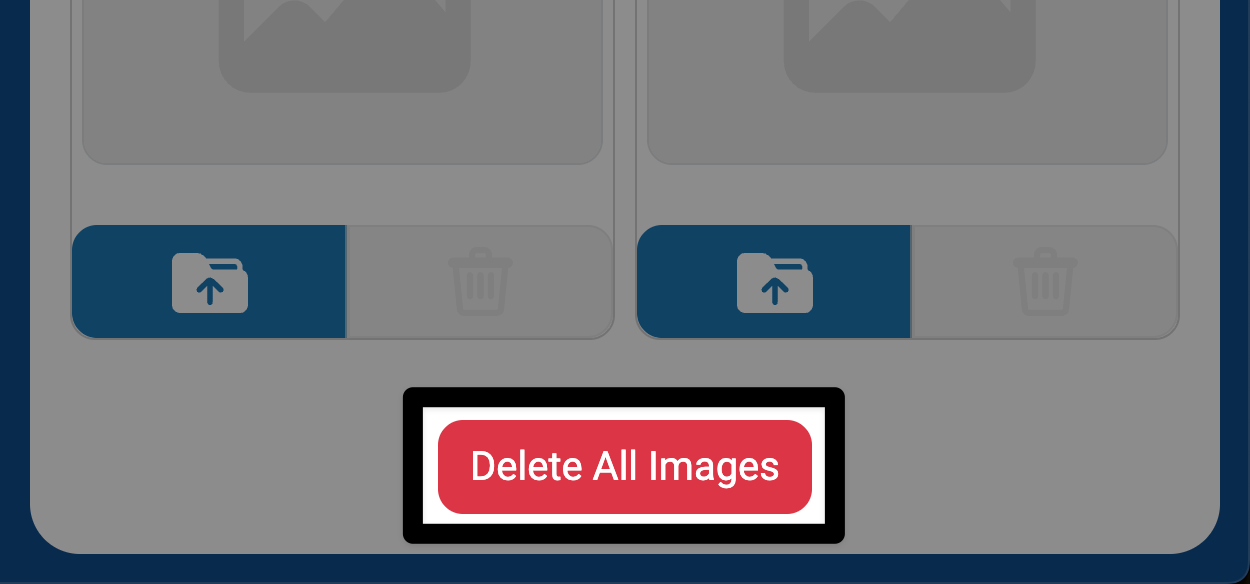
Press the Trash icon to delete an image file from a slot.
To delete all images at once, select the Delete All Images button at the bottom of the Sounds tab.