Configuring Color Codes#
A color code combines 2 to 4 configured color signatures for the AI Vision Sensor to recognize. You’ll need at least 2 color signatures set up first.
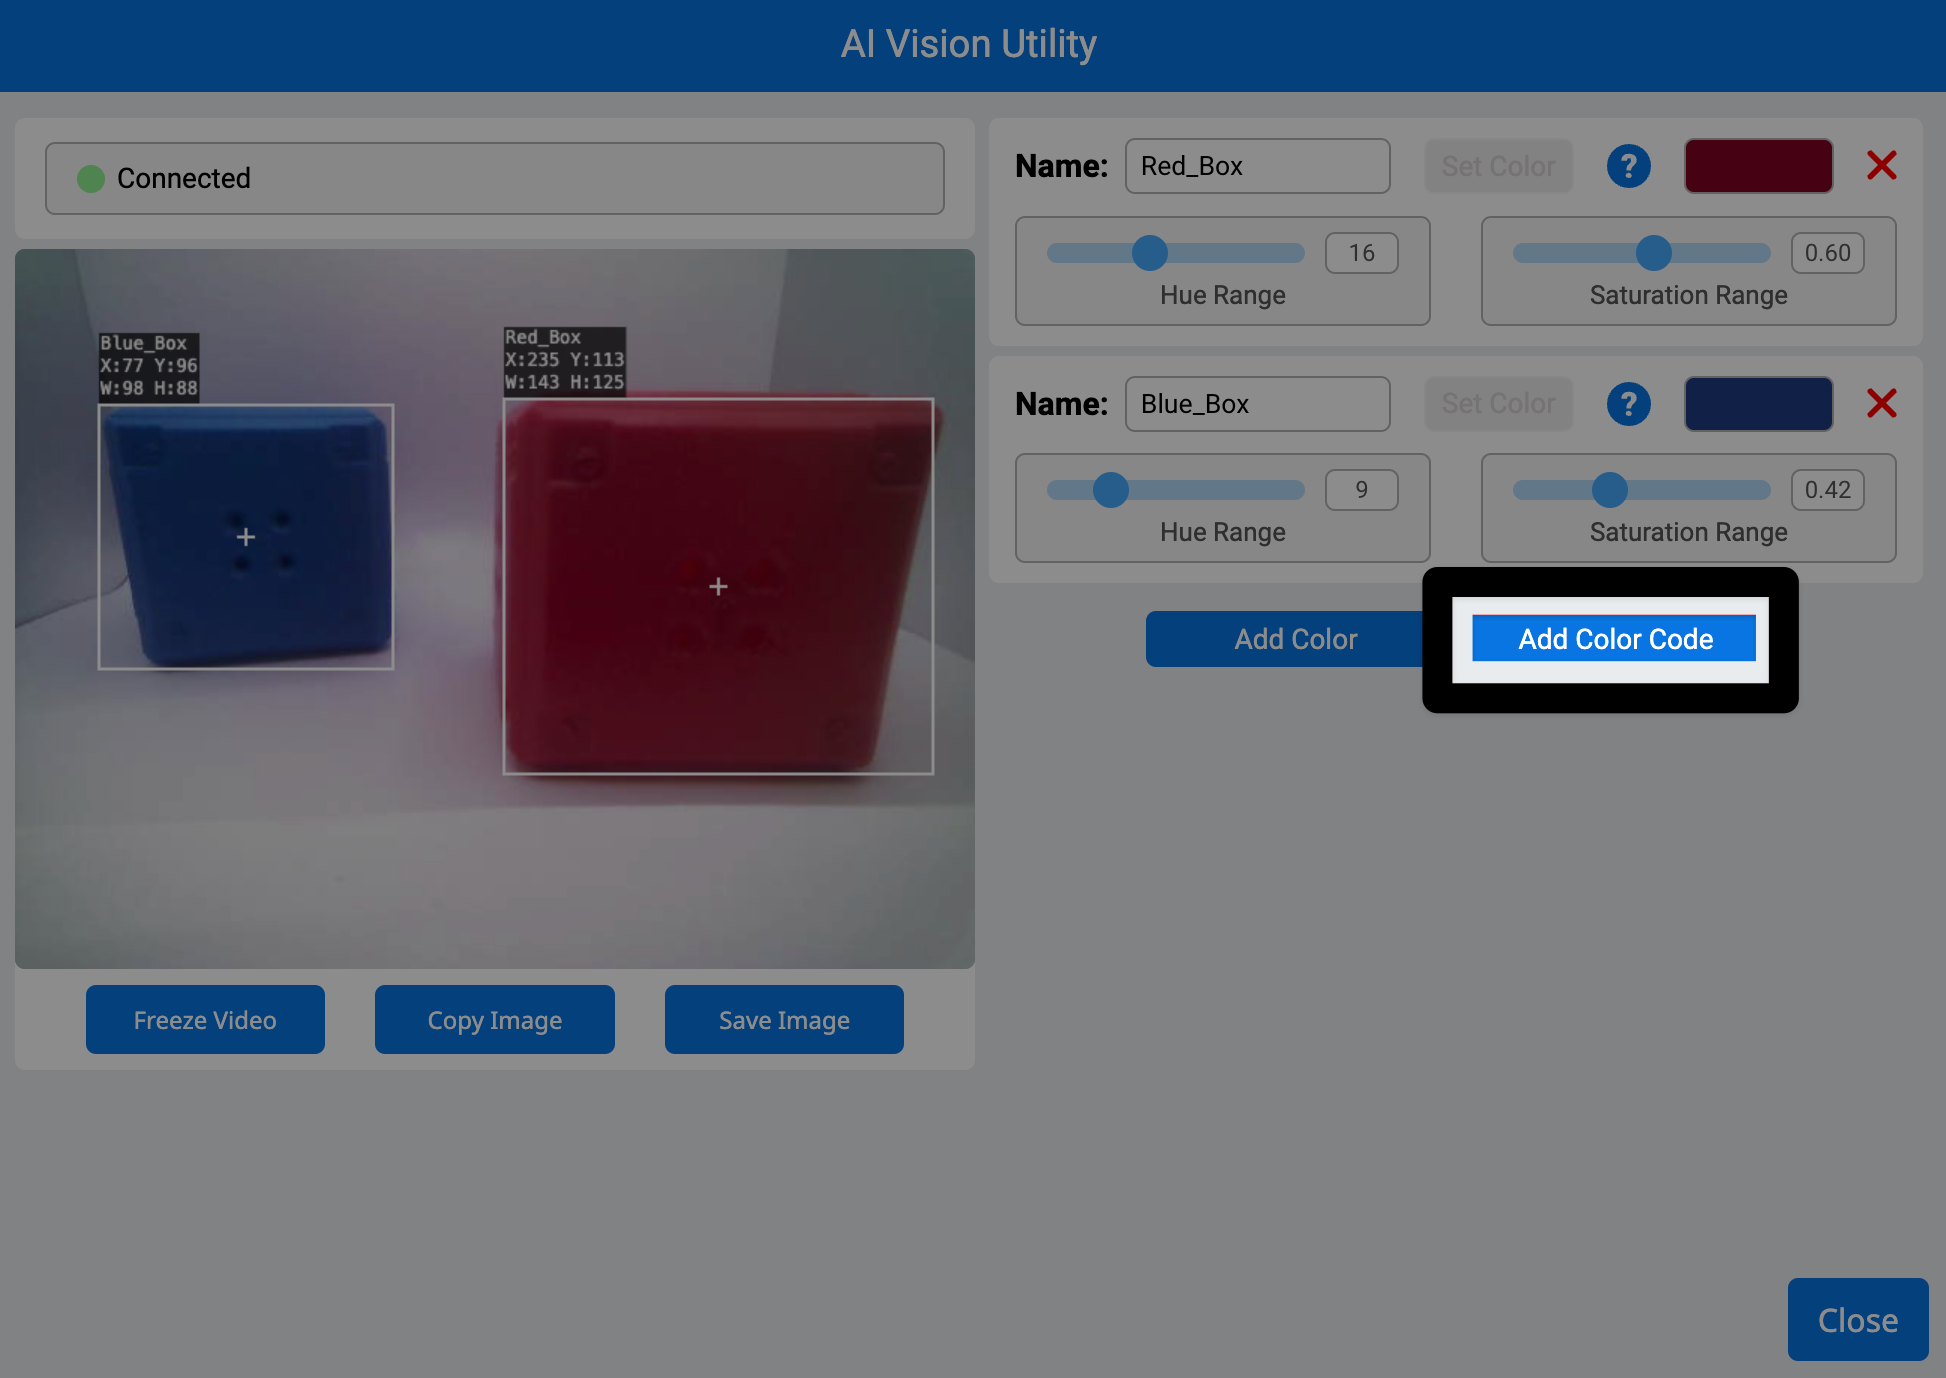
Select Add Color Code#
The Add Color Code button will become available once 2 or more Color Signatures have been configured.
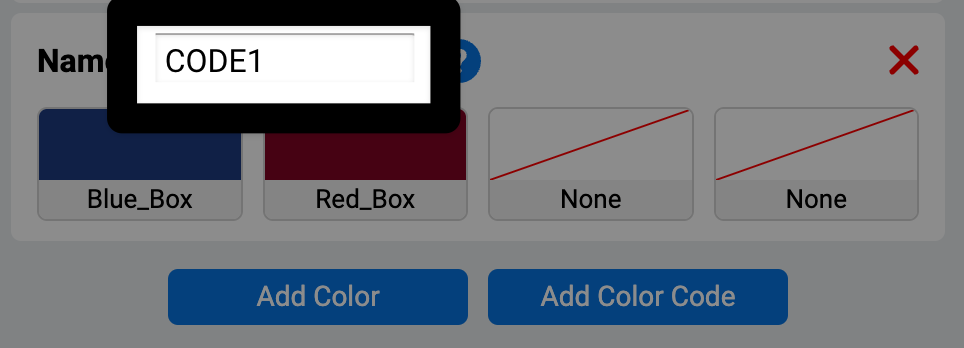
Default color code configuration#
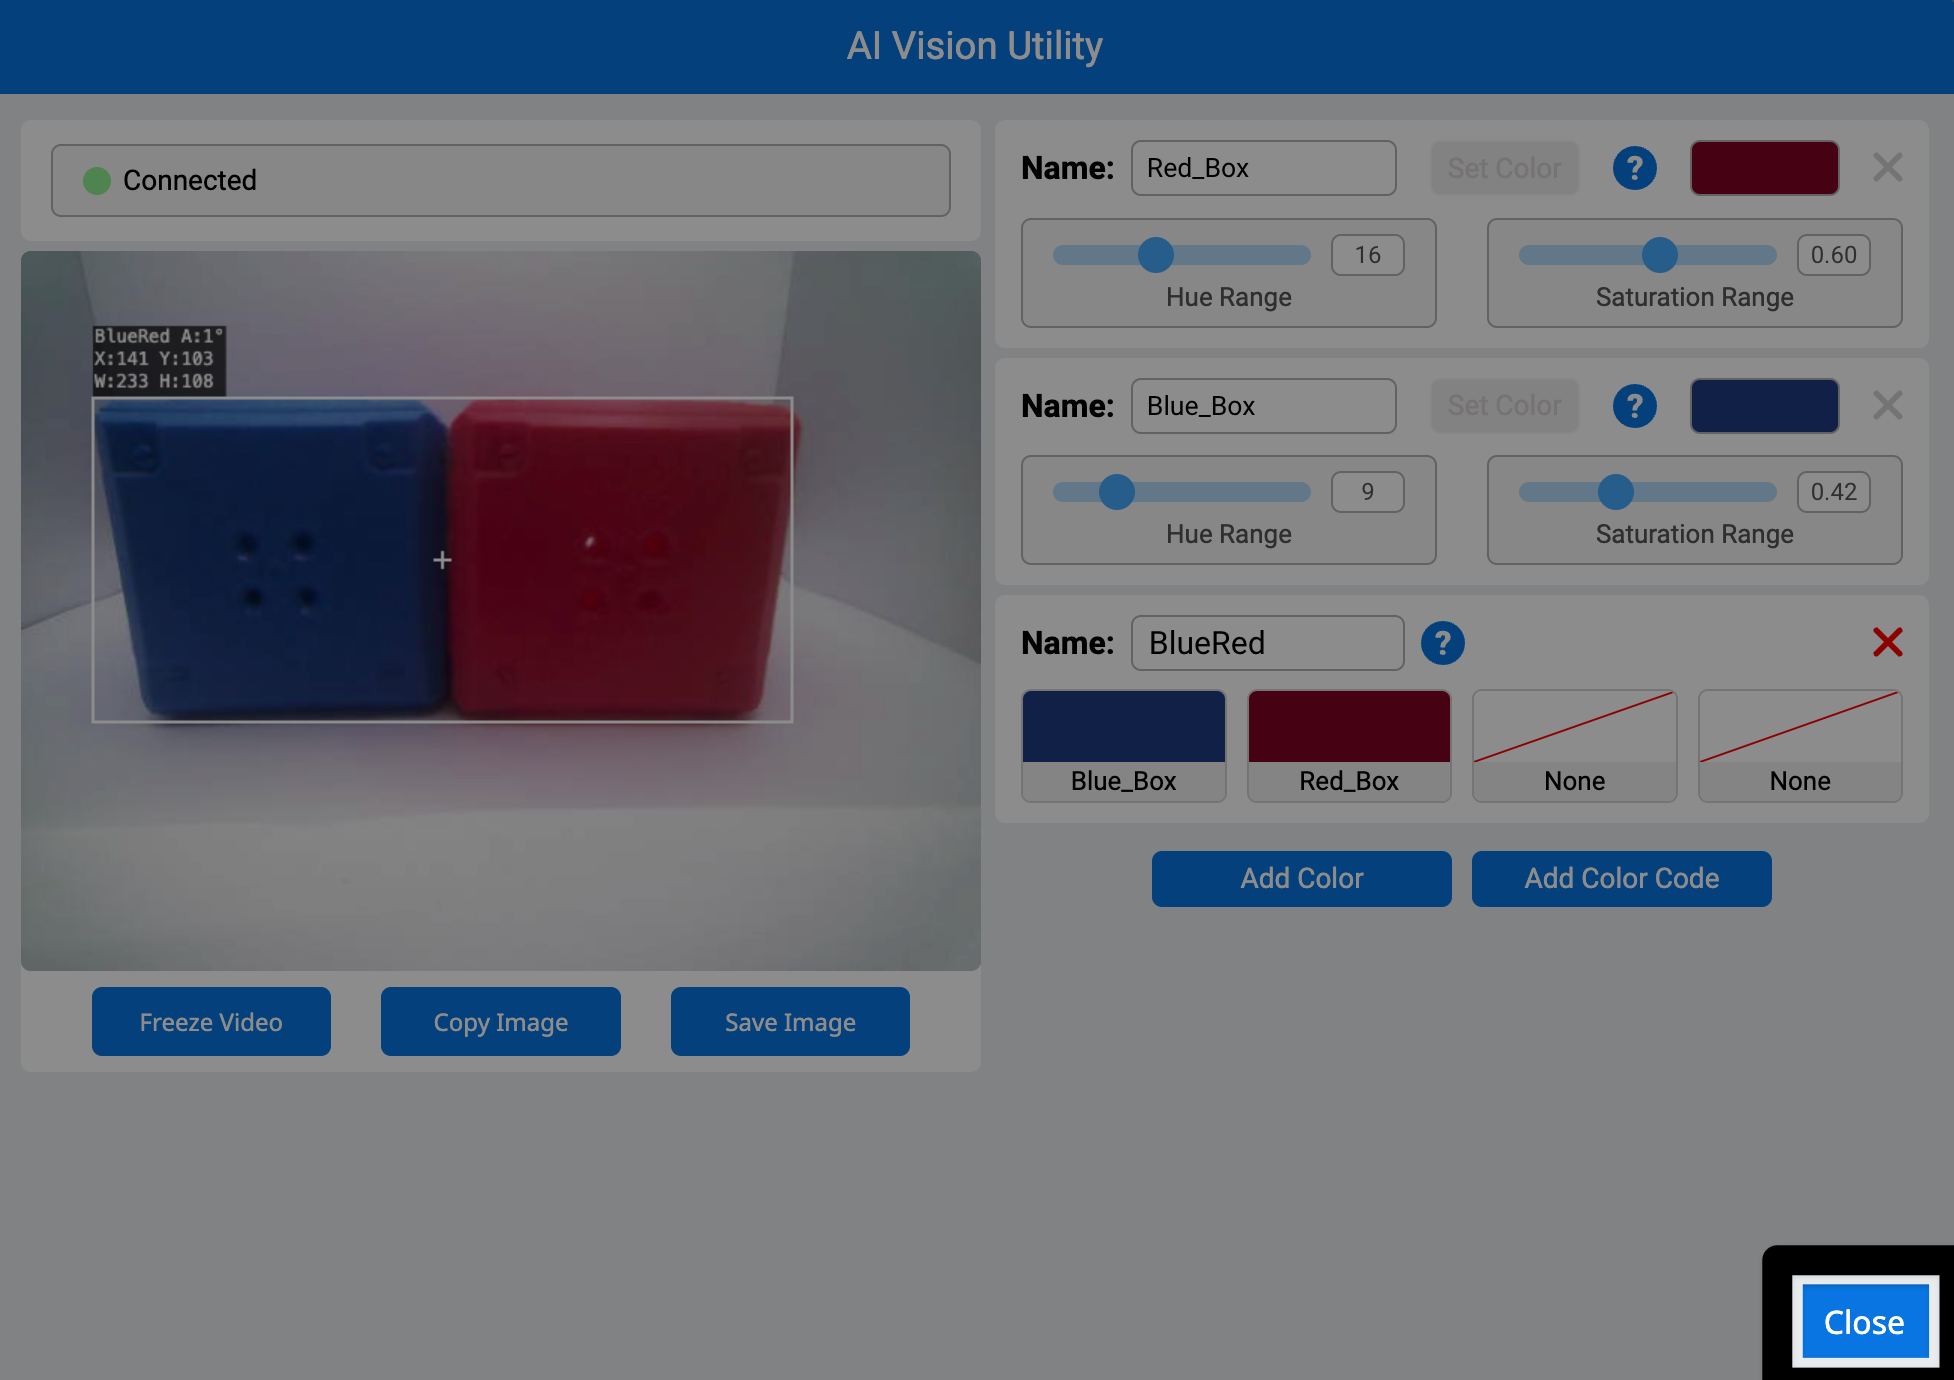
By default, the first 2 configured color signatures will be set in the new color code.

Changing color signature order#
To change what color signatures are included inside of a color code, select the color signature(s) inside the color code that you would like to change. The video below shows each color within the code being selected and changed, to adjust the order of color signatures.
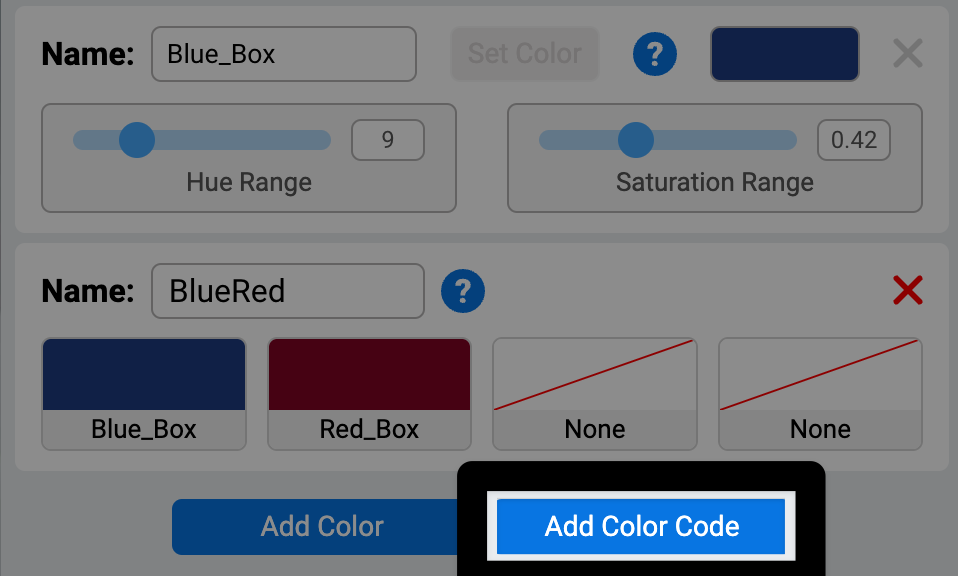
Rename the color code by typing into the Name text field#
Add additional color codes#
You can add more color codes by selecting Add Color Code.
Note: A color signature can’t be removed while it’s being used in a color code. Remove it from all color codes first.
Select Close#
Once all desired color codes have been set, select Close .
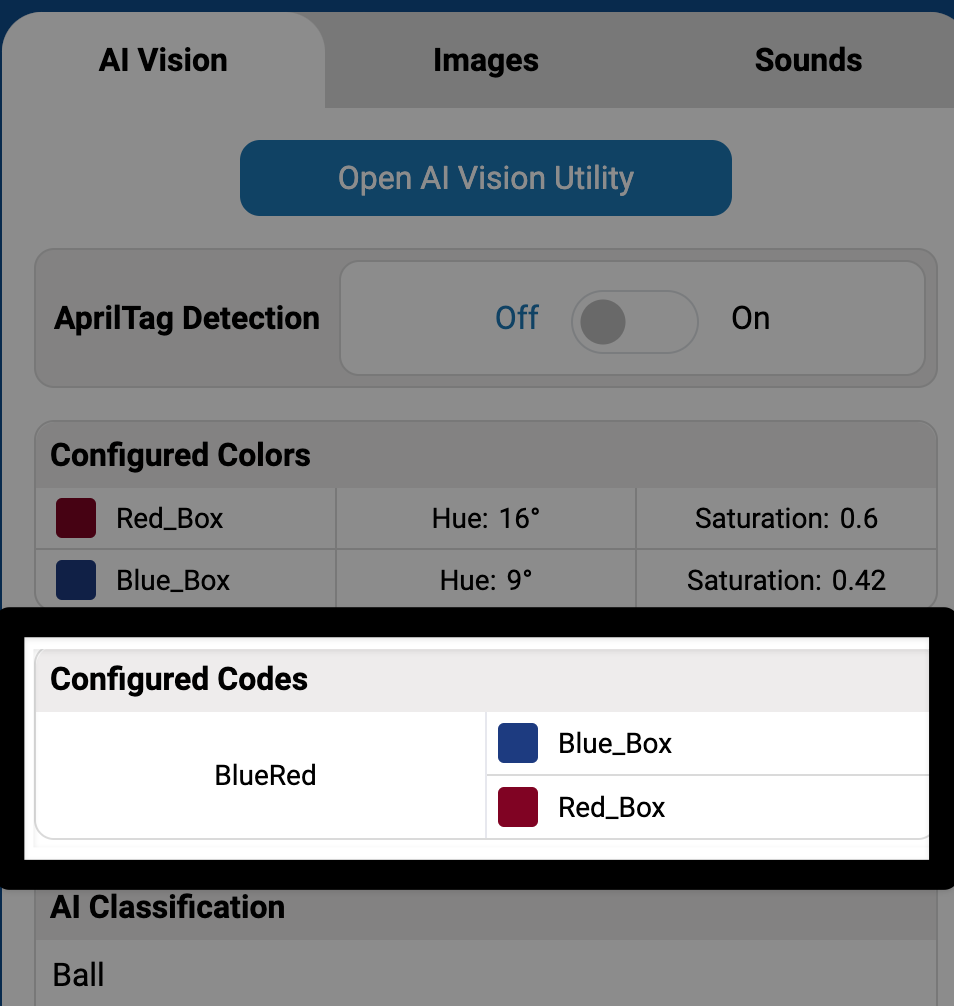
All configured color codes will now appear in the AIM Control Panel.