Naming the Robot#

Connect your robot#

Make sure your VEX AIM Coding Robot is connected. The Robot icon should be green.
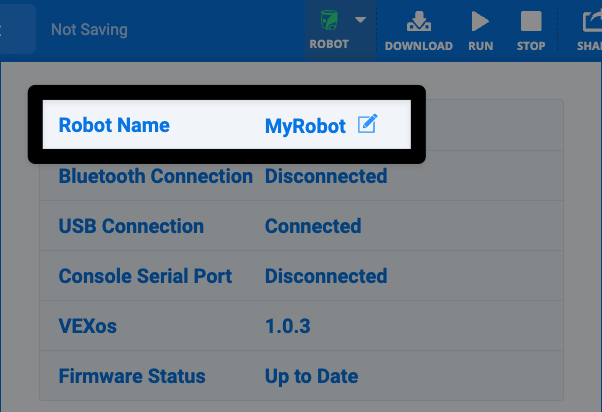
Open the Robot menu#

Click the Robot icon.

Screenshot of the upper right hand corner of the VEXcode AIM Toolbar with the green Robot icon highlighted, to the left of the Download icon.

Select edit#

Click the Edit option next to your robot’s current name.

Screenshot of the top of the Robot dialog box, with the pencil icon to the left of the Robot Name on the first row of text highlighted.

Change the name#

Type your new name and select Update.

Screenshot of the Robot Name prompt, with the new name MyRobot in the center text field, and the update button in the lower right corner highlighted.

Note: Spaces are not accepted. Use underscores to separate words. Maximum length is 7 characters.

View the name in VEXcode#

When you select the Robot icon, you will see your new robot name.

The same Robot dialog box as before, but now the Robot Name reads My Robot on the first line.

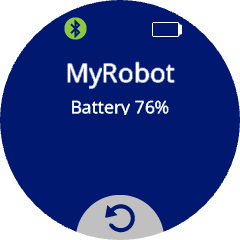
View Your Robot’s Name on the Robot#

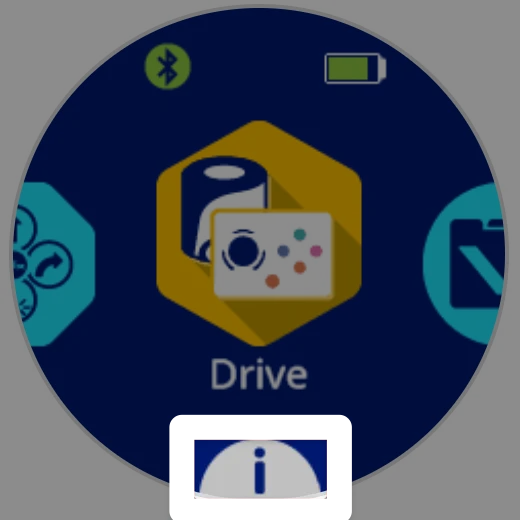
Press the Info Button#

Press the i button at the bottom of the robot’s main screen.

A svreenshot of the robot's screen, with the i icon on the bottom, below the Drive project icon in the center, highlighted.

Check the details#

The robot’s name and battery level will be shown.

Robot name and battery level shown on the screen.