Device Setup: Sensors#
Add a Sensor#
Open the Devices Tab#
Select the Devices tab.
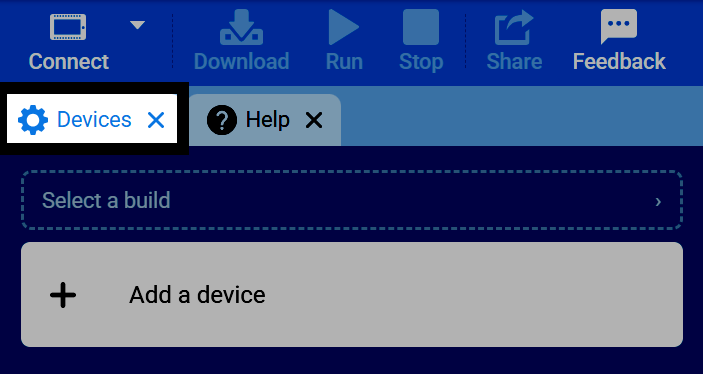
If the Devices tab is not visible, see Add a Tab in the Navigating VEXcode tutorial.
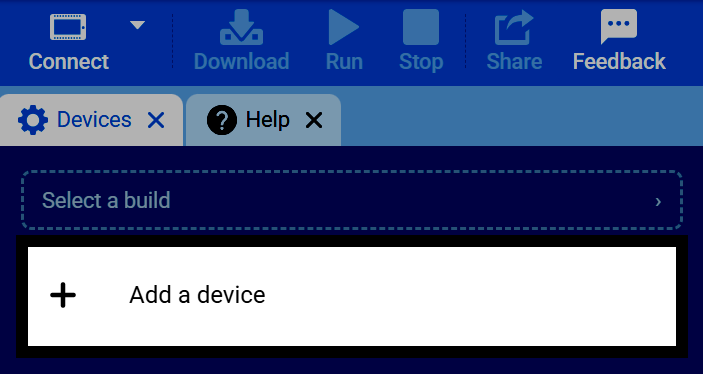
Select ‘Add a Device’#
Select Add a Device in the Devices tab.
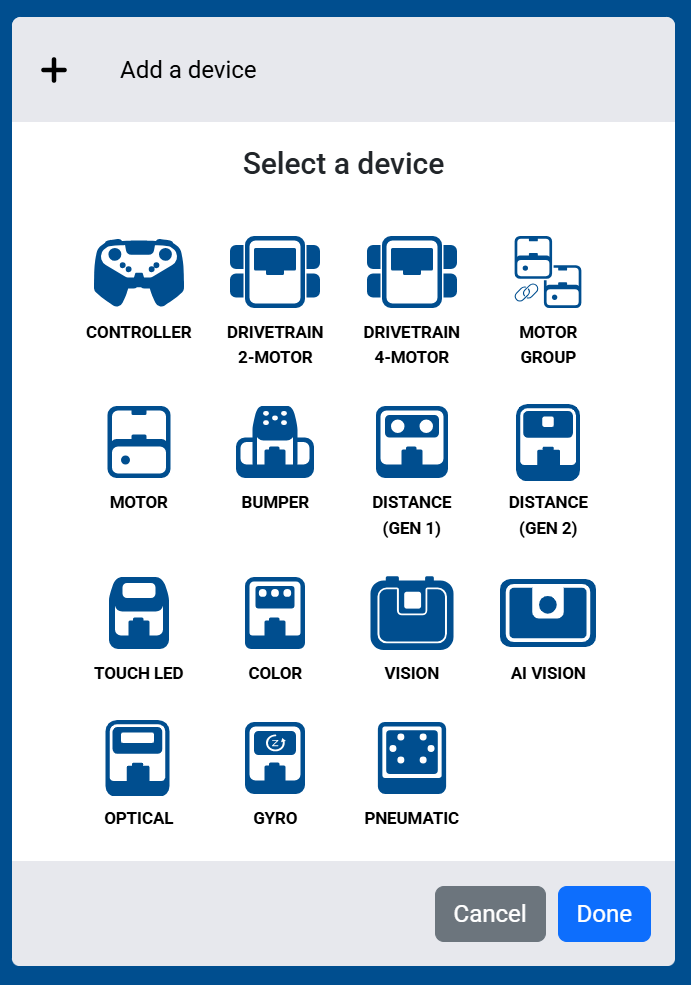
Select a Sensor#
Select which sensor you’d like to add to the robot.
Select the Port#
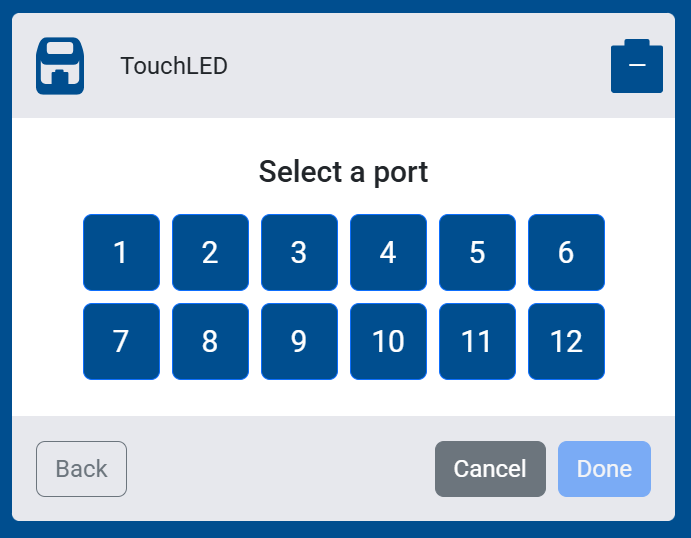
Select which port the sensor is connected to on the VEX IQ (2nd gen) Brain.
Configure Additional Settings#
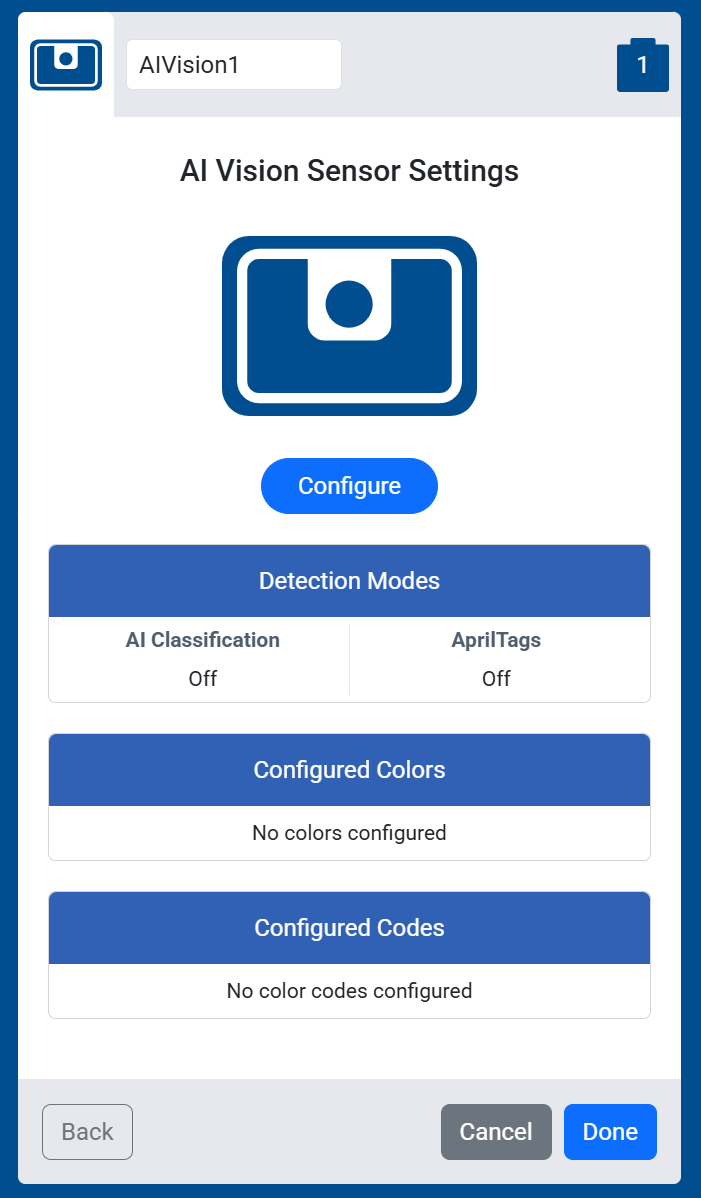
Some more complex sensors, like the AI Vision Sensor, will have additional settings to configure. For example, the AI Vision Sensor lets you turn on Detection Modes and configure Color Signatures and Color Codes.
Select Done#
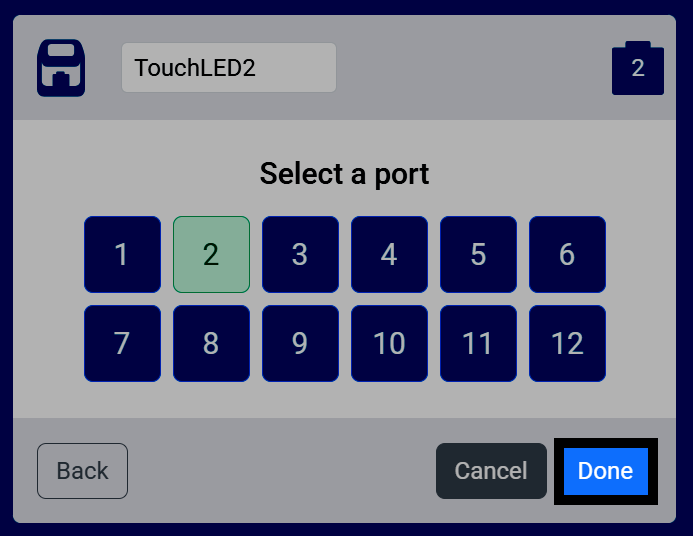
Once your sensor is configured, select Done to add it to your robot.
View the Sensor in Your Devices List#
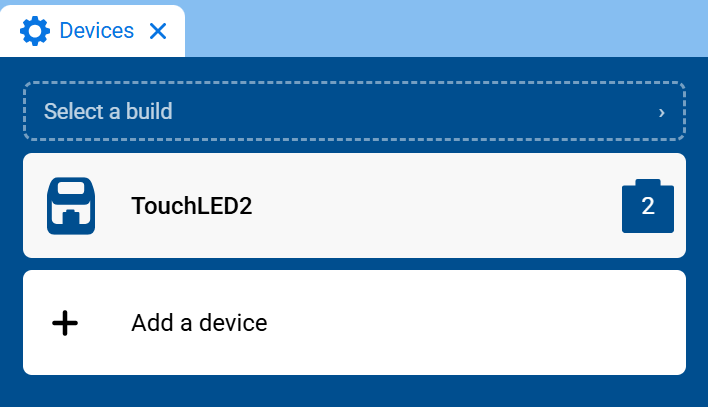
The sensor will now appear in your list of devices, and its blocks will be added to your toolbox.