Configuración del dispositivo: Motores#
Add a Motor#
Open the Devices Tab#
Select the Devices tab.
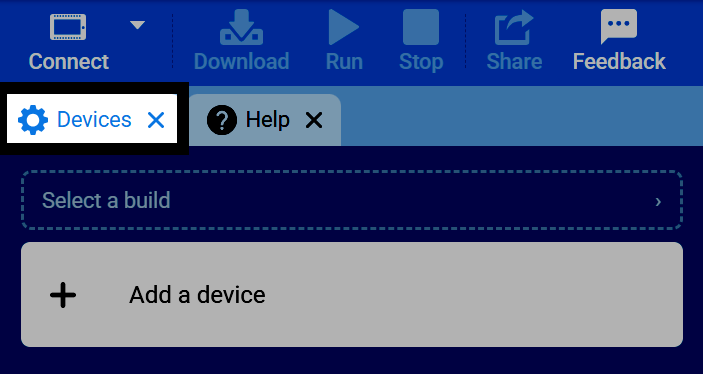
If the Devices tab is not visible, see Add a Tab in the Navigating VEXcode tutorial.
Select Add a Device#
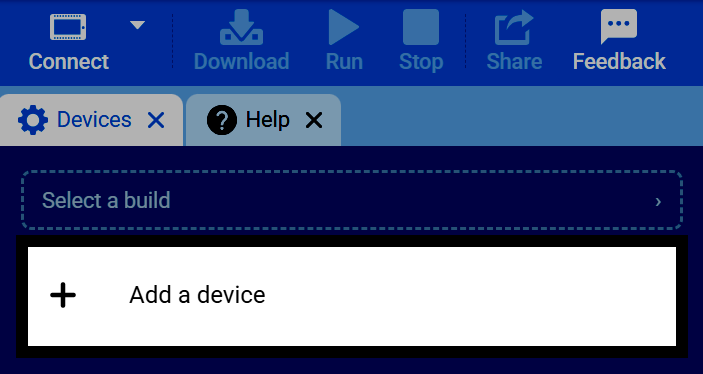
Select Add a Device in the Devices tab.
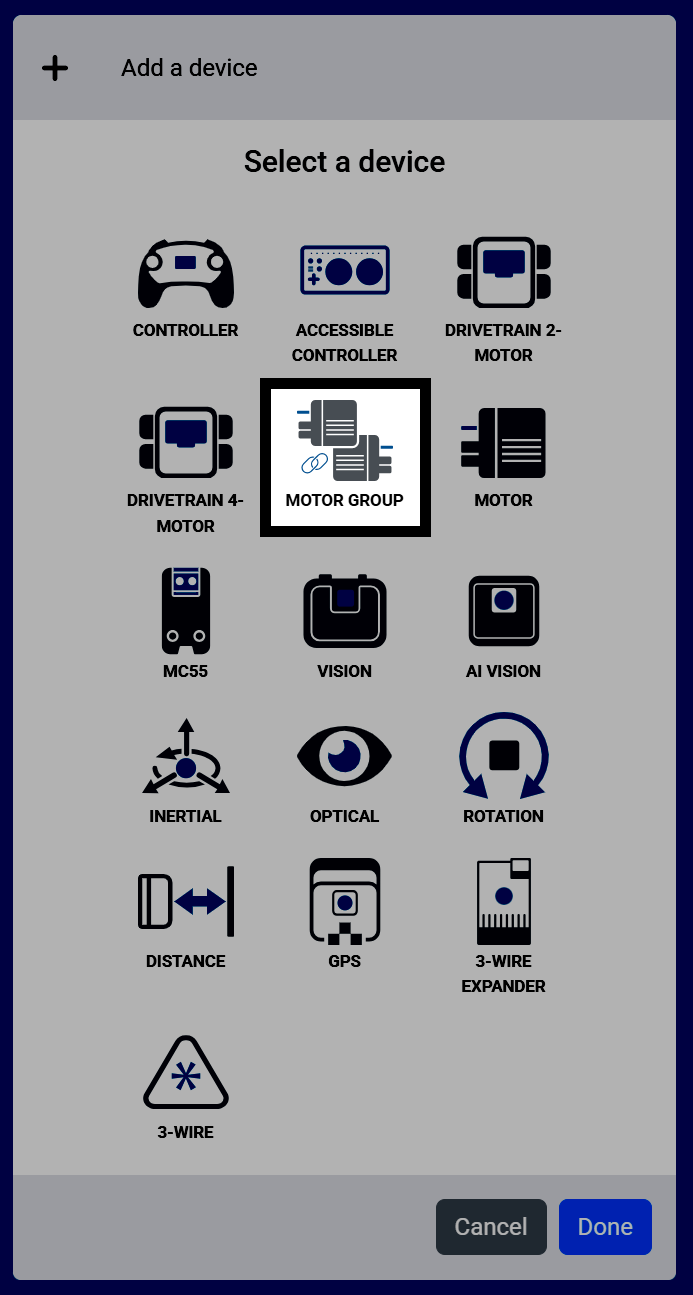
Select Motor#
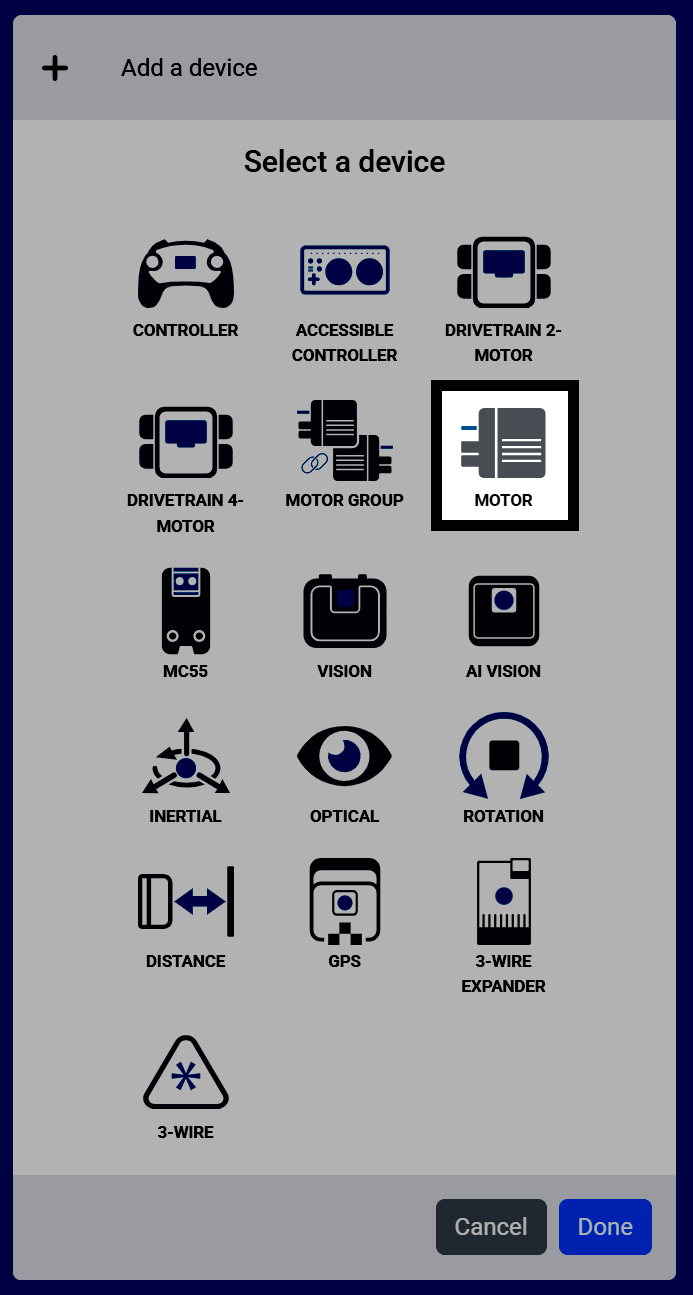
Select Motor if your robot uses a single motor for this part of the robot.
Select Motor Group#
If your robot uses multiple motors that all work together at the same time to move a part of the robot, select Motor Group instead.
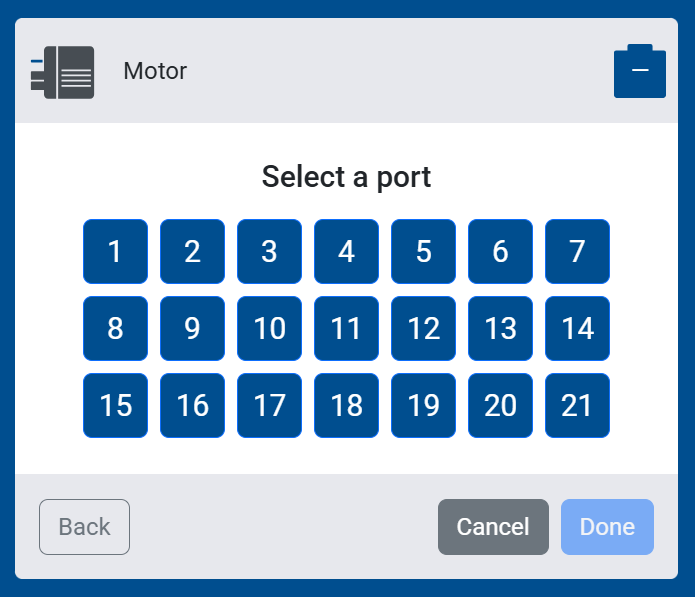
Select the Port#
Select the port that your motor, or motors, are connected to.
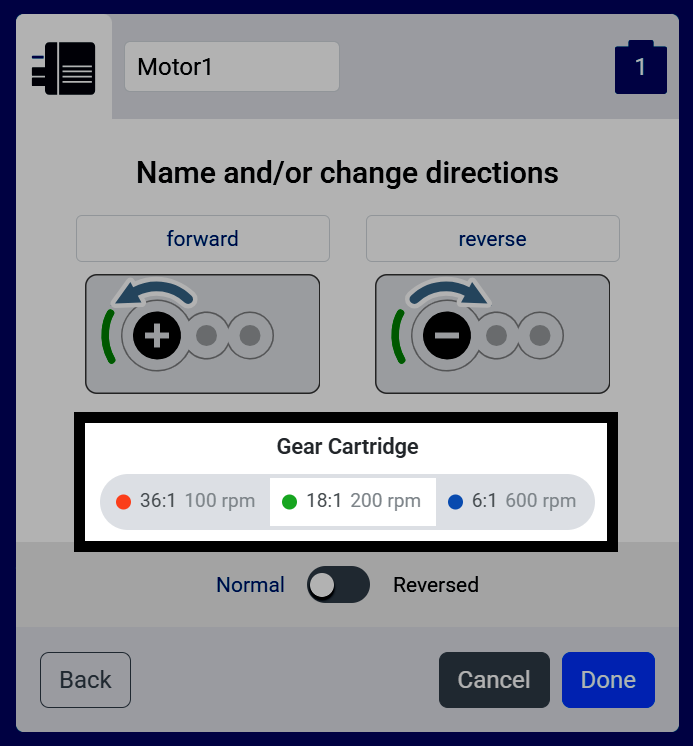
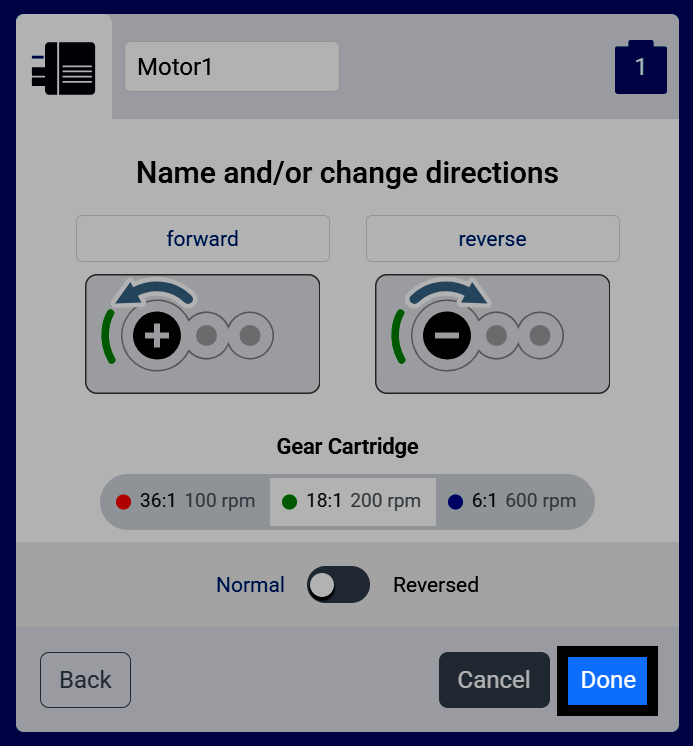
Select the Cartridge#
On the Name and/or change directions screen, select the color of the motor’s internal gear cartridge: red (36:1, 100 RPM), green (18:1, 200 RPM, the default), or blue (6:1, 600 RPM). This must match the cartridge physically installed in the motor.
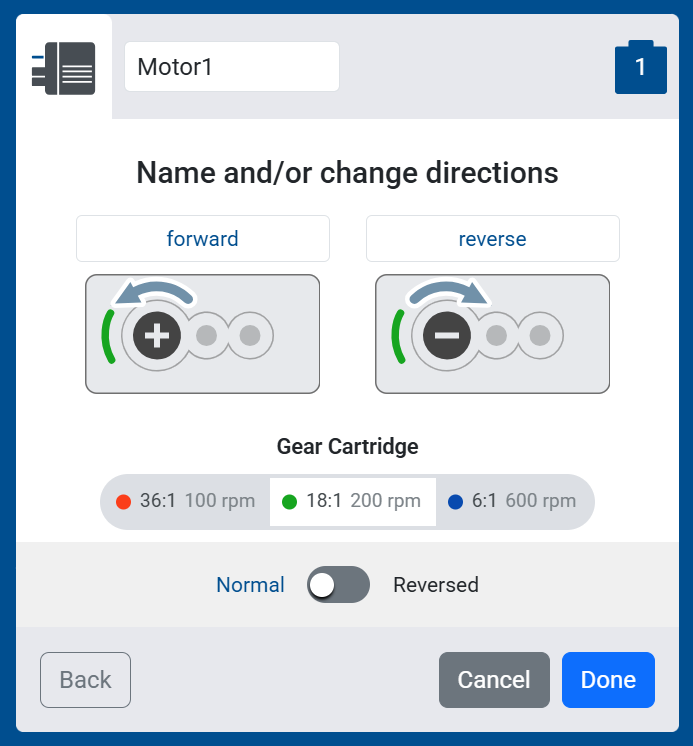
Set the Direction#
Toggle between Normal and Reversed to set which way is the motor’s forward direction.
Finish Adding the Motor#
Select Done to add the motor to your robot.
View the Motor in Your Devices List#
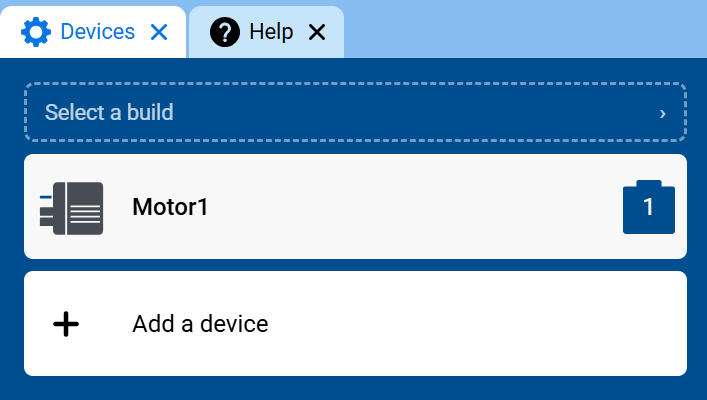
The Motor or Motor Group will now appear in your list of devices, and its blocks will be added to your toolbox.