设备设置:控制器#
Add a Controller#
Open the Devices Tab#
Select the Devices tab.
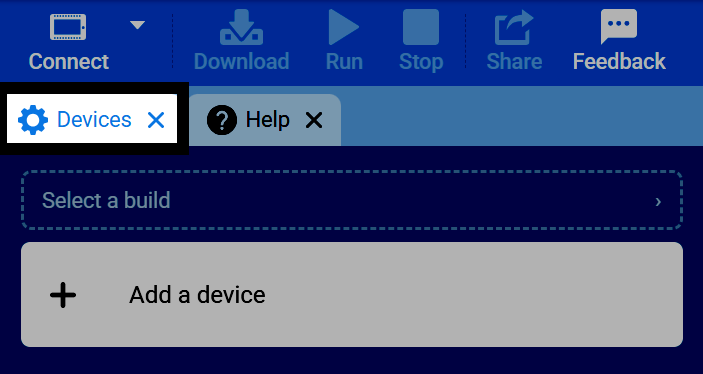
If the Devices tab is not visible, see Add a Tab in the Navigating VEXcode tutorial.
Select Add a Device#
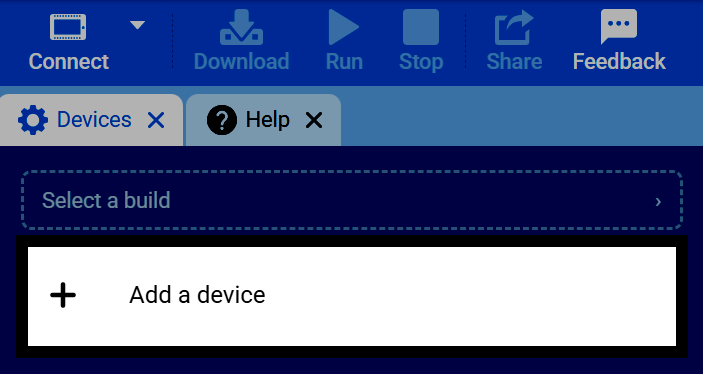
Select Add a Device in the Devices tab.
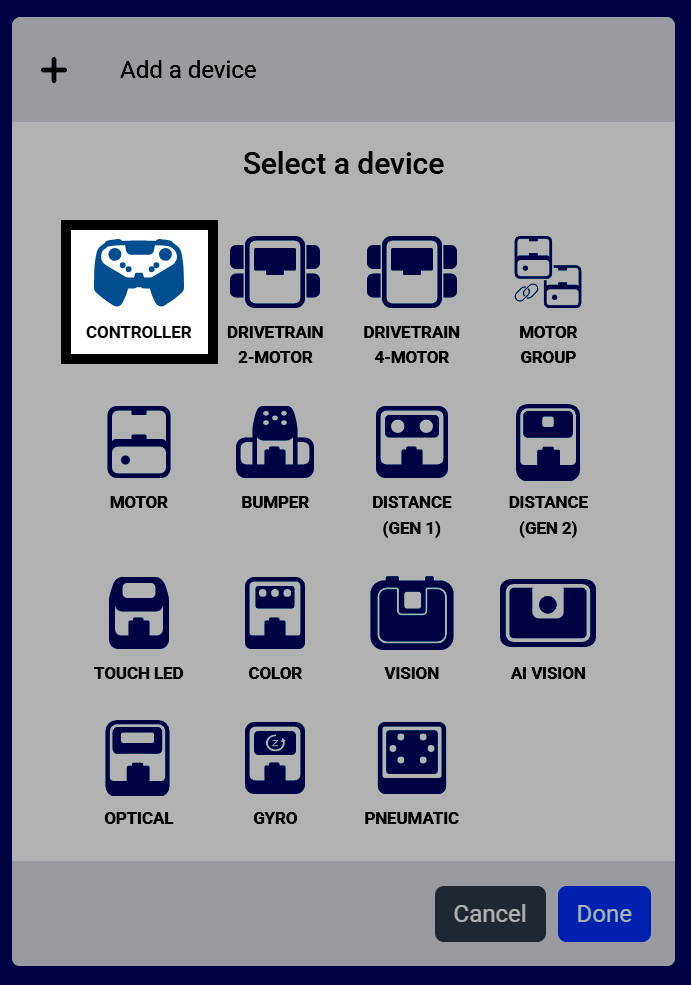
Select Controller#
Select Controller from the devices menu.
Set Controller Actions#
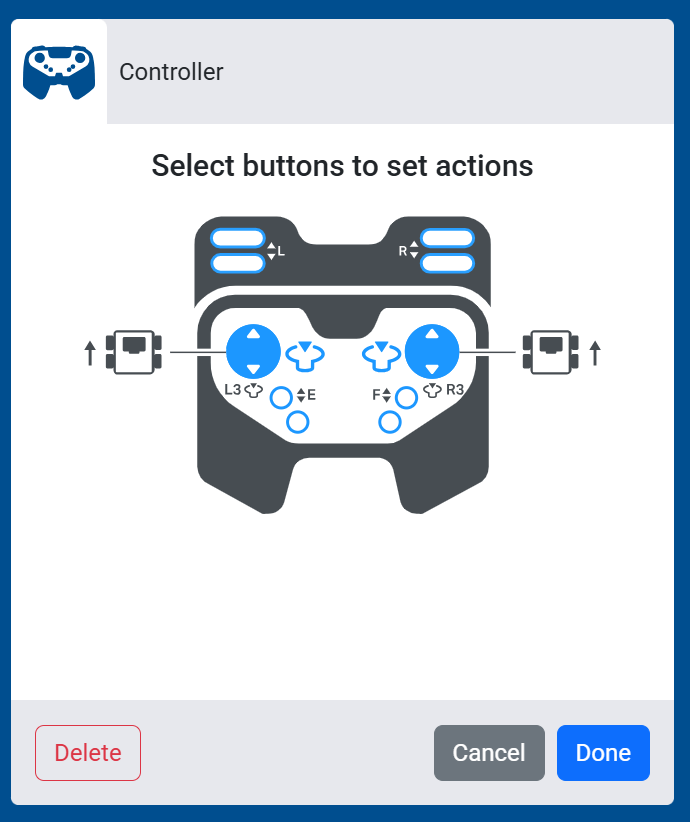
The Controller’s buttons and joysticks are shown, labeled by name. If you have a Drivetrain and/or Motor configured, you can assign controls for them here. These configured actions only run during a project while the controller enable/disable block has them enabled.
Set a Button to Control a Motor#
Selecting a button lets you choose which pair of buttons will control that device — one button for the forward direction, and the other for reverse.
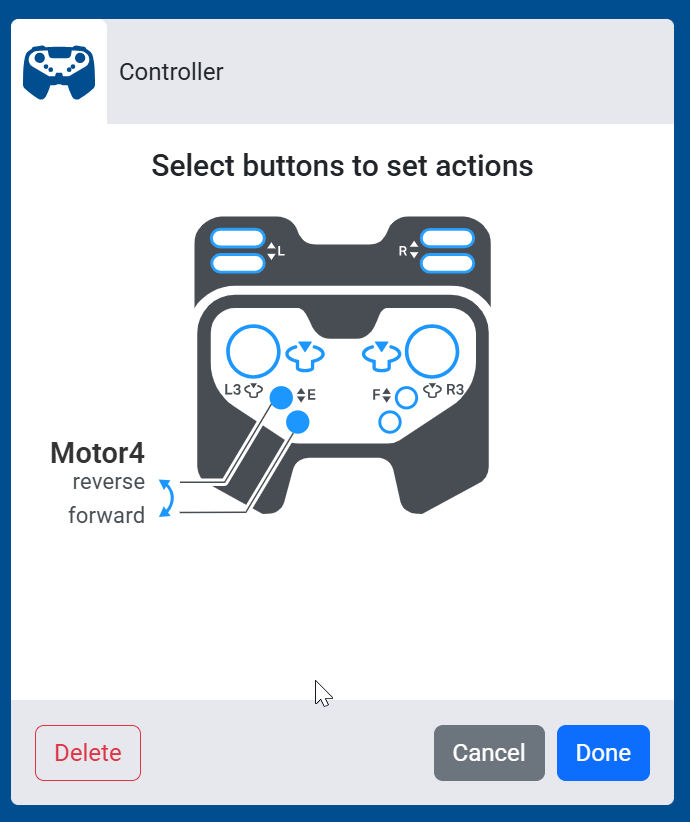
If you have a Drivetrain configured, selecting a joystick toggles through the following control schemes:
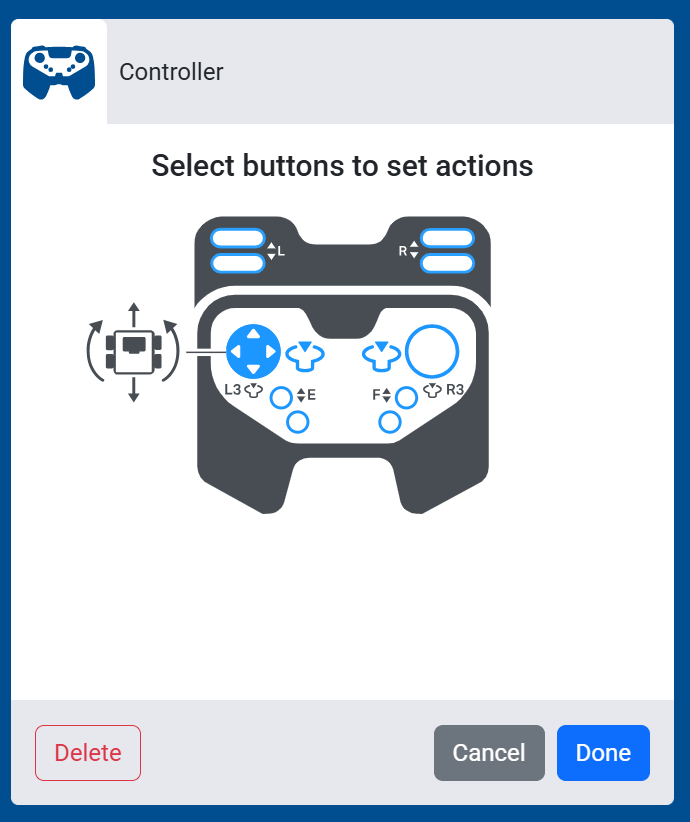
Left Arcade#
The left joystick controls both the Drivetrain’s forward and reverse movement and its turning.
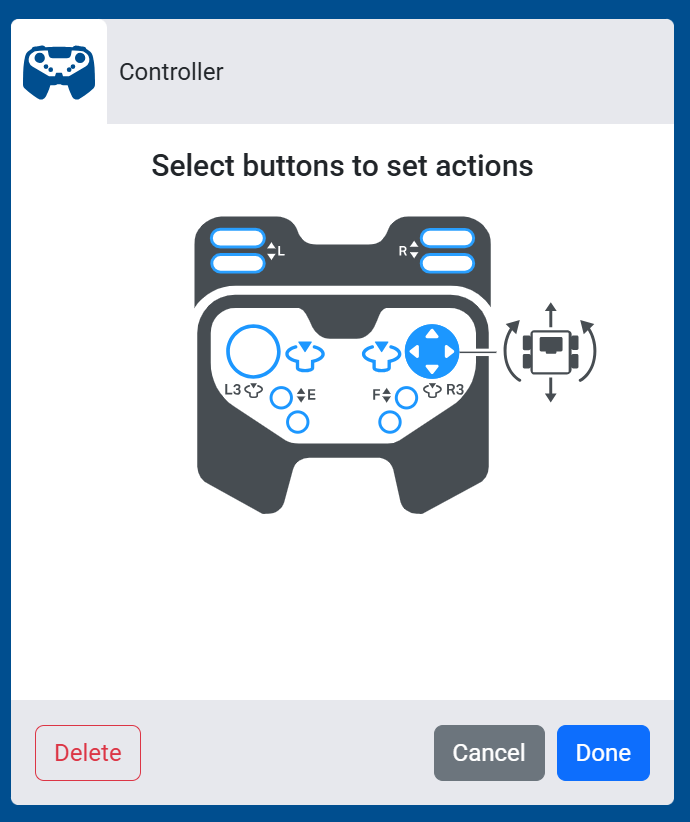
Right Arcade#
The right joystick controls both the Drivetrain’s forward and reverse movement and its turning.
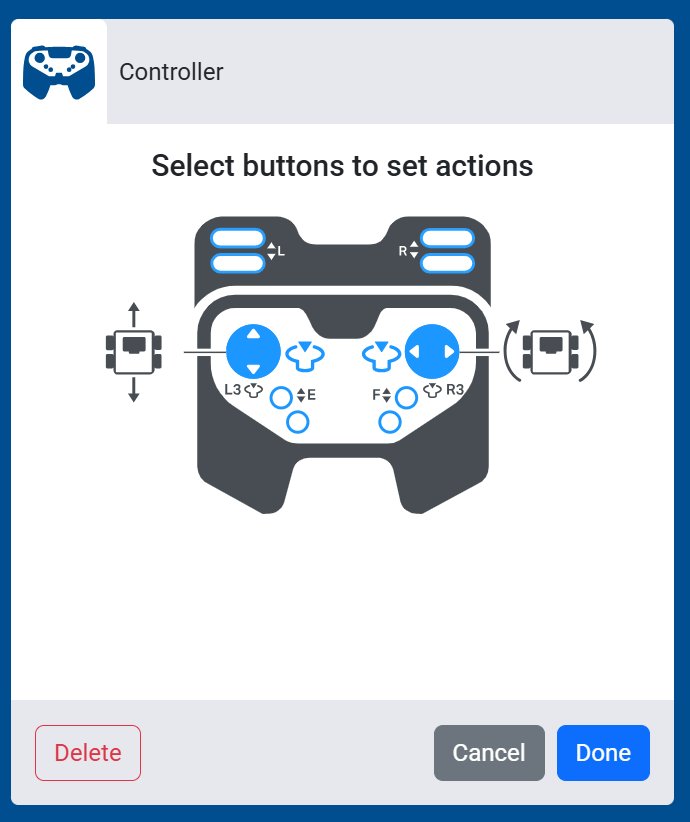
Split Arcade#
One joystick controls the Drivetrain’s forward and reverse movement, while the other joystick controls turning.
Tank Drive#
The left joystick controls the left side of the Drivetrain, and the right joystick controls the right side, independently.
Finish Adding the Controller#
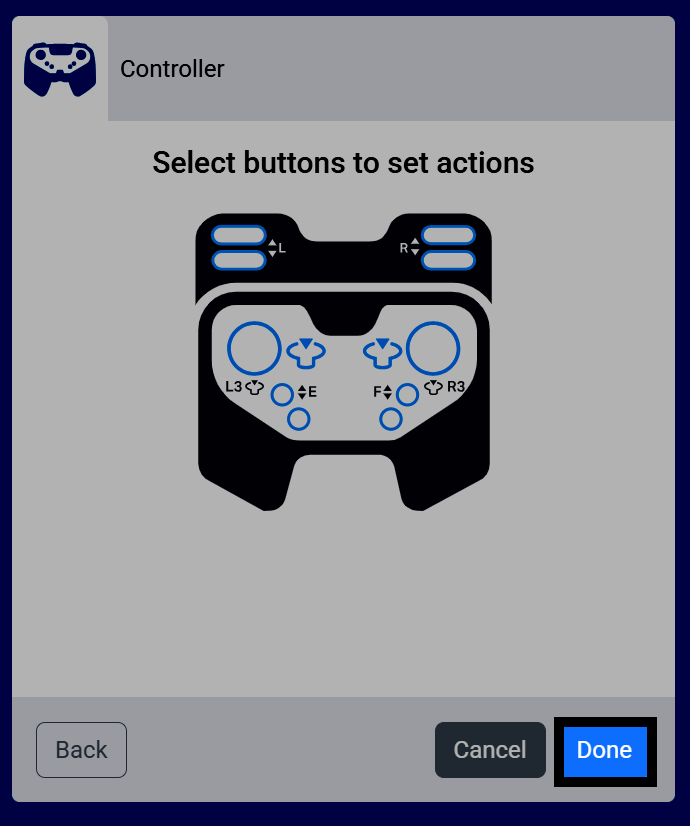
Select Done to add the controller to your robot.
View the Controller in Your Devices List#
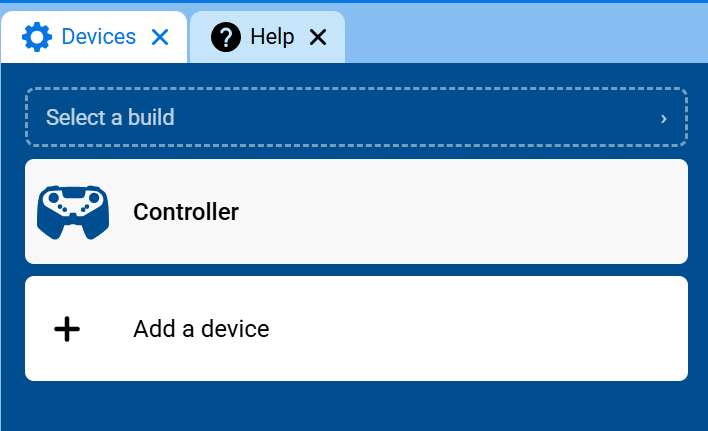
The controller will now appear in your list of devices, and the Controller category and blocks will be added to your toolbox.