连接到您的机器人#
Turn On the Brain#
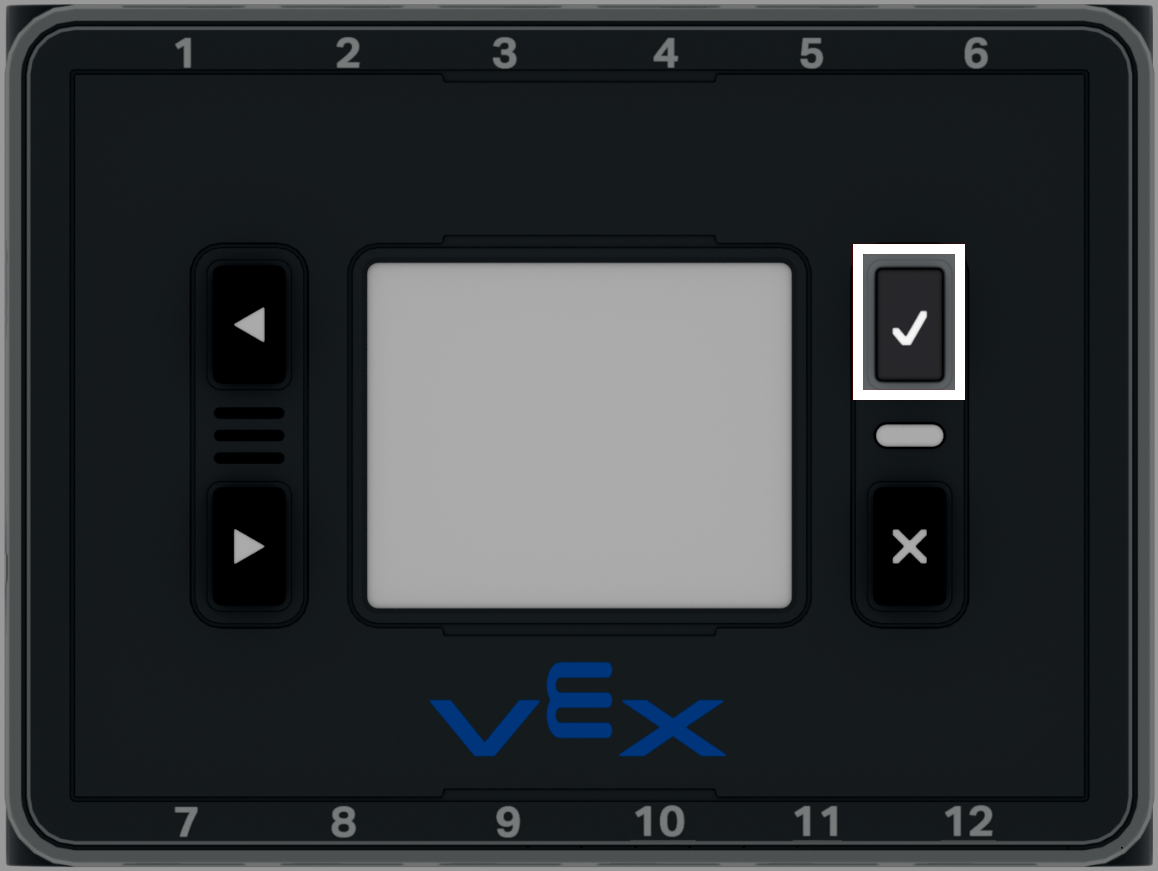
Press the Check Button#
Before connecting, make sure the VEX IQ (2nd gen) Brain is turned on. Press the Check button on the Brain to turn it on.
Open the Connect Menu#
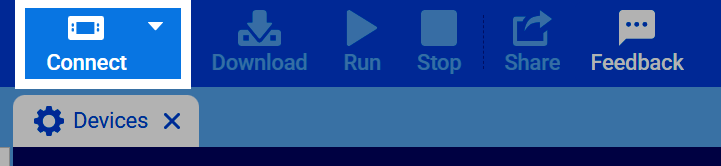
Select Connect#
Select the Connect button at the top-right of VEXcode.
Connect Wirelessly#
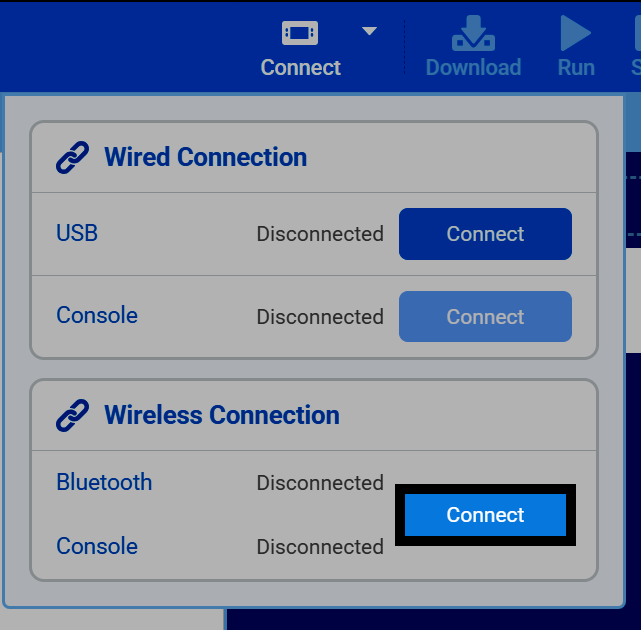
Select Connect under Wireless Connection#
If connecting with a wireless (Bluetooth) connection, select the Connect button underneath the Wireless Connection section.
Pair with Your Robot#
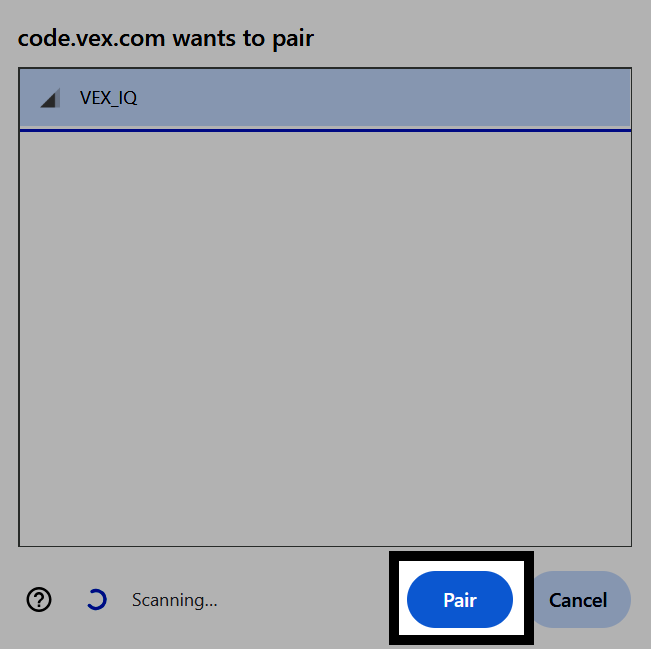
Select your robot from the list, then select Pair.
Enter the Bluetooth ID#
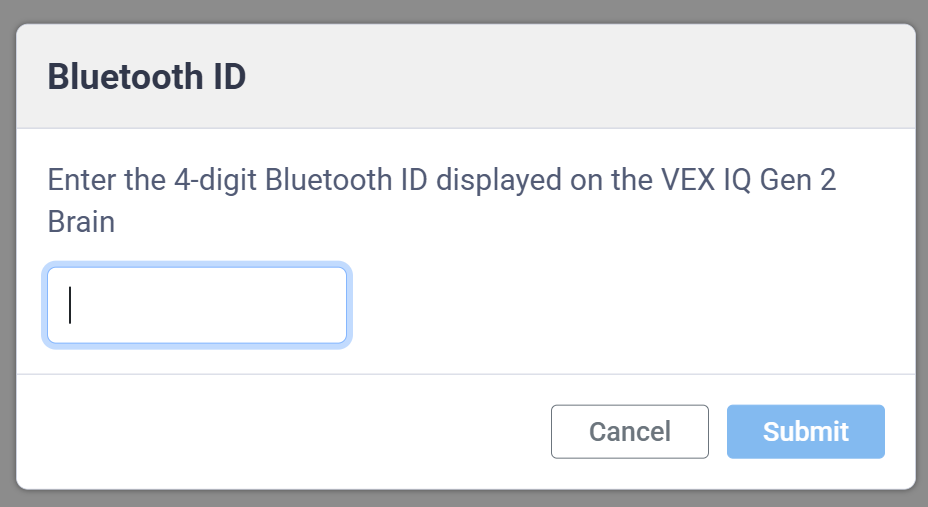
Enter the 4-digit Bluetooth ID displayed on the Brain’s screen, then select Submit.
Connect with a Cable#
Select Connect under Wired Connection#
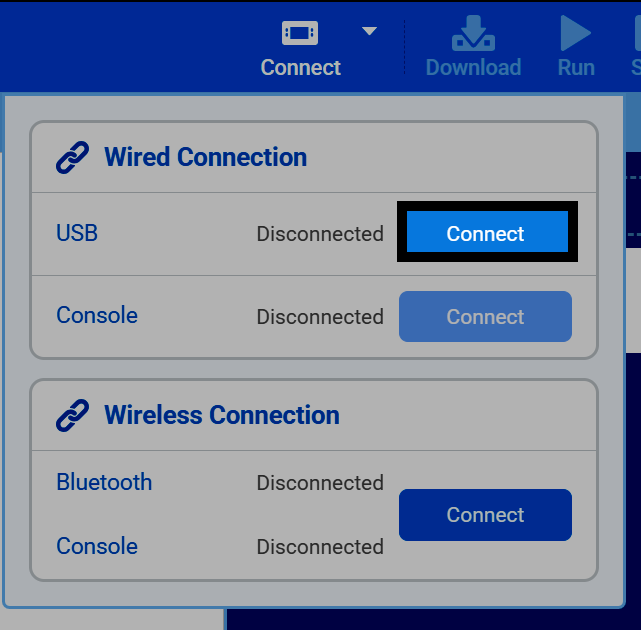
If connecting to the Brain with a wired connection, select the Connect button by USB, under the Wired Connection section.
Select the Port (Windows)#
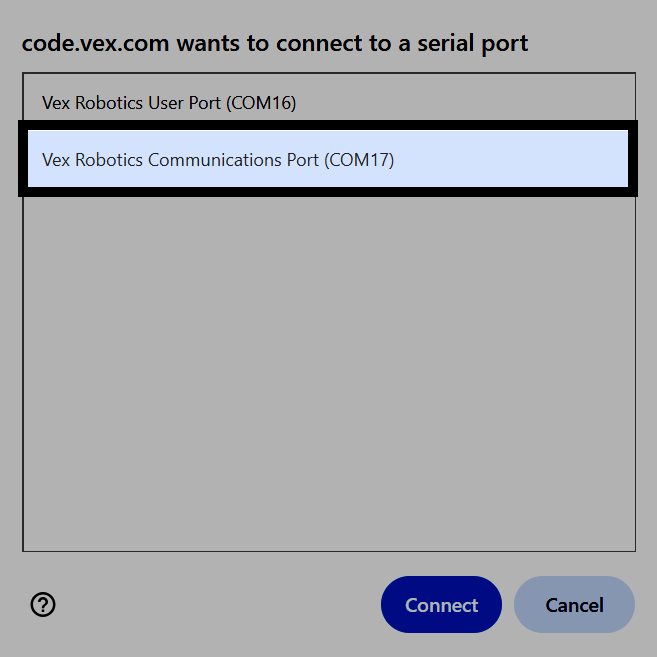
On Windows, select the Communications Port option from the list.
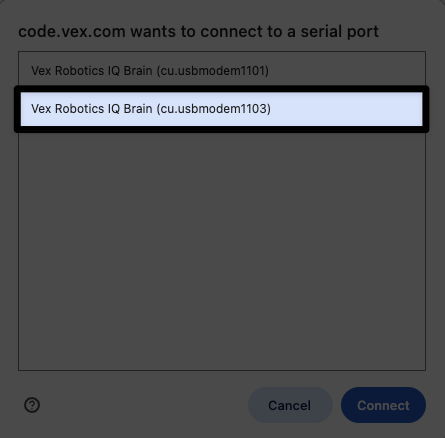
Select the Port (Mac)#
On Mac, select the option with the largest number.
Connect to the Console Serial Port#
This is only needed for a wired connection, and only if you want to use the Console in VEXcode.
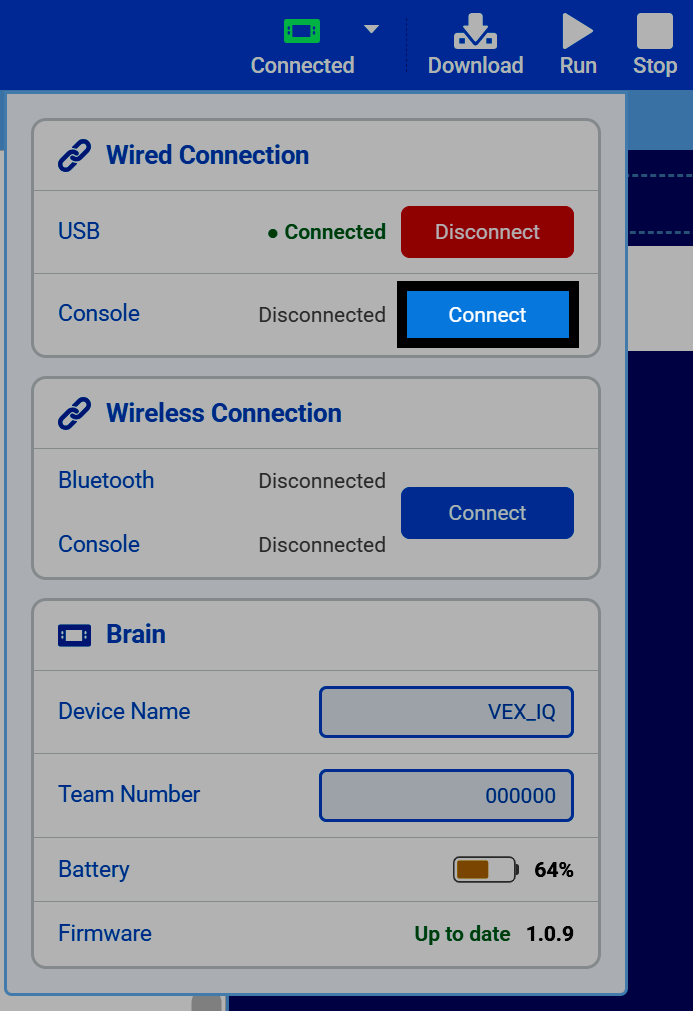
Select Connect under Wired Connection for Console#
Select the Connect button under the Wired Connection section for Console.
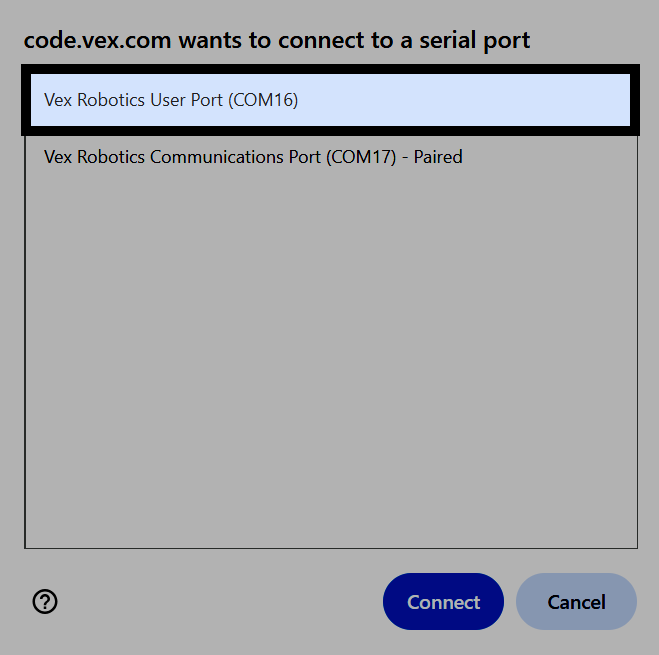
Select the User Port (Windows)#
On Windows, select the User Port option from the list.
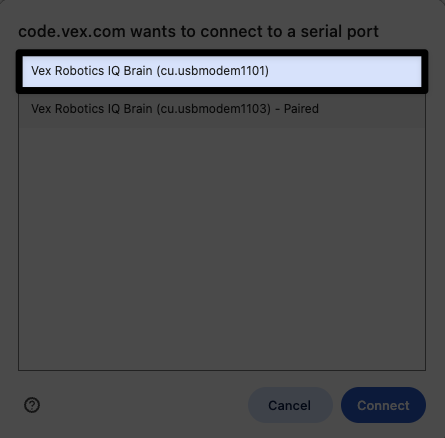
Select the Port (Mac)#
On Mac, select the option with the lowest number.
View Your Robot’s Info#
View the Brain Section#
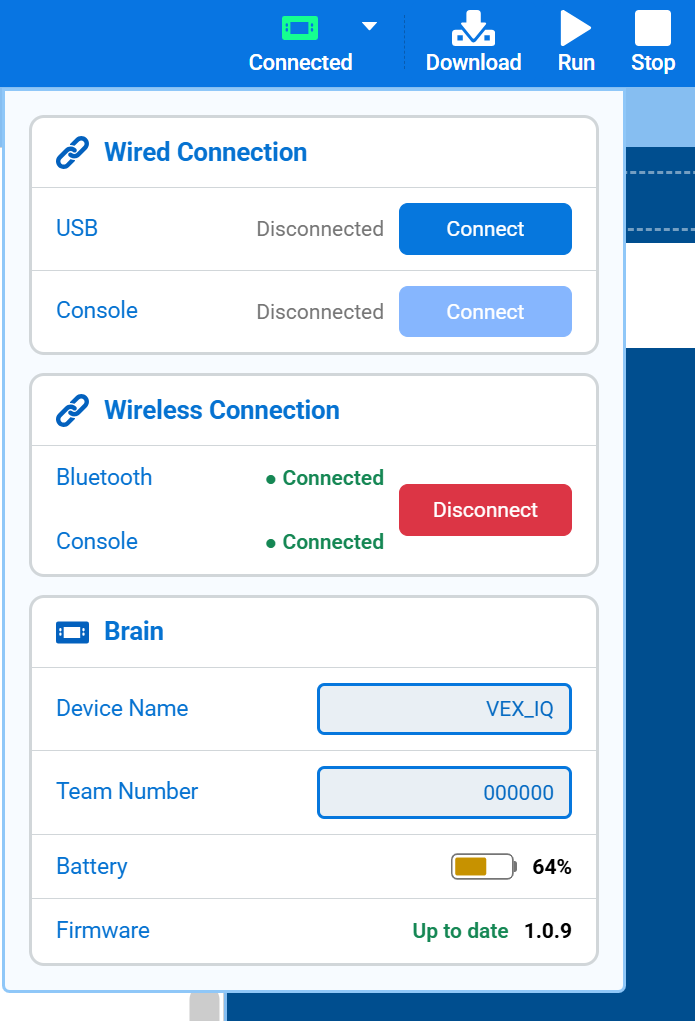
Once a robot is connected, the Brain section will appear, showing the Brain’s name (Device Name), the Team Number, its remaining battery, and the version of firmware currently installed. From here, you can also edit the Brain’s name and Team Number.