Capturing Images and Videos#
Taking images and videos#
You can capture images and videos with your VEX AIR Drone and VEX AIR Drone Controller in three different ways:
Buttons on the screen#
Select one of the Eye icons on the bottom right of the controller’s screen to select which Vision Sensor to use.
Forward |
Downward |
|---|---|
|
|
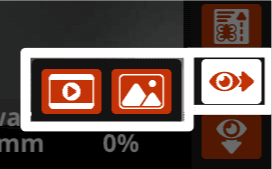
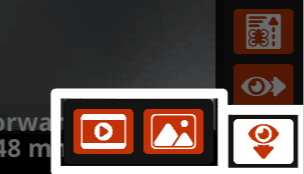
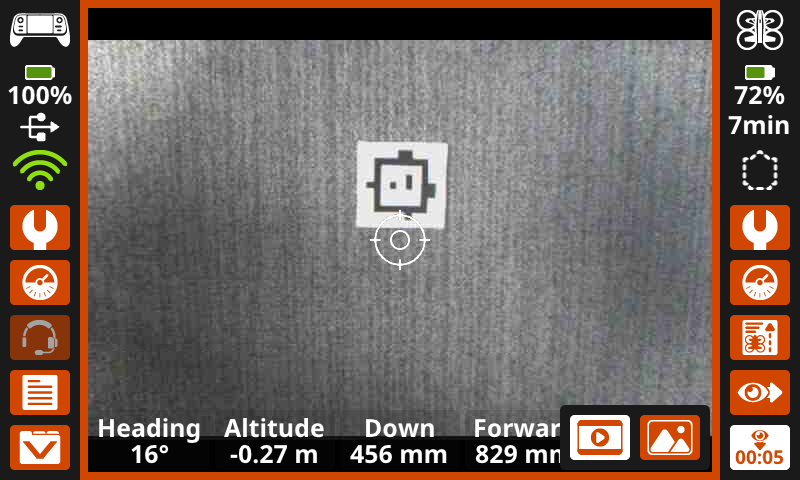
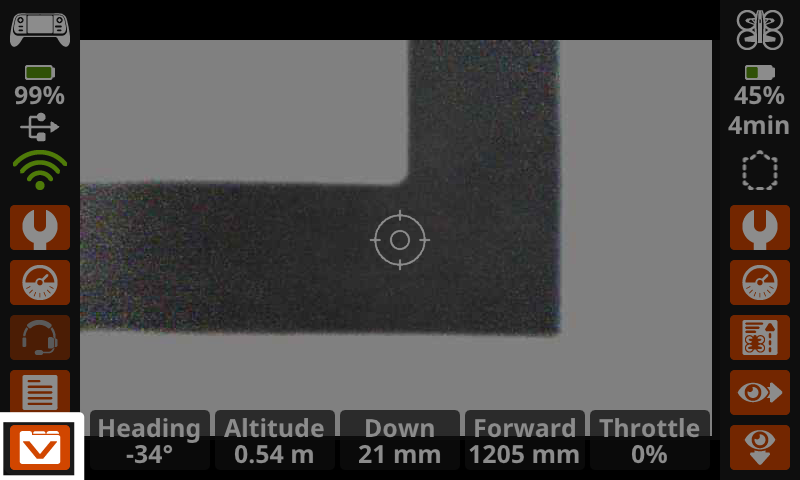
While capturing video, the screen will highlight orange and a recording timer will appear on the camera being recorded in the lower right corner, as shown here.
When capturing an image, the screen will highlight white as the photo occurs.
Using the default_fly project#
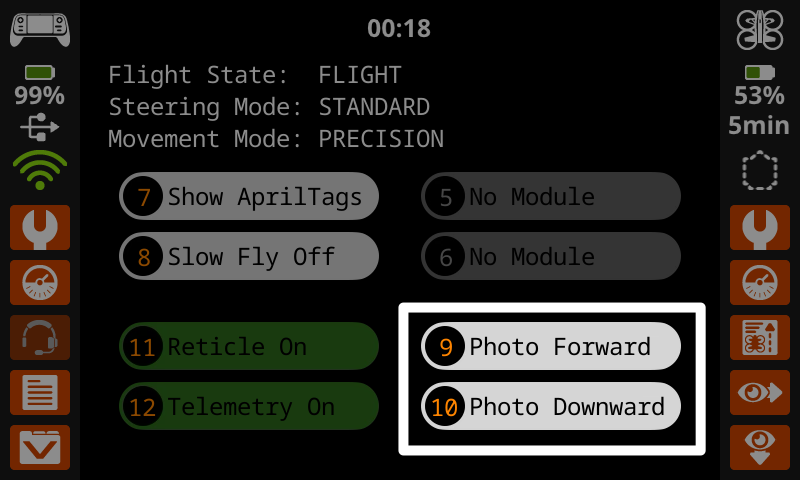
While using the default_fly project, you can capture images from the forward-facing or downward-facing Vision Sensor using the Photo Forward and Photo Downward buttons on the screen or buttons 9 and 10 on the controller.
VEXcode commands#
You can also use camera commands within a VEXcode AIR project to record video or capture images from either camera:
Viewing files#
You can preview your recordings and images on the controller before exporting to your device by viewing the Mission Data.
Select the Mission Data icon in the bottom left corner of the screen to open Past Mission Data.
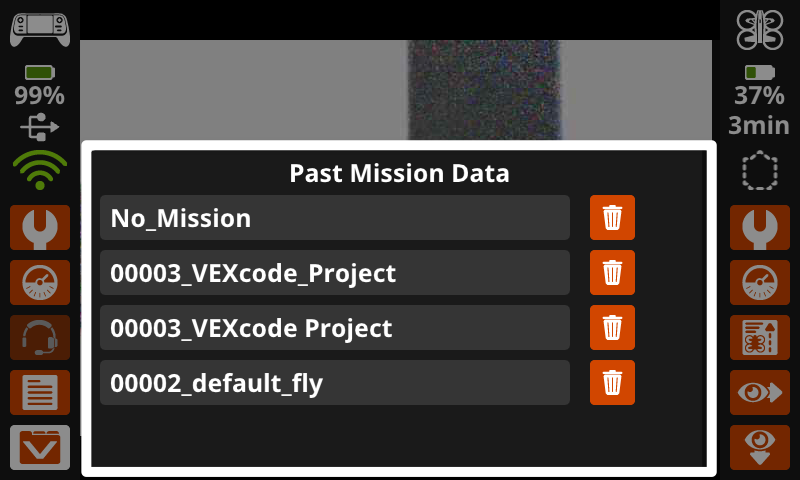
Select the desired folder to view any images or videos that were taken during that mission.
Folder names indicate what project was being run when Mission Data was recorded. ‘No Mission’ indicates that the drone was stationary and not running a project.
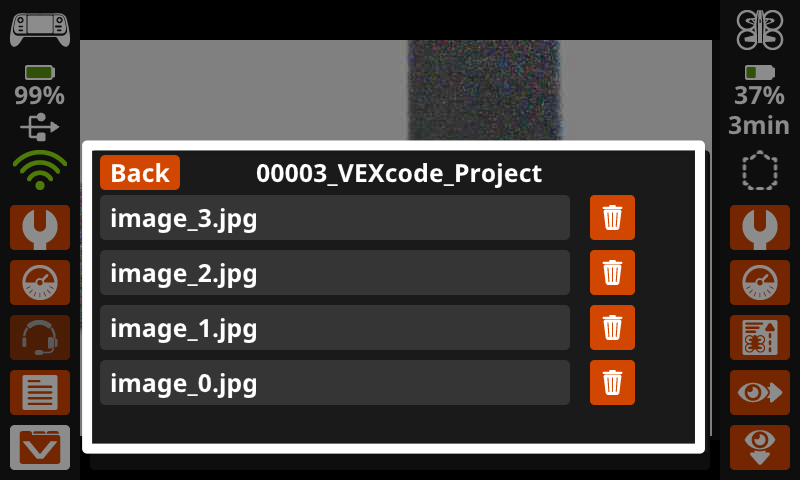
All images and videos will appear as file options within the matching Mission Data folder. Select a file to open it on the controller screen.
Files can also be deleted by selecting the Trash icon.
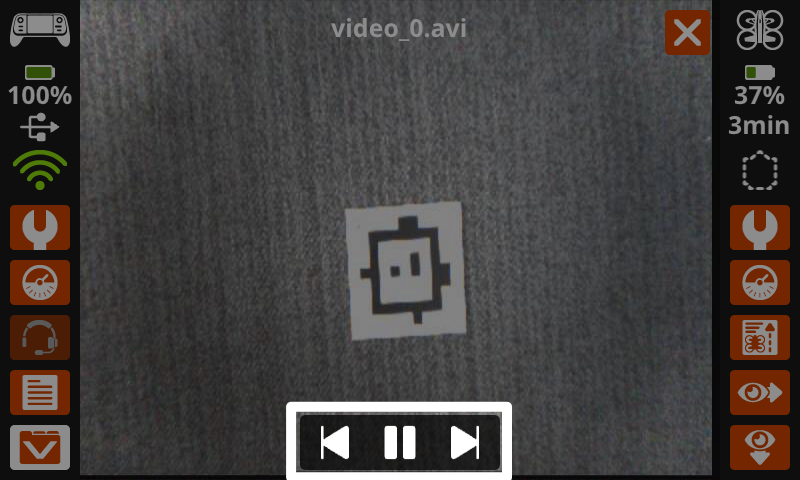
Use the buttons on the bottom of the screen to play videos and scroll through all recorded images and videos within the file.

Select the X in the upper right corner to exit and return to the Mission Data folder.
Retrieving files#
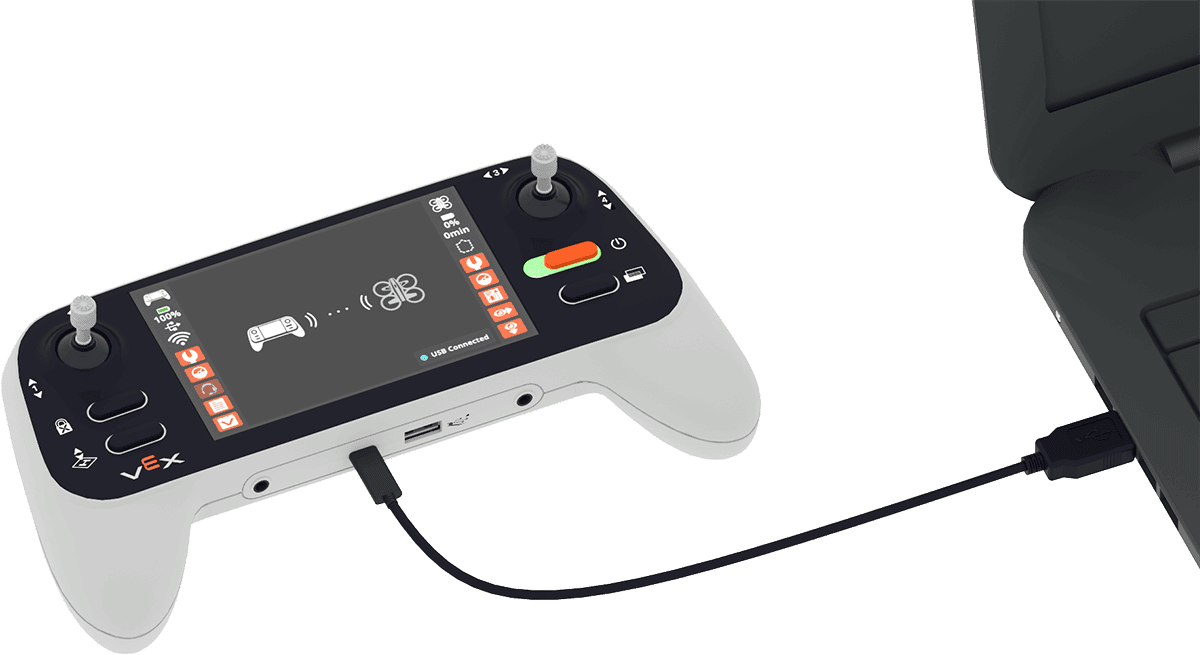
To access captured images and video from the controller on your device, ensure the controller is plugged into your device.

Using your computer’s file management system (Finder, File Explorer, etc), locate the controller.
To easily identify which removable device is the controller, turn the controller off and back on while looking at the list of devices plugged into your computer.
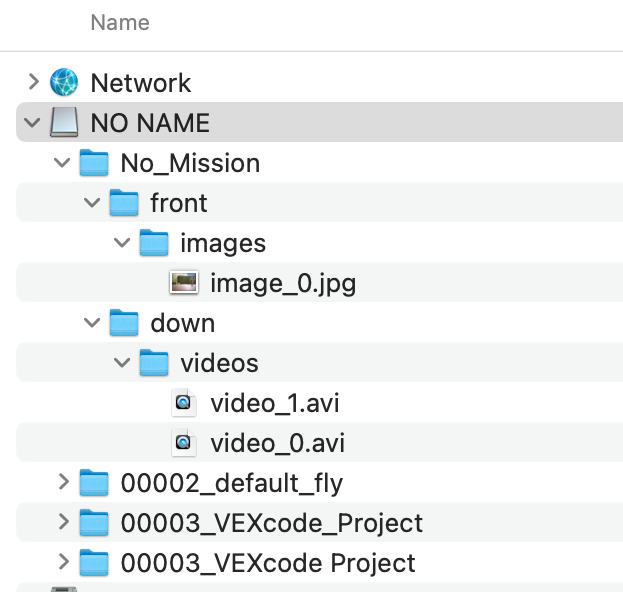
Within this folder you will see the same folders that were found in the Past Mission Data menu on the controller. You can now download desired files to your device. For reference, macOS is shown here.
Note: Images are saved as .jpg files and videos are saved as .avi files. These may need to be converted to be compatible with your device.