Using the VEX AIR Flight Simulator#
Accessing the Simulator#
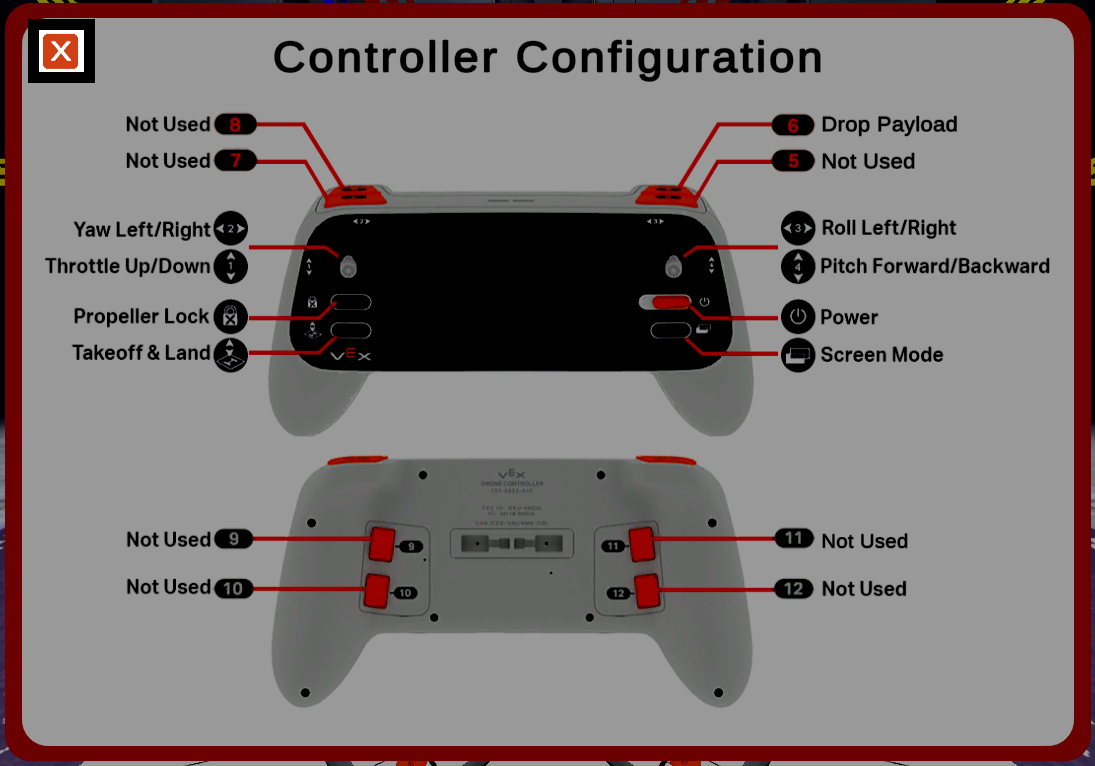
Connect the VEX AIR Controller to VEXcode AIR.
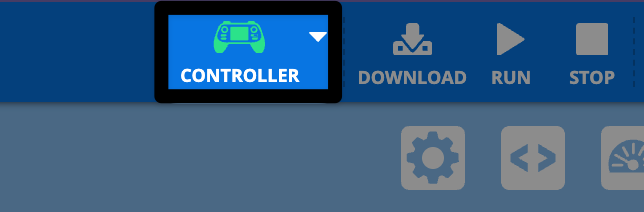
Select the Simulator tab.

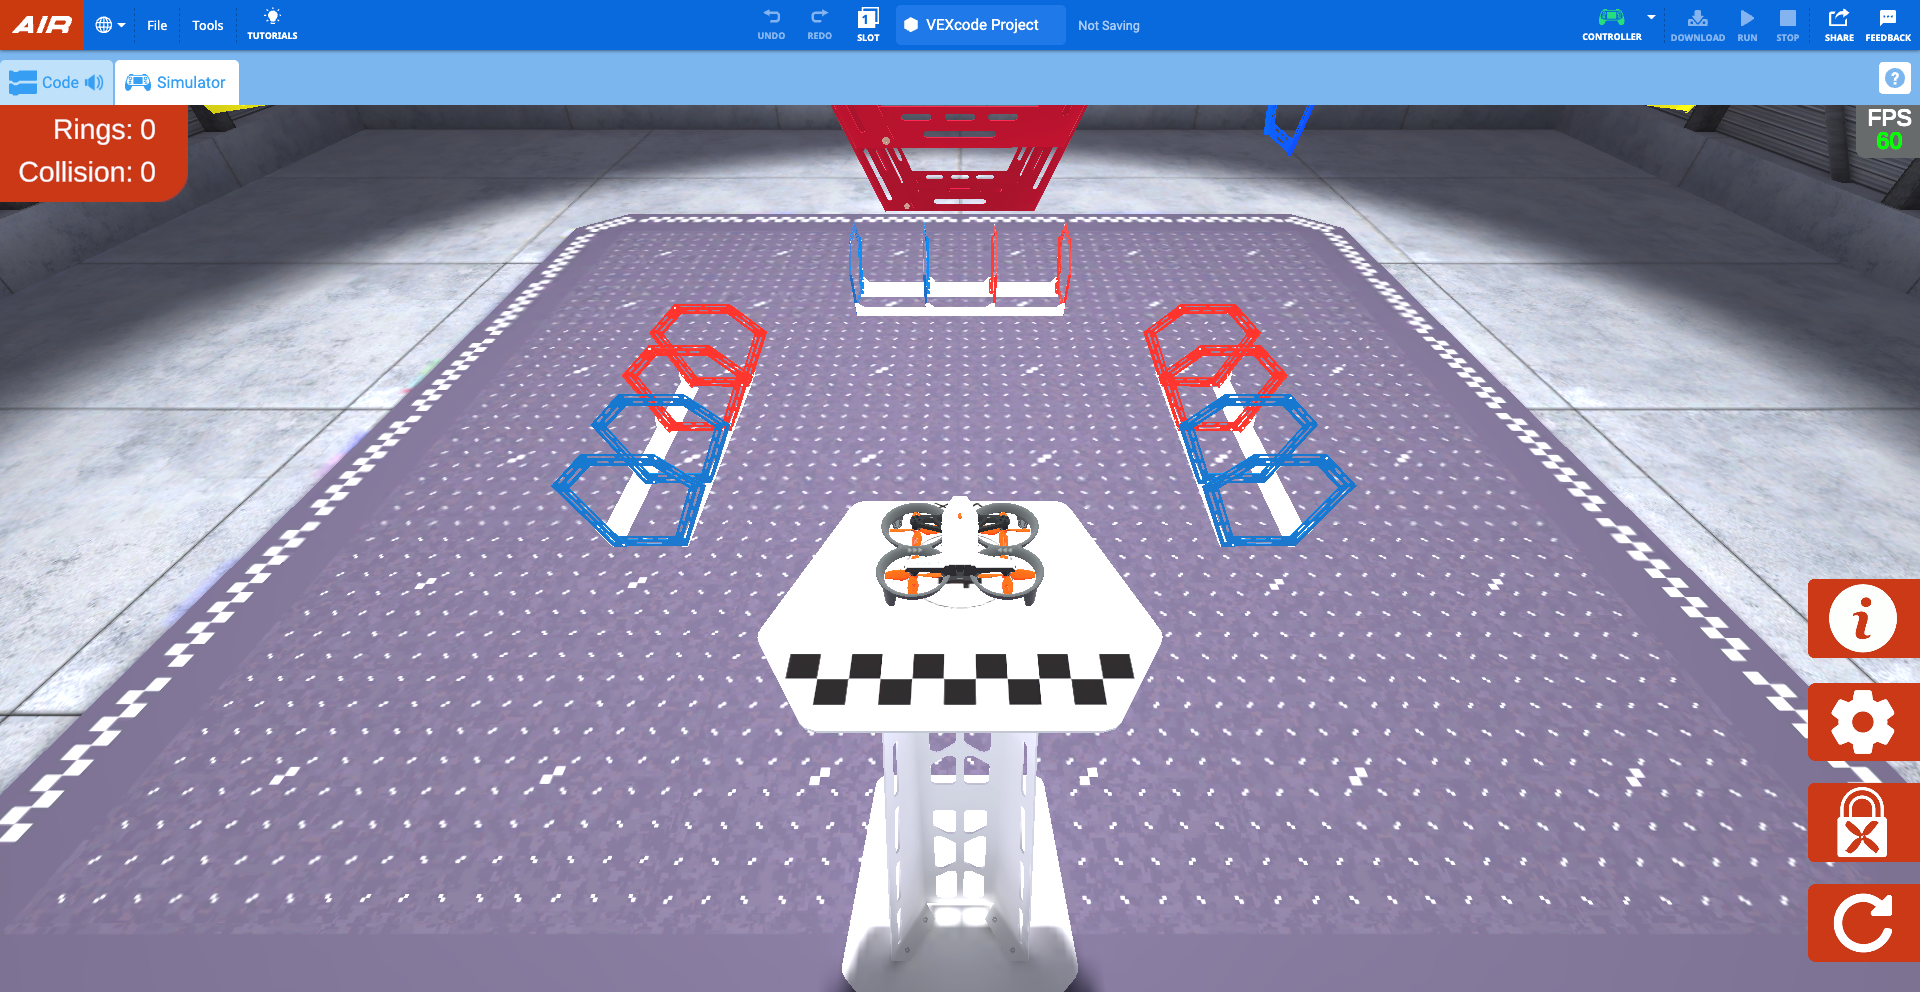
In VEXcode, the simulator will open to the Rings layout, showing the Pilot View.
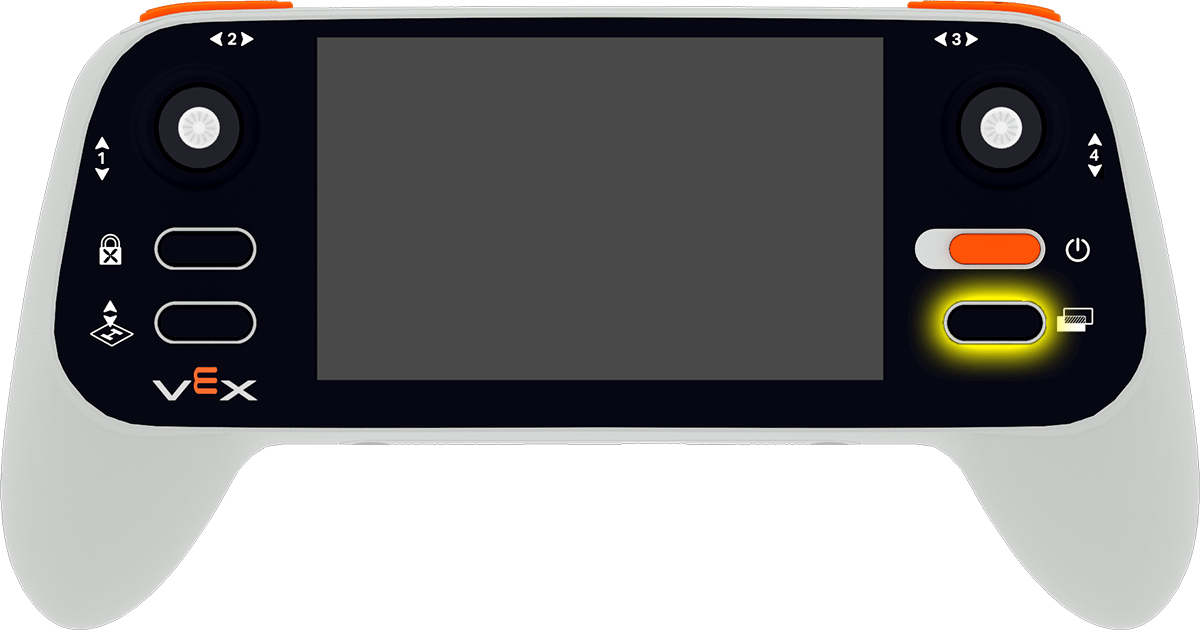
When the simulator opens, the controller will make a sound and a message will appear on the controller’s screen indicating that a drone is connected and the Propeller Lock is enabled.
Propeller Lock#
By default, the Propeller Lock is enabled when the simulator opens. The VEX AIR Drone’s Propeller Lock is an important safety feature that helps ensure safe drone operation.
The drone cannot take off when the Propeller Lock is engaged. Similar to how the Propeller Lock behaves on the physical drone, the propellers will lock anytime the simulator is reset or the layout is changed.
While the Propeller Lock is engaged, the power button on the virtual drone in the simulator will flash blue as shown in this video. The power button on the physical controller will also flash blue.
Select the power button on the virtual drone in the dialog box to disengage the Propeller Lock, as shown in this video. Then the propellers will be unlocked, and the drone will be ready to fly.
Using the Controller with the Simulator#
With the Propeller Lock disabled, the drone can be flown using the same controls as a real-life flight! The simulator utilizes the same controls as the default_fly project.
Flying in the Simulator#
Take off using the Takeoff & Land button on the controller. Press the button to open the project menu. Then hold the button until the drone takes off from the platform.
Pressing the Takeoff & Land button while flying in the simulator will land the drone. Press the button to open the menu. Then press the button again, or touch the Land button on the controller screen, to land the drone in its current location.

The movement of the drone is controlled by the movements of the joysticks. The video below shows the left joystick moving forward along Axis 1 to move the drone upwards, and then down along the same axis to move the drone downwards.
Camera Options#
To change the camera view of the drone, select the Change View button on the controller.
This will rotate through the following camera options:
Pilot View - Shows the drone from the pilot’s position outside the field, just like in a competition. This view helps build spatial awareness and practice line-of-sight flying.
Front Camera - Displays the forward-facing camera (matching the drone’s forward camera) to show what the drone “sees” straight ahead. It’s useful for navigating through obstacles or lining up with targets.
Down Camera -Displays the downward-facing camera view (matching the drone’s own downward camera.) This is useful for aligning with objects and scoring elements.
Chase View - Follows behind the drone as it moves. This view gives a dynamic perspective that helps visualize flight paths and direction changes.
Split Screen 1 - Combines Pilot View on the top and Front Camera on the bottom.
Split Screen 2 - Combines Pilot View on the top and Down Camera on the bottom.
Controller Settings#
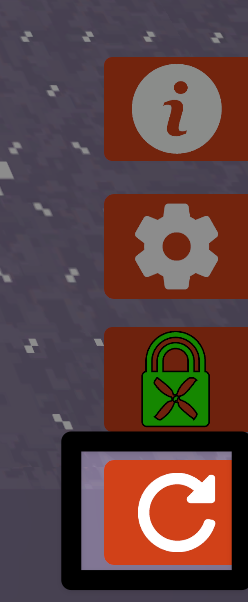
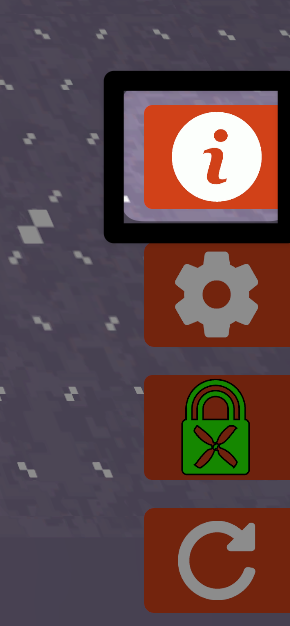
Select the Info button on the lower right side of the screen to view the controller configuration.
Select the X button in the upper left corner to close the configuration and return to the field.
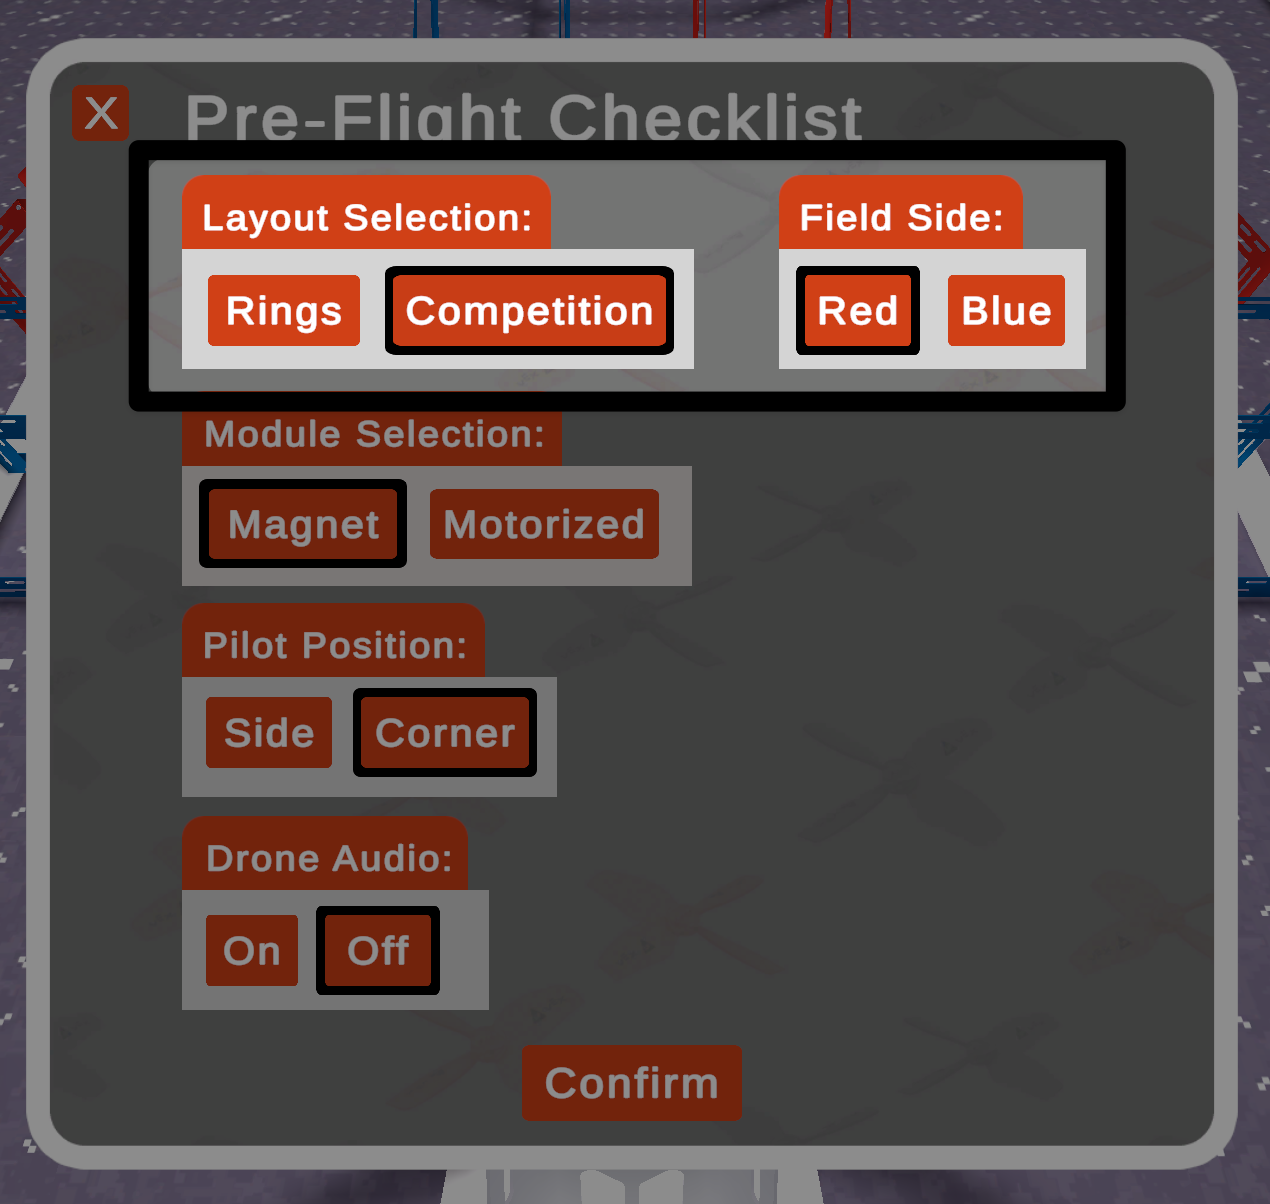
Pre-Flight Checklist Menu#
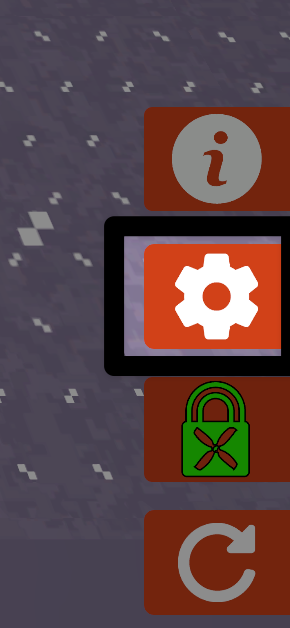
Select the Gear icon on the lower right side of the screen to open the Pre-Flight Checklist.
Select the Confirm button on the bottom of the window to save your selections. Selecting the X button in the top left corner will close the checklist without saving your choices.
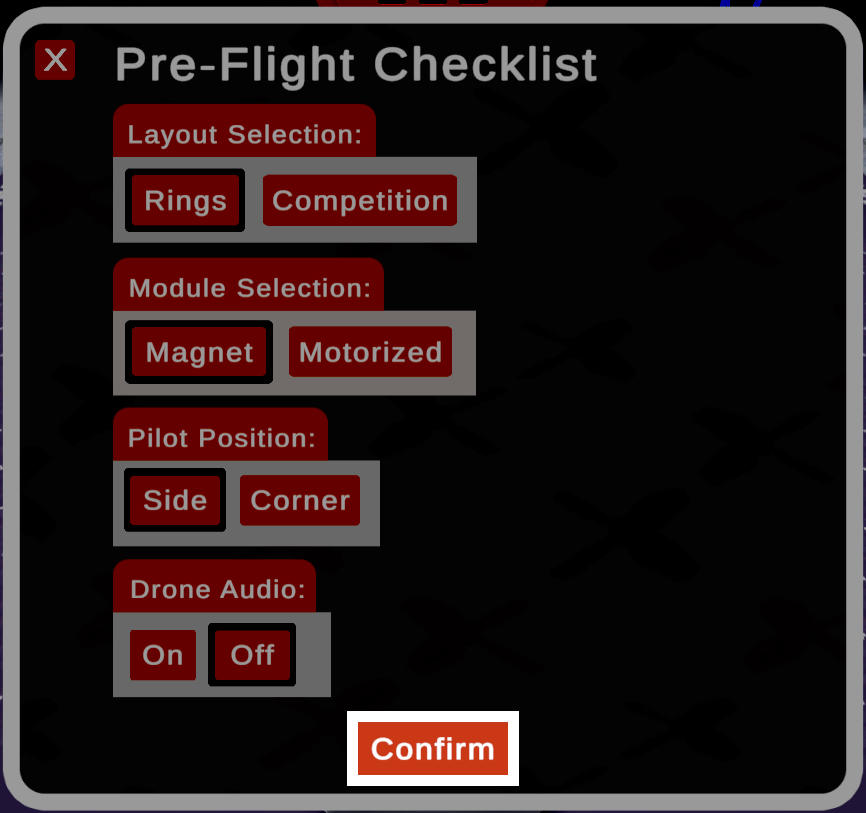
When the Competition Layout is selected, the additional option of Field Side appears.
Scoring#
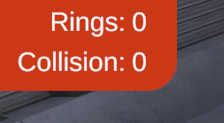
In the Rings Layout, the counter indicates the number of rings that are flown through, and the number of times the drone collides with a ring.
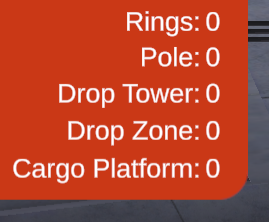
In the Competition Layout, the counter indicates the number of rings flown through, and the number of game objects placed in or on each of the game elements.
Resetting#
Select the Reset button in the lower right corner of the screen to reset the field and return the drone to the starting position on the platform, with the Propeller Lock enabled.