Uso de ejemplos y plantillas#
Example projects are a great resource to explore different robot behaviors or how different blocks in VEXcode are used. Templates are blank projects with devices already configured, so if you’re using a robot build from builds.vex.com, you won’t need to configure the devices yourself.
Use an Example Project#
Open Examples#
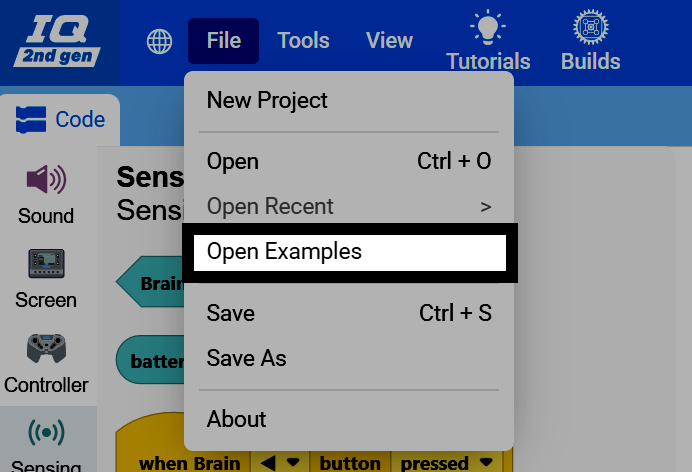
Select File in the top-left of VEXcode, then select Open Examples.
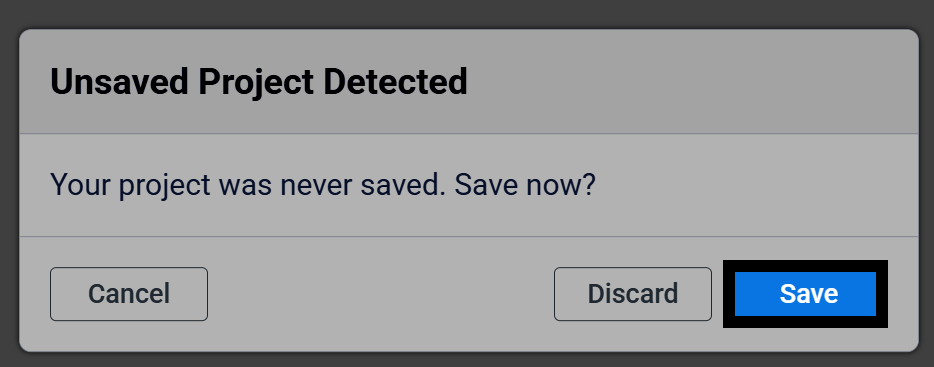
Opening the Examples page will open a new project, so be sure to save any unsaved work in your current project first. If your project hasn’t been saved yet, select Save to save it before continuing.
Browse the Open Examples Page#
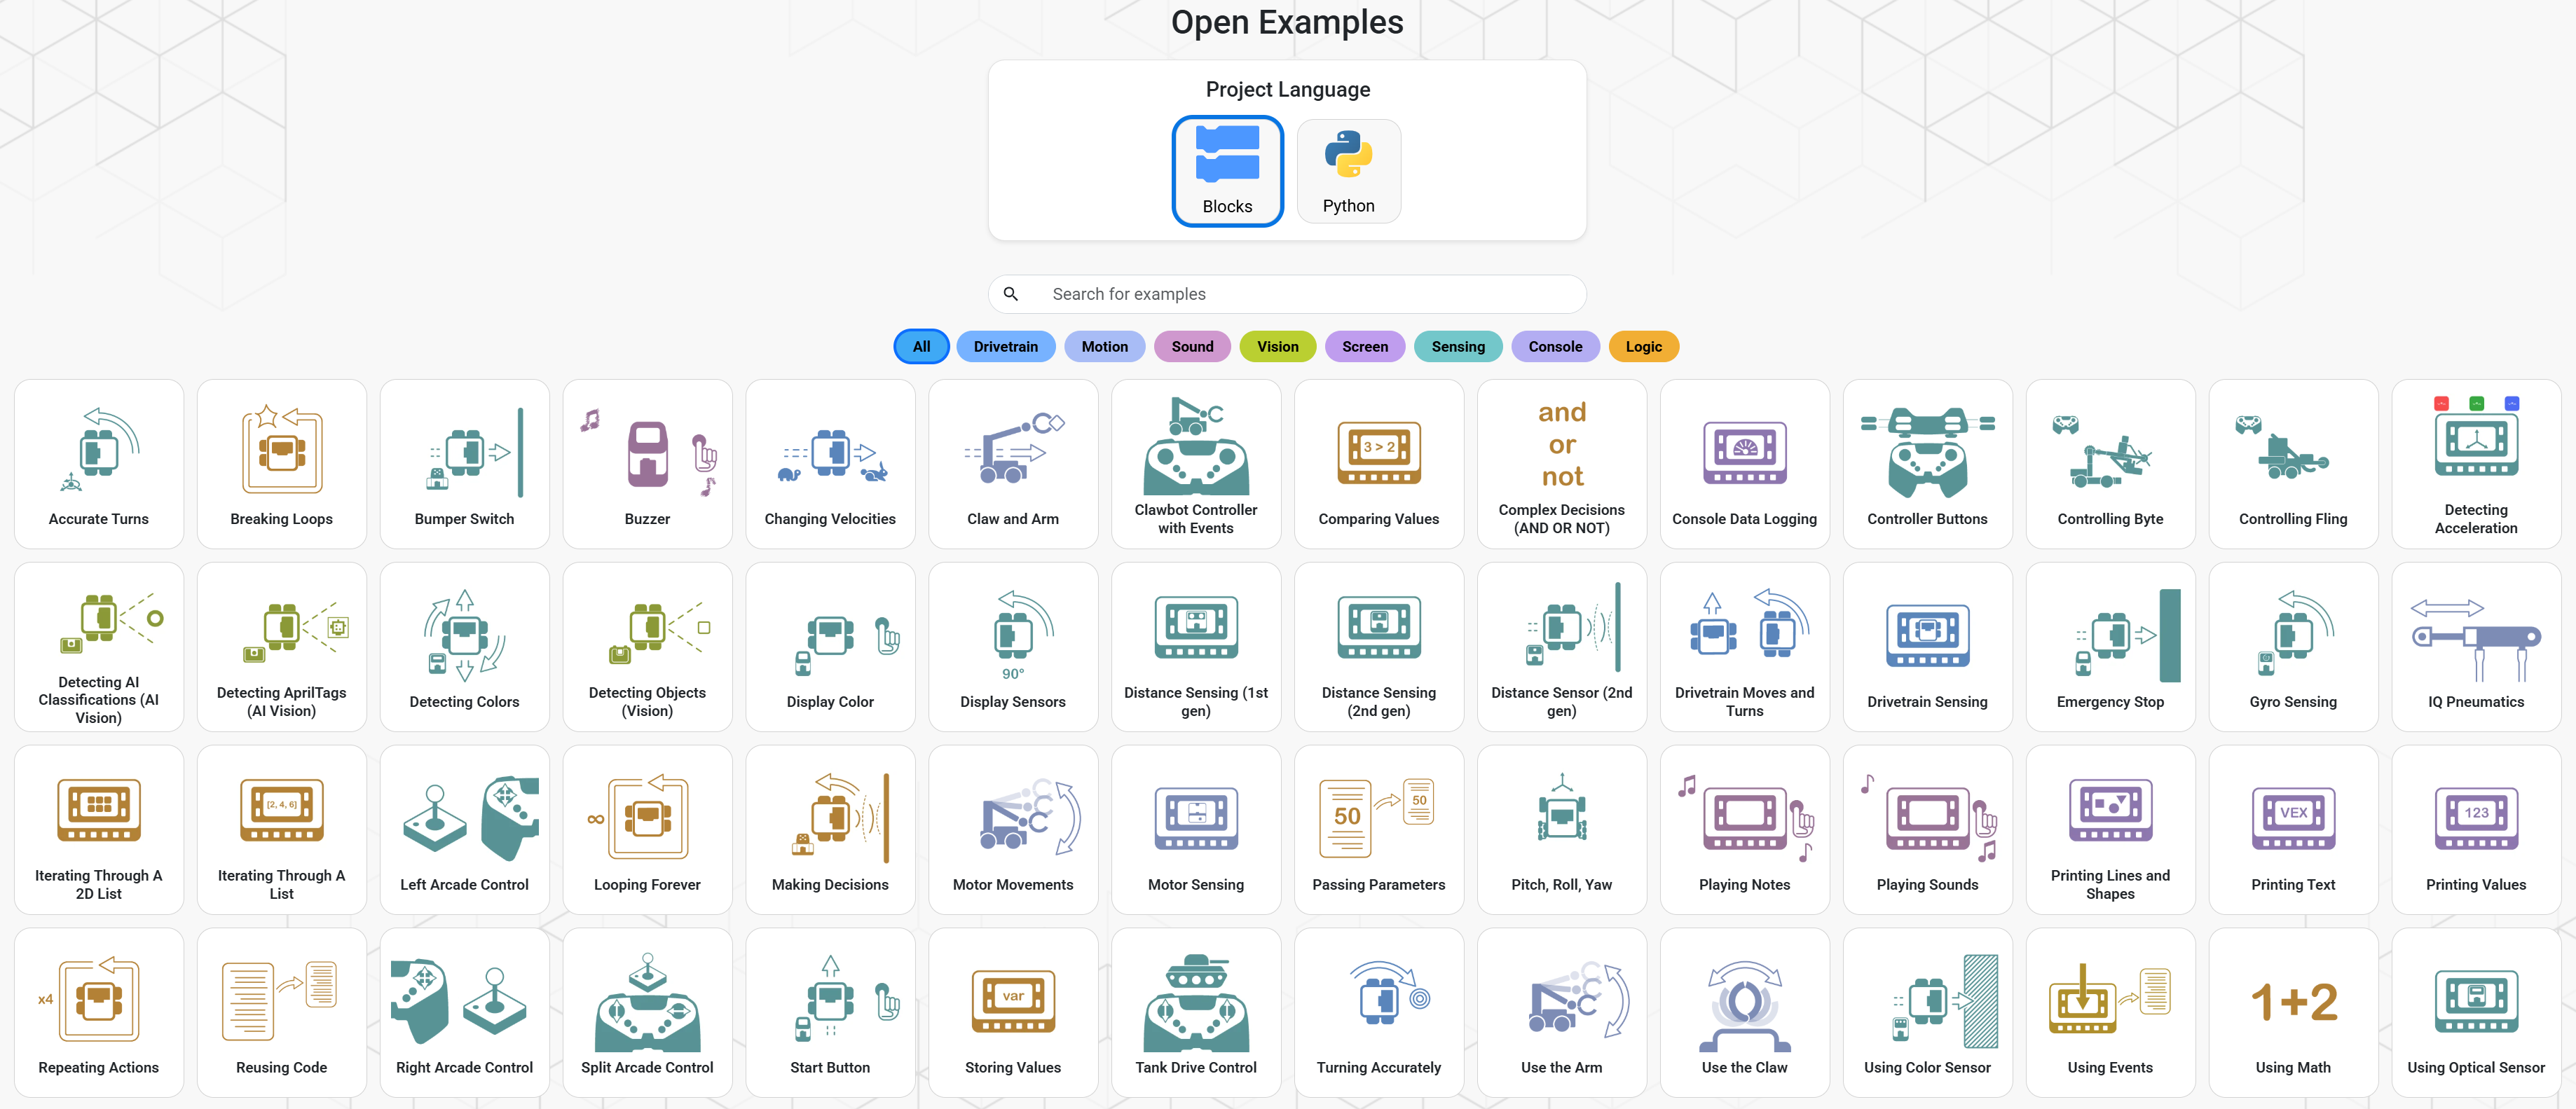
The Open Examples page shows all the available example projects.
Filter by Category#
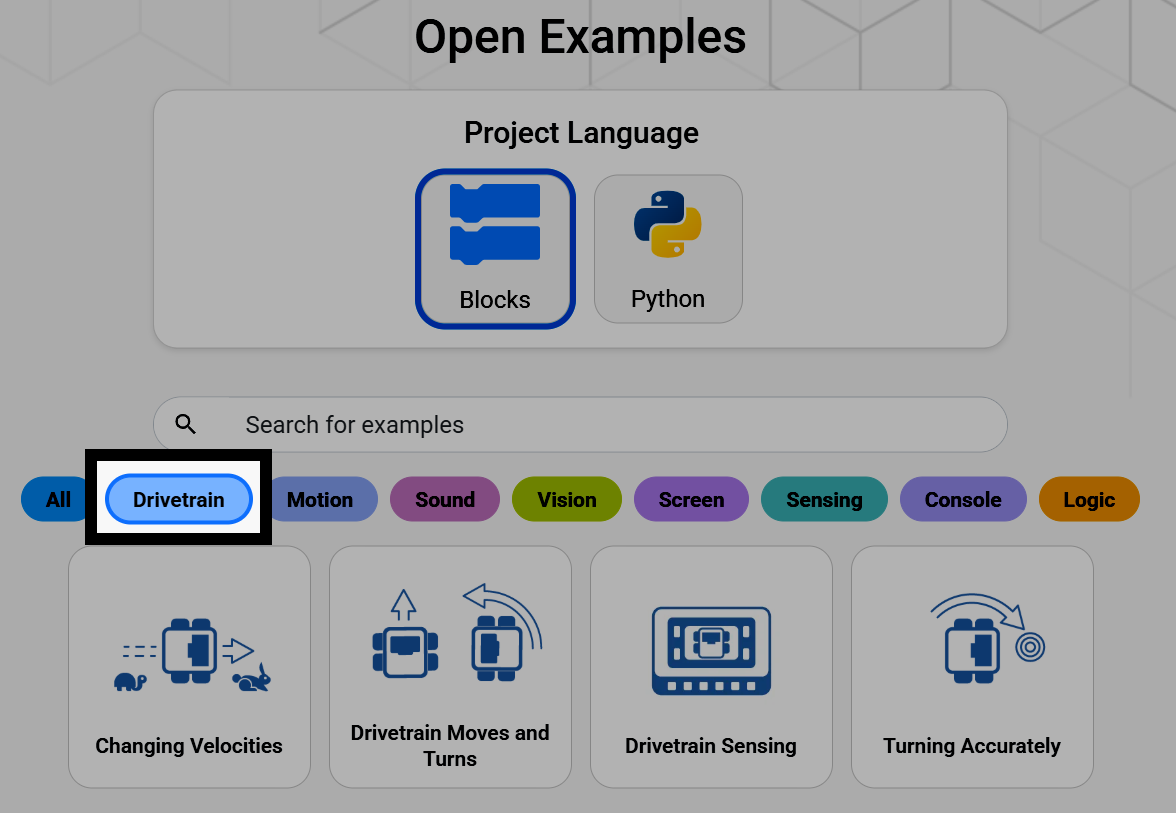
Select one of the filters to narrow down the example projects shown, such as Drivetrain to only show example projects demonstrating how to code a Drivetrain.
Create the Example Project#
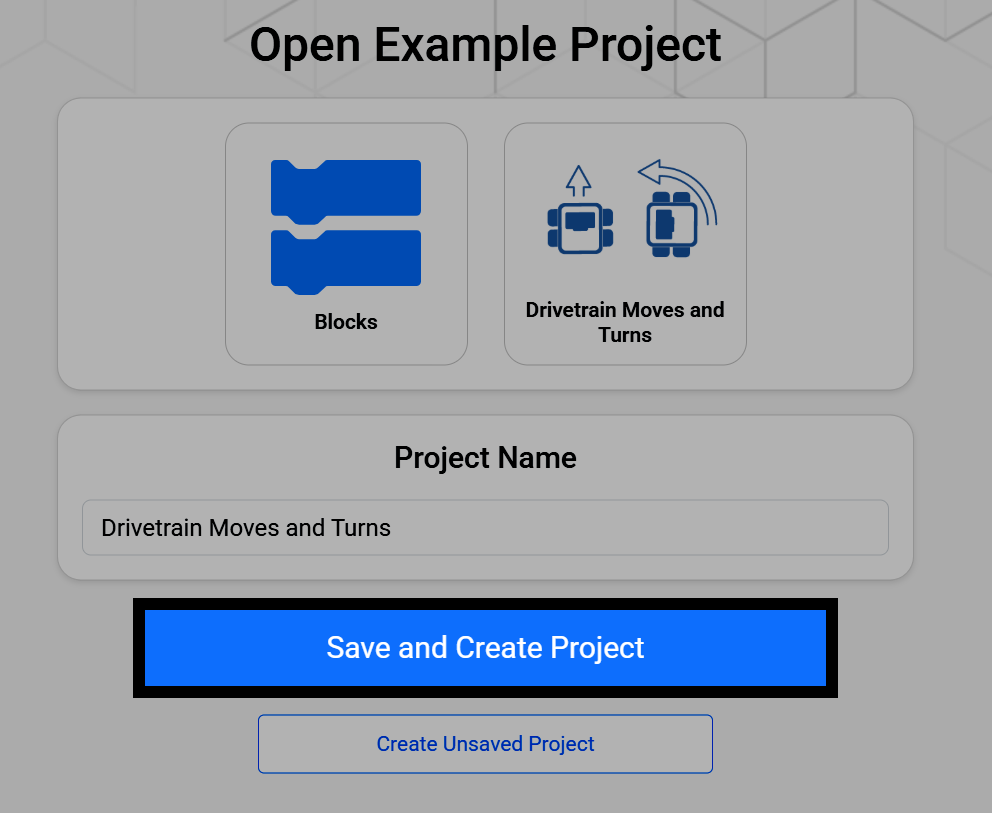
Selecting an example project opens a screen where you can rename it and save it to your device. Select Save and Create Project to save the new project to your device.
View the Example Project#
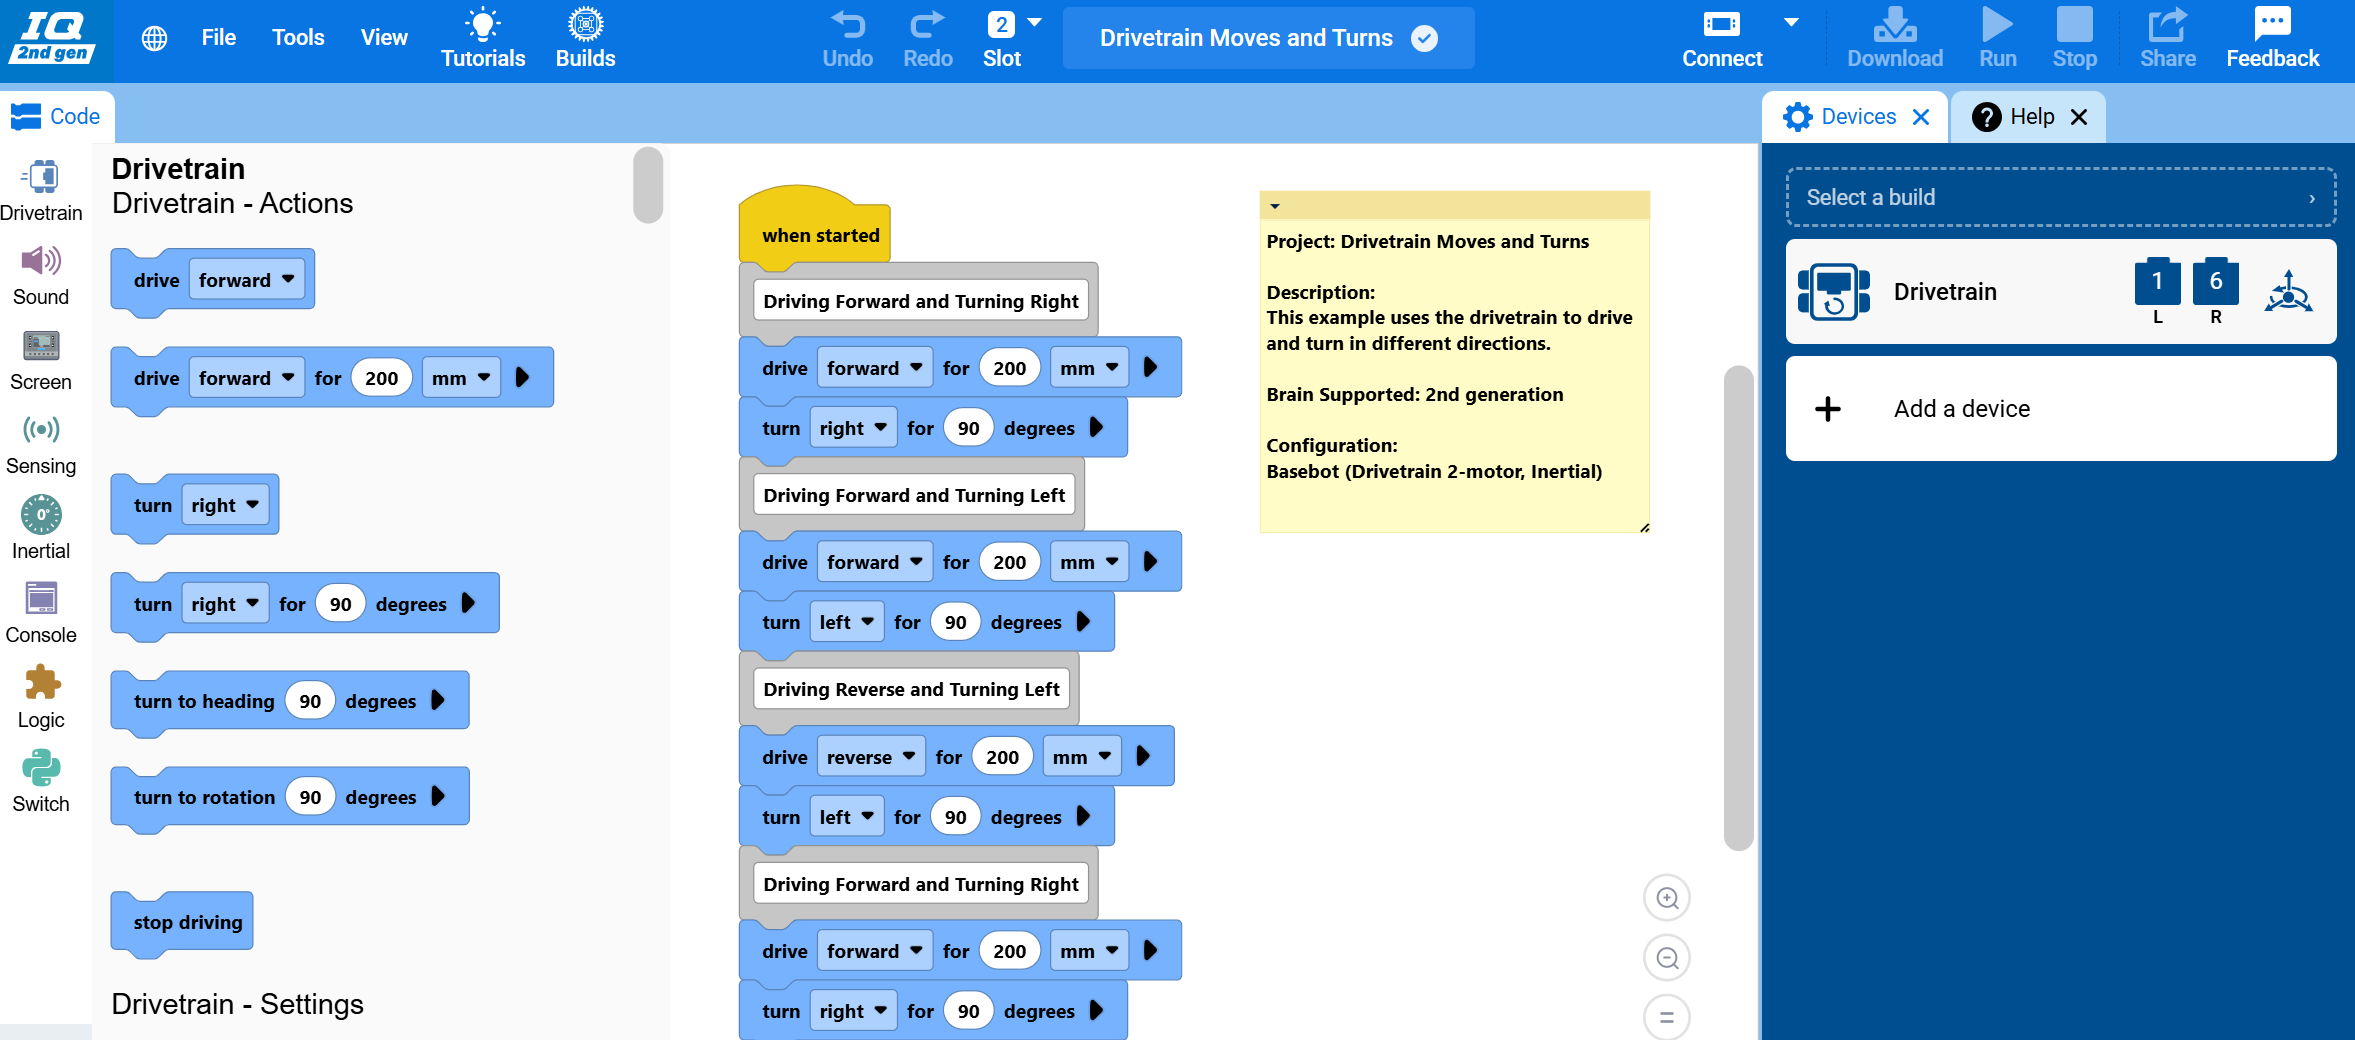
The project will open in VEXcode with code demonstrating the example already in the workspace. The robot will already be configured in the Devices menu, and a note in the workspace will explain what the project does and what device configuration to use with it.
Use a Template#
Select a Build#
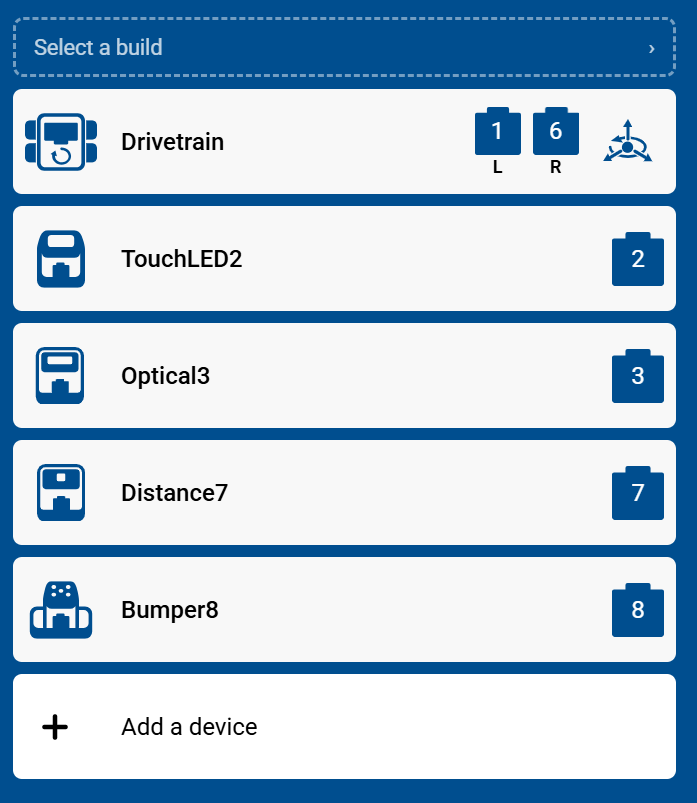
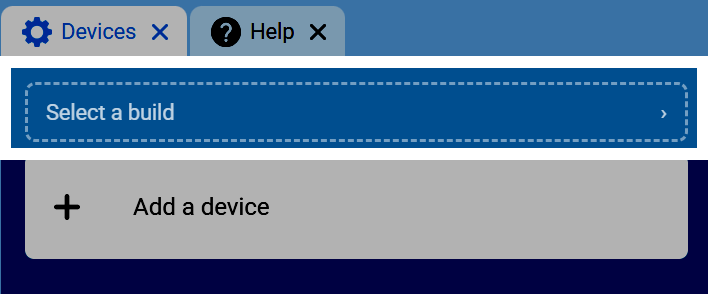
Go to the Devices tab, then select Select a build.
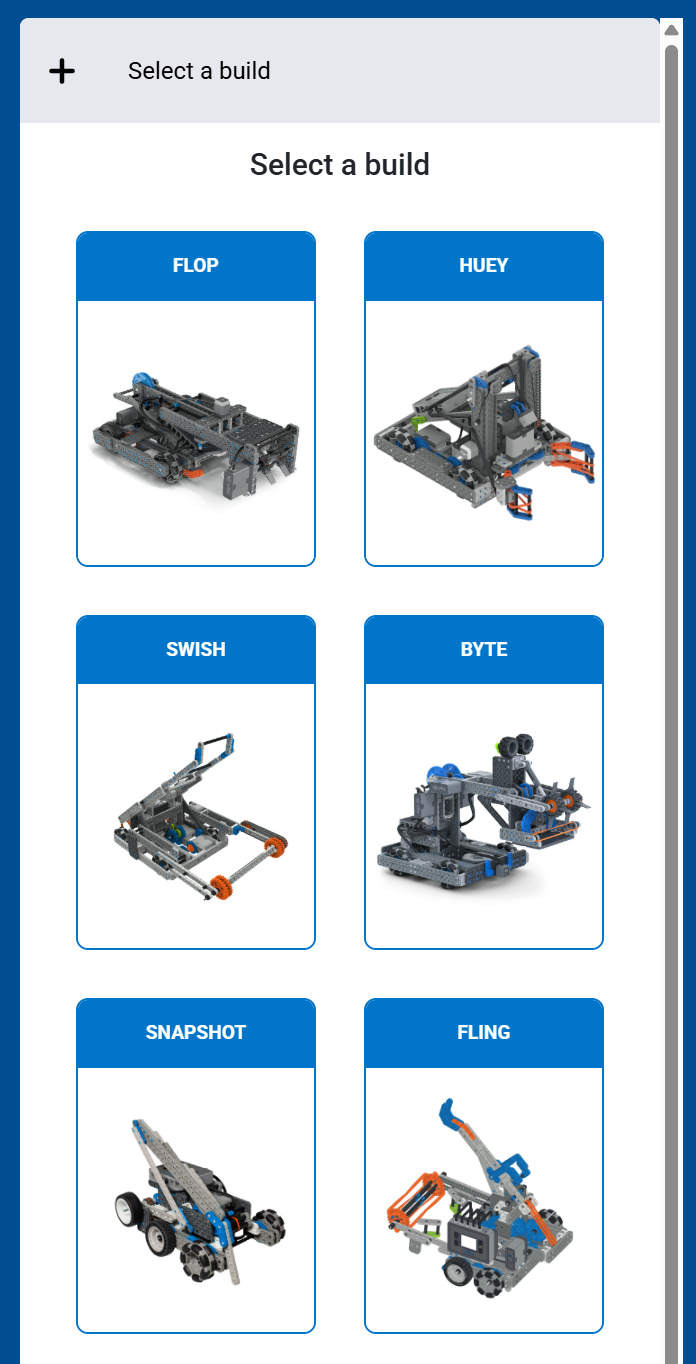
Choose Your Robot Build#
Select the robot build you are using.
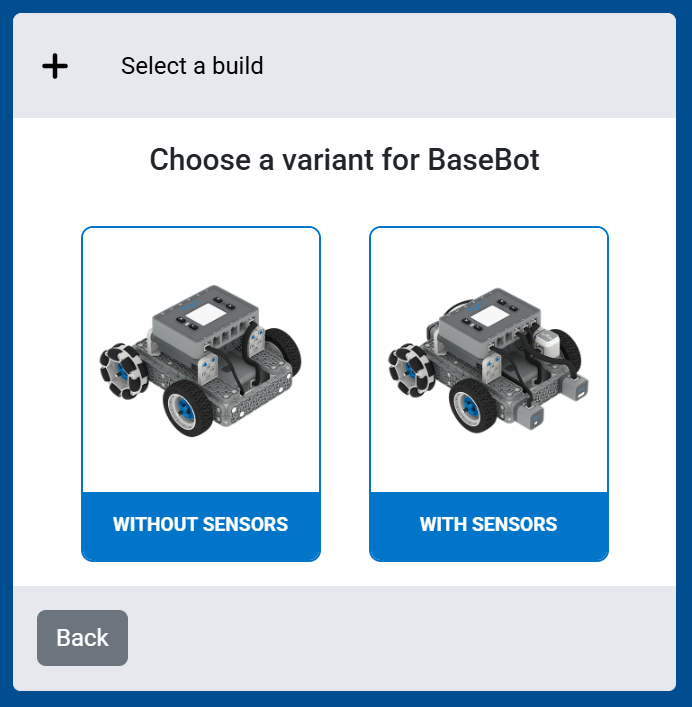
Choose a Build Variant#
If your build has different versions, select which version you’re using.
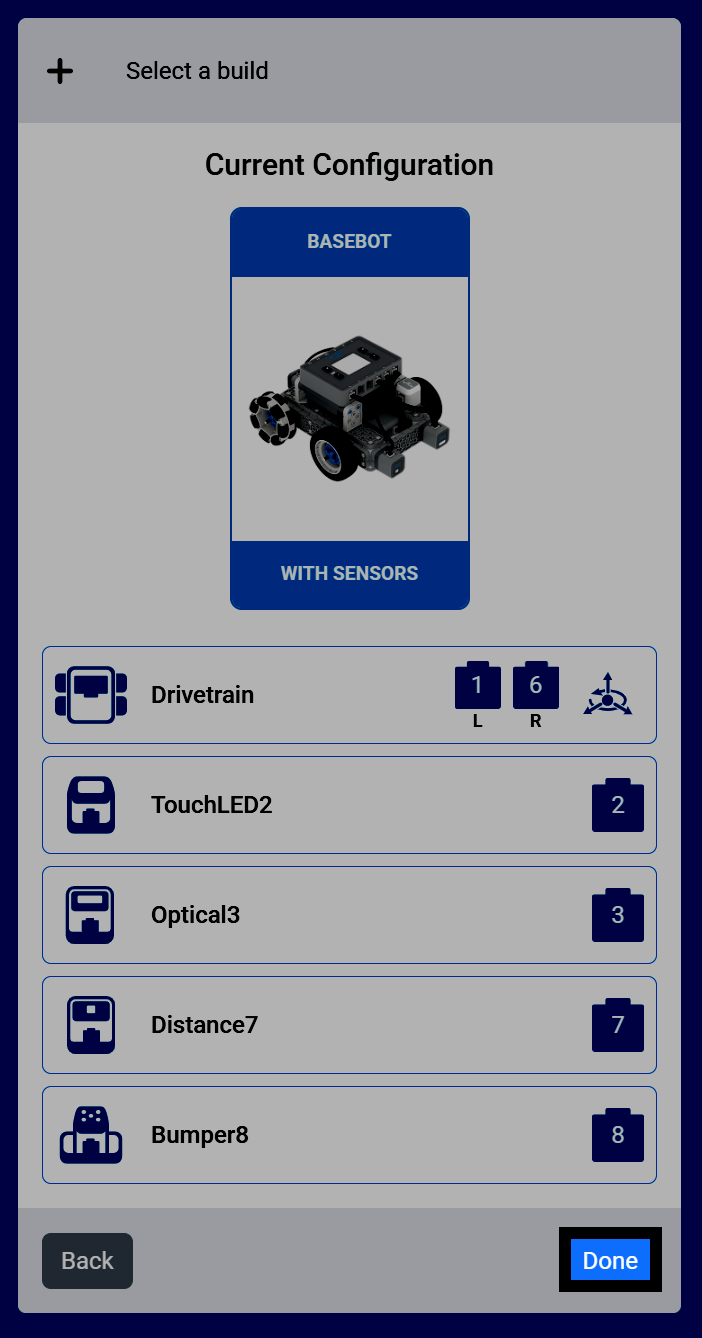
Confirm the Configuration#
VEXcode will show you all of the devices used with the build and what ports they’re connected to. Select Done to add this configuration to your project.
View the Configured Devices#
Those devices will now appear, configured in the Devices menu, ready to code with.