
Moving the Arm#
To use the arm on your VEX IQ Clawbot, first you need to configure the Clawbot in VEXcode. The easiest way to do this is to open a Clawbot template.
Configure the Clawbot#
Select a Build#
Go to the Devices tab, then select Select a build.
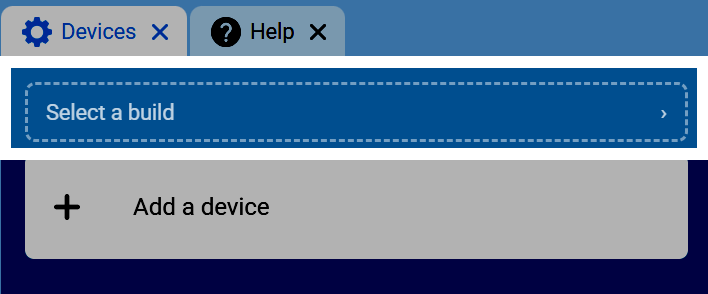
Select the Clawbot Build#
Scroll down and select the Clawbot build.
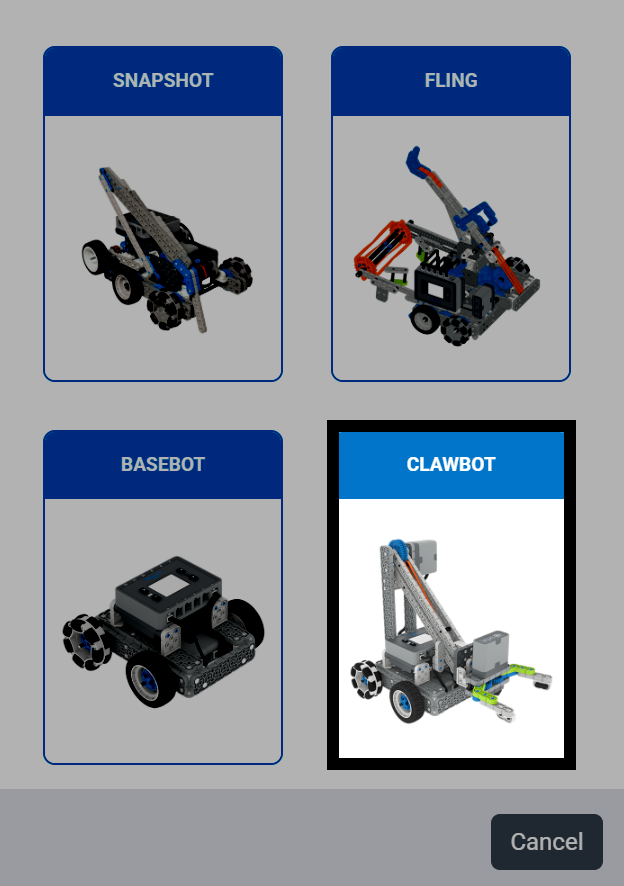
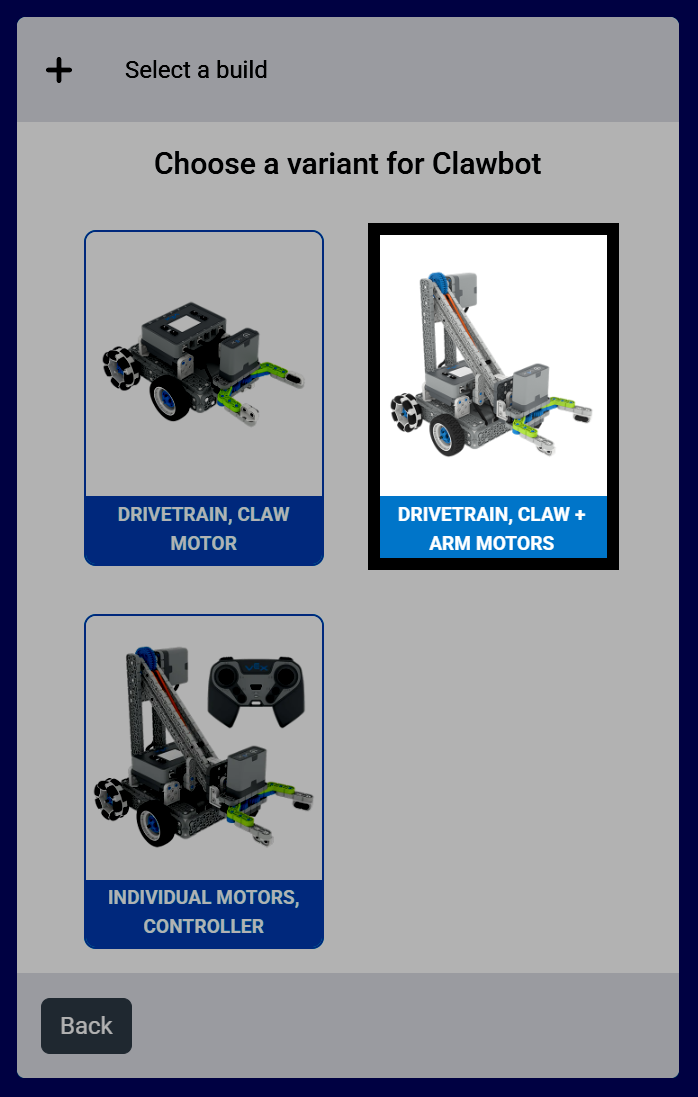
Choose the Clawbot Variant#
The build used for this tutorial is the Drivetrain, Claw + Arm Motors version of the Clawbot.
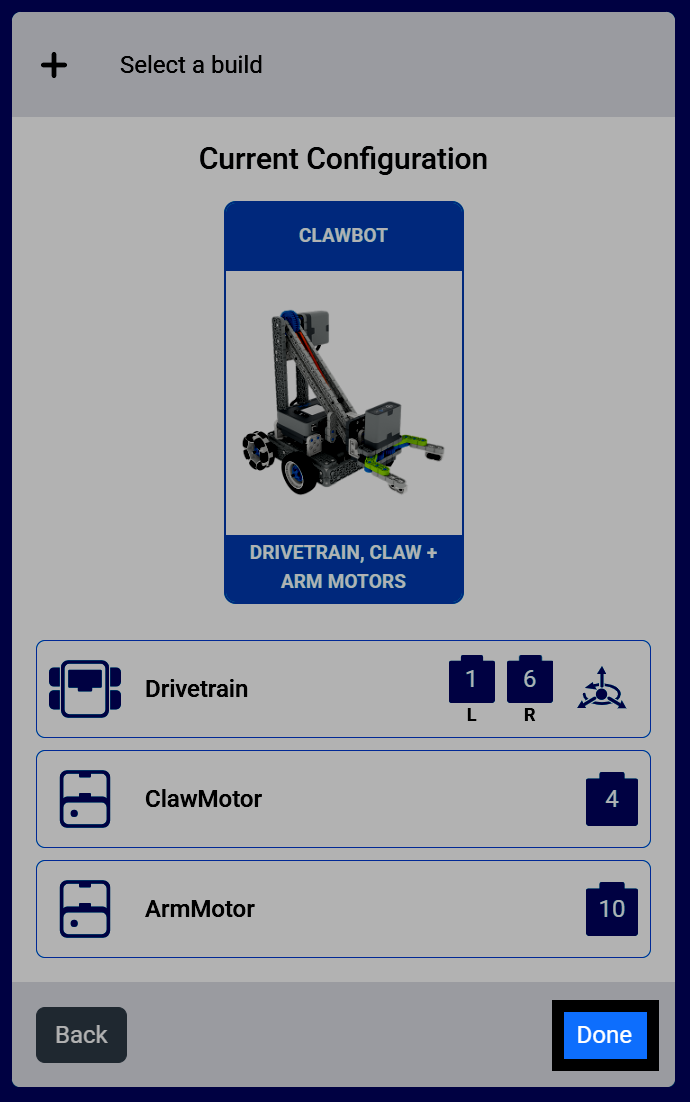
Confirm the Configuration#
Select Done to add this build to your project.
Code the Arm#
Open the Motion Category#
Select the Motion category in the toolbox to find the spin blocks.
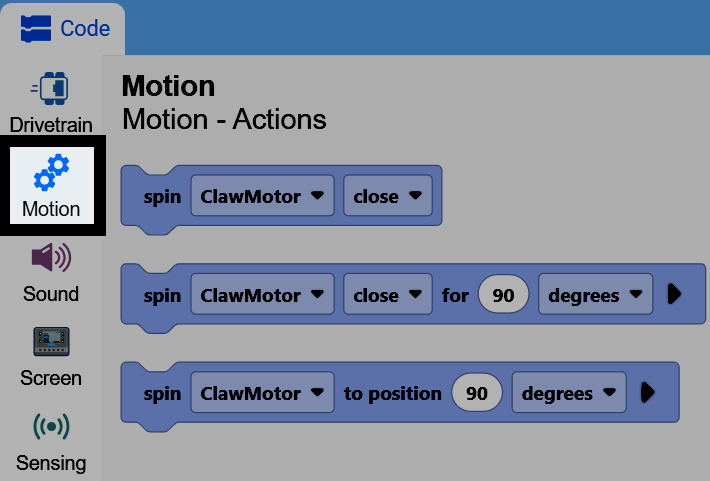
Attach the Spin Block#
Attach the spin motor for block to the when started block.
girar [ClawMotor v] [cerca v] por (90) [grados v] ▶
Select the ArmMotor#
By default, the block’s motor parameter is set to ClawMotor. Select the dropdown and choose ArmMotor instead, so the block controls the arm.
girar [ArmMotor v] [arriba v] por (90) [grados v] ▶
Move the Arm#
Change the direction parameter to up or down, and change the distance parameter to how far you want the arm to move. This will move the arm that many degrees from its current position.
cuando inicie
girar [ArmMotor v] [arriba v] por (90) [grados v] ▶
You can also change the units parameter to turns instead of degrees. One turn is equal to 360 degrees.
girar [ArmMotor v] [arriba v] por (1) [vueltas v] ▶
Using Motor Timeouts#
One tip is to use the set motor timeout block before using the spin motor for block.
establecer tiempo límite de [ArmMotor v] a (1) segundos
If you accidentally set the spin motor for block to too great of a distance, the set motor timeout block will force it to end, and the project to move on, even if the motor hasn’t reached the position it wanted to.
cuando inicie
establecer tiempo límite de [ArmMotor v] a (1) segundos
girar [ArmMotor v] [arriba v] por (600) [grados v] ▶