Moving Forward and Backward#
Once you have a Drivetrain added to your robot in the Devices menu, you can start to code with it.
Add a drive for Block#
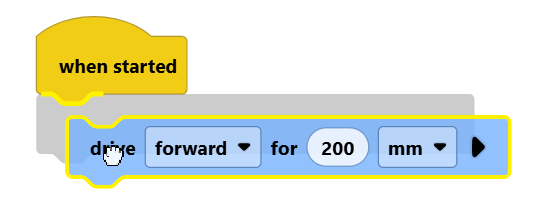
To move your robot’s Drivetrain forward and backward, use the drive for block, found in the Drivetrain category.
conducir [adelante v] por (200) [mm v] ▶
Connect the drive for block to the when started block.
Configure the Parameters#
Set the Distance#
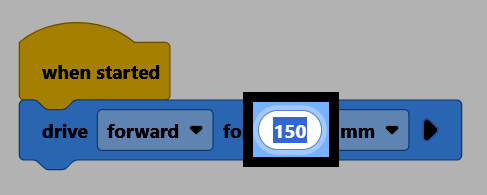
Select the number in the block to type in the distance you want the Drivetrain to travel, including decimals.
Set the Direction#
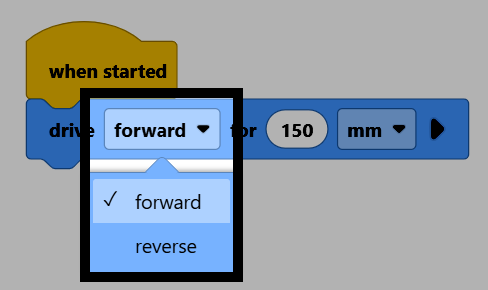
Select forward to open the drop-down menu, and choose whether to move the Drivetrain forward or in reverse.
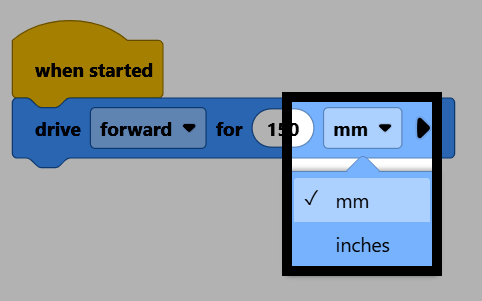
Set the Units#
Select mm to open the drop-down menu, and choose whether to move in millimeters or inches.
Set Whether to Wait#
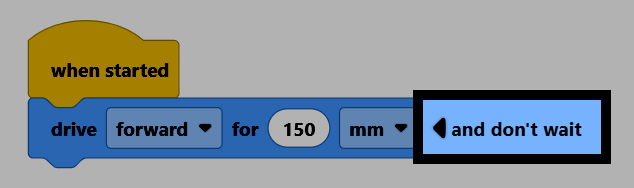
Select the arrow to expand the block to say and don’t wait. This makes the project continue to the next block right away, instead of waiting for the Drivetrain to finish moving first.