Σύνδεση με ενσύρματη σύνδεση (Mac)#
This tutorial walks you through connecting your VEX AIR Drone Controller to a Mac with a USB-C cable in VEXcode AIR. By the end, you’ll have your controller connected and ready to download projects to.
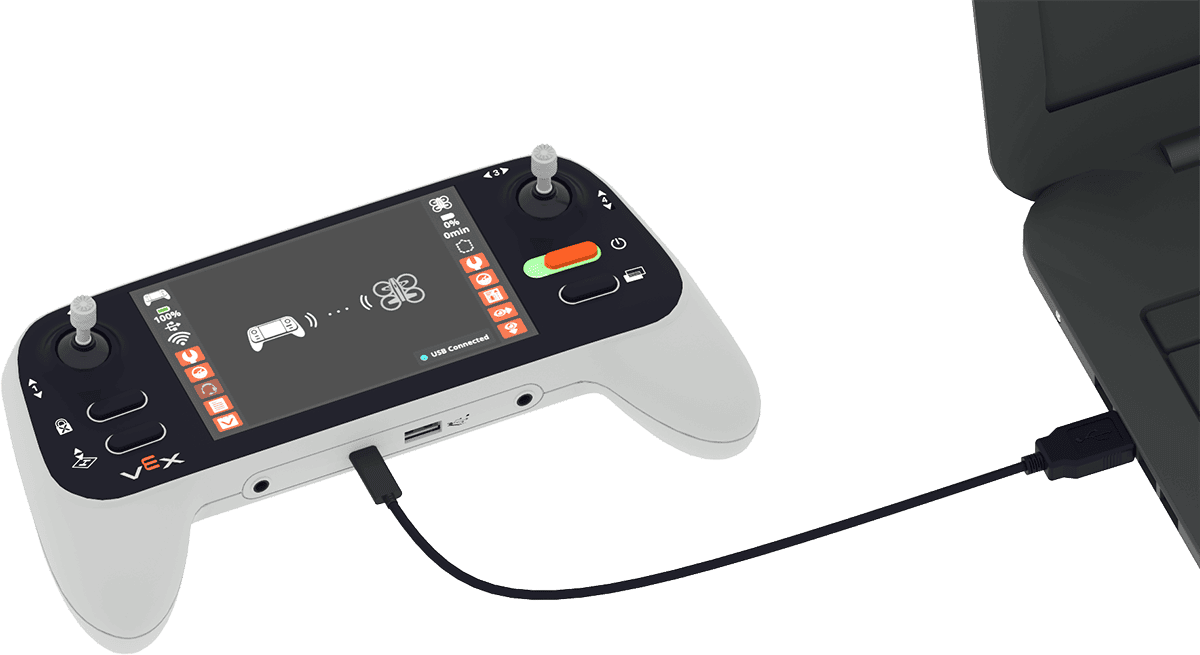
Turn on the controller by holding down the power button, releasing it when it begins flashing white. The button turns green once the controller is ready to use.
Connect your controller to your computer with a USB-C cable.
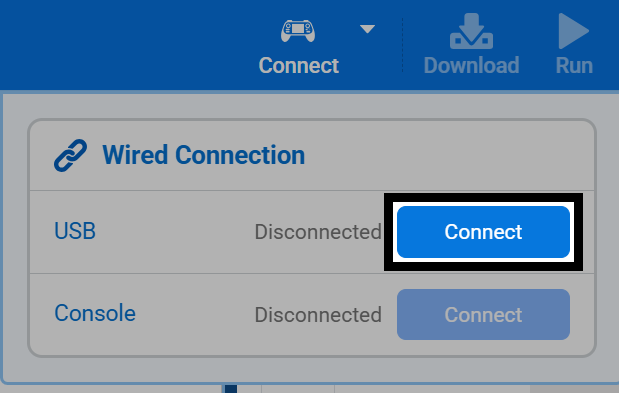
Select the Connect button at the top-right of VEXcode.

Select Connect next to USB under Wired Connection.
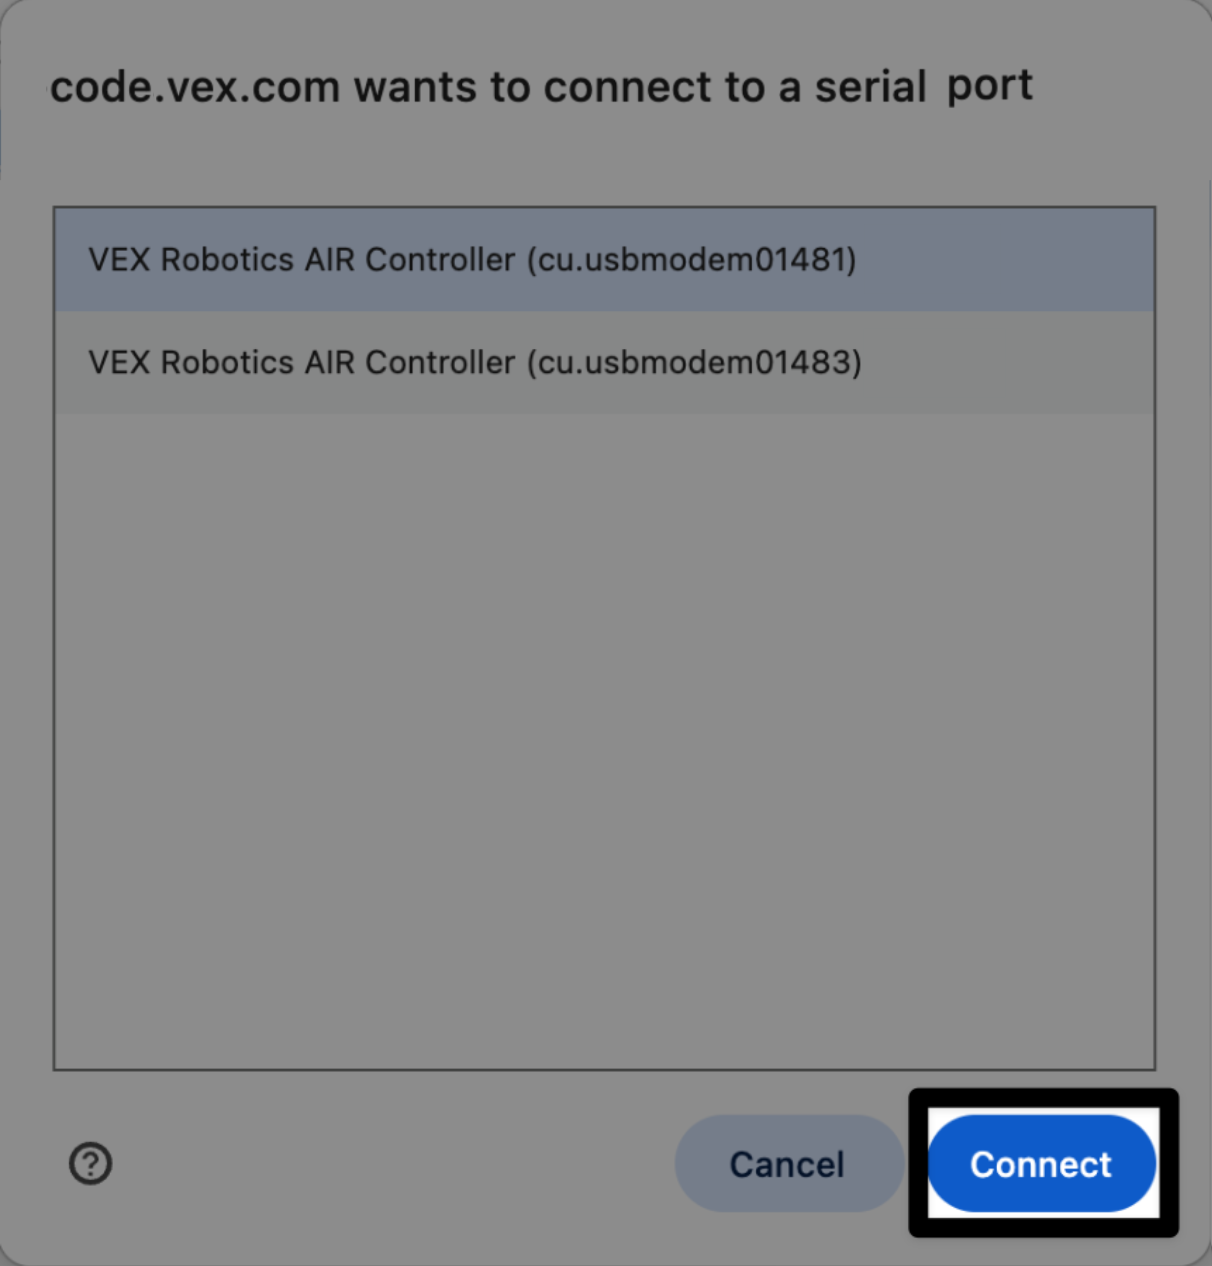
Your browser will ask which serial port to connect to. Select the lower-numbered VEX Robotics AIR Controller entry.
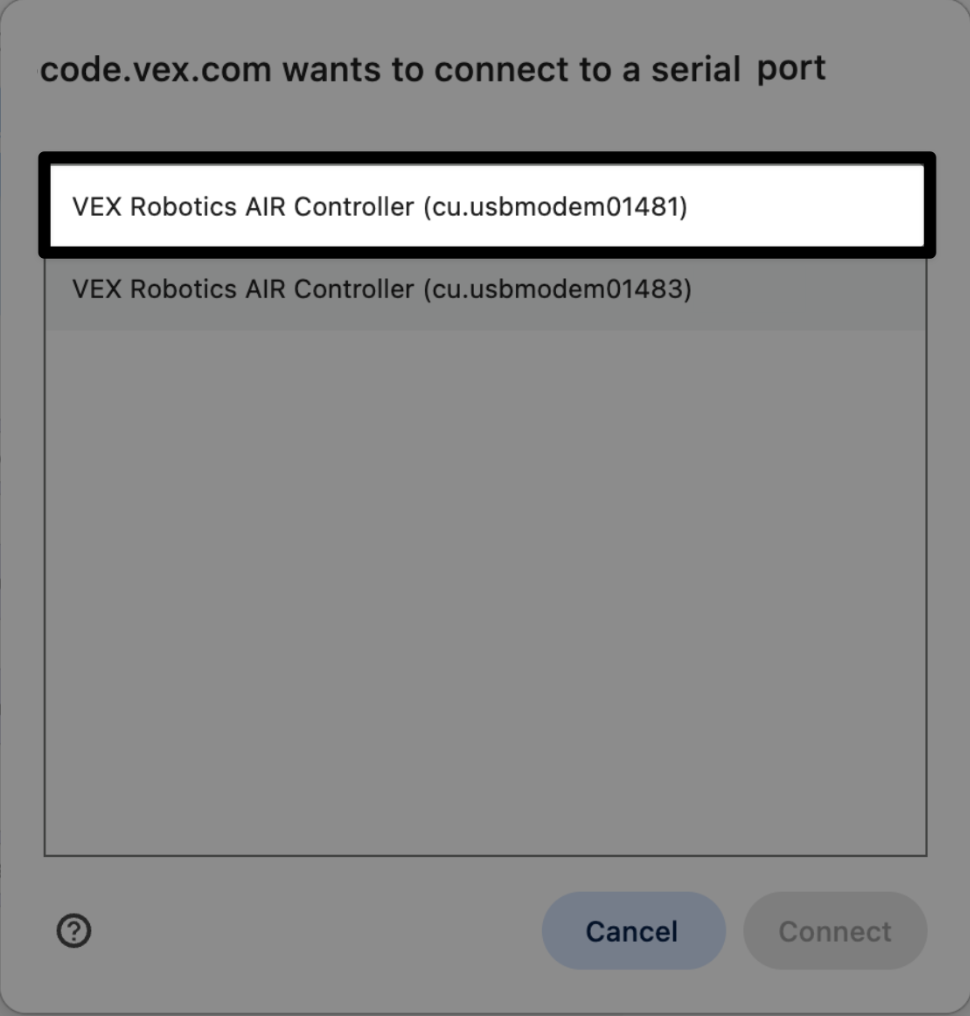
Select Connect.
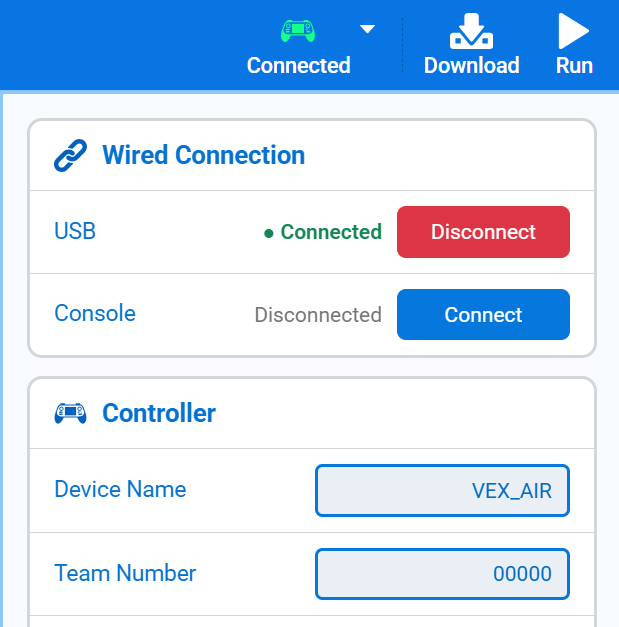
Once connected, USB will show as Connected, and the Controller section will appear, showing its Device Name and Team Number.