Taking Off and Landing#
This tutorial walks you through taking off and landing the VEX AIR Drone with the controller. By the end, you’ll have started the default_fly project, flown the drone with the joysticks, and landed it.
Before every flight, complete the VEX AIR Pre-Flight Checklist, and review Flight Safety with the Drone.
Place the drone on a level surface in a safe location.
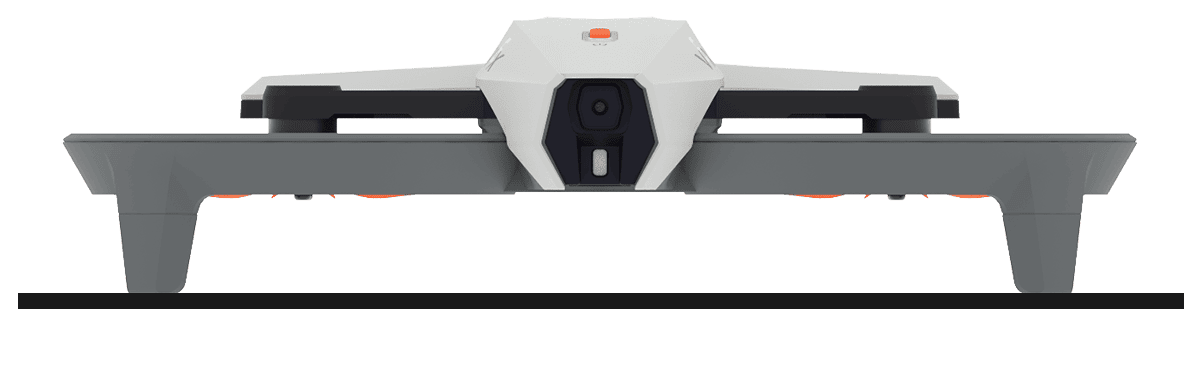
Note: The Propeller Lock activates when the drone is moved. Deactivate the Propeller Lock before continuing.
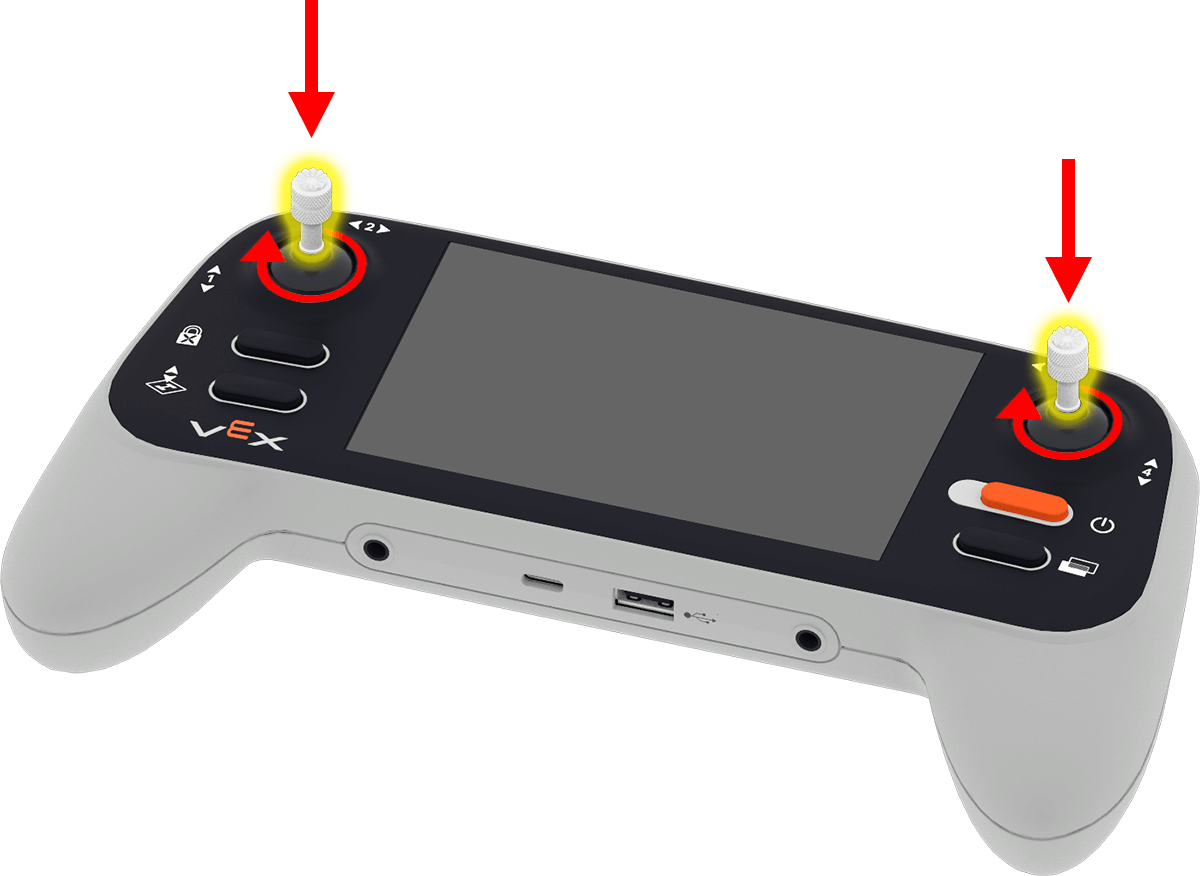
Attach the joysticks. Remove them from the back of the controller and screw them into the joystick holders on the front.
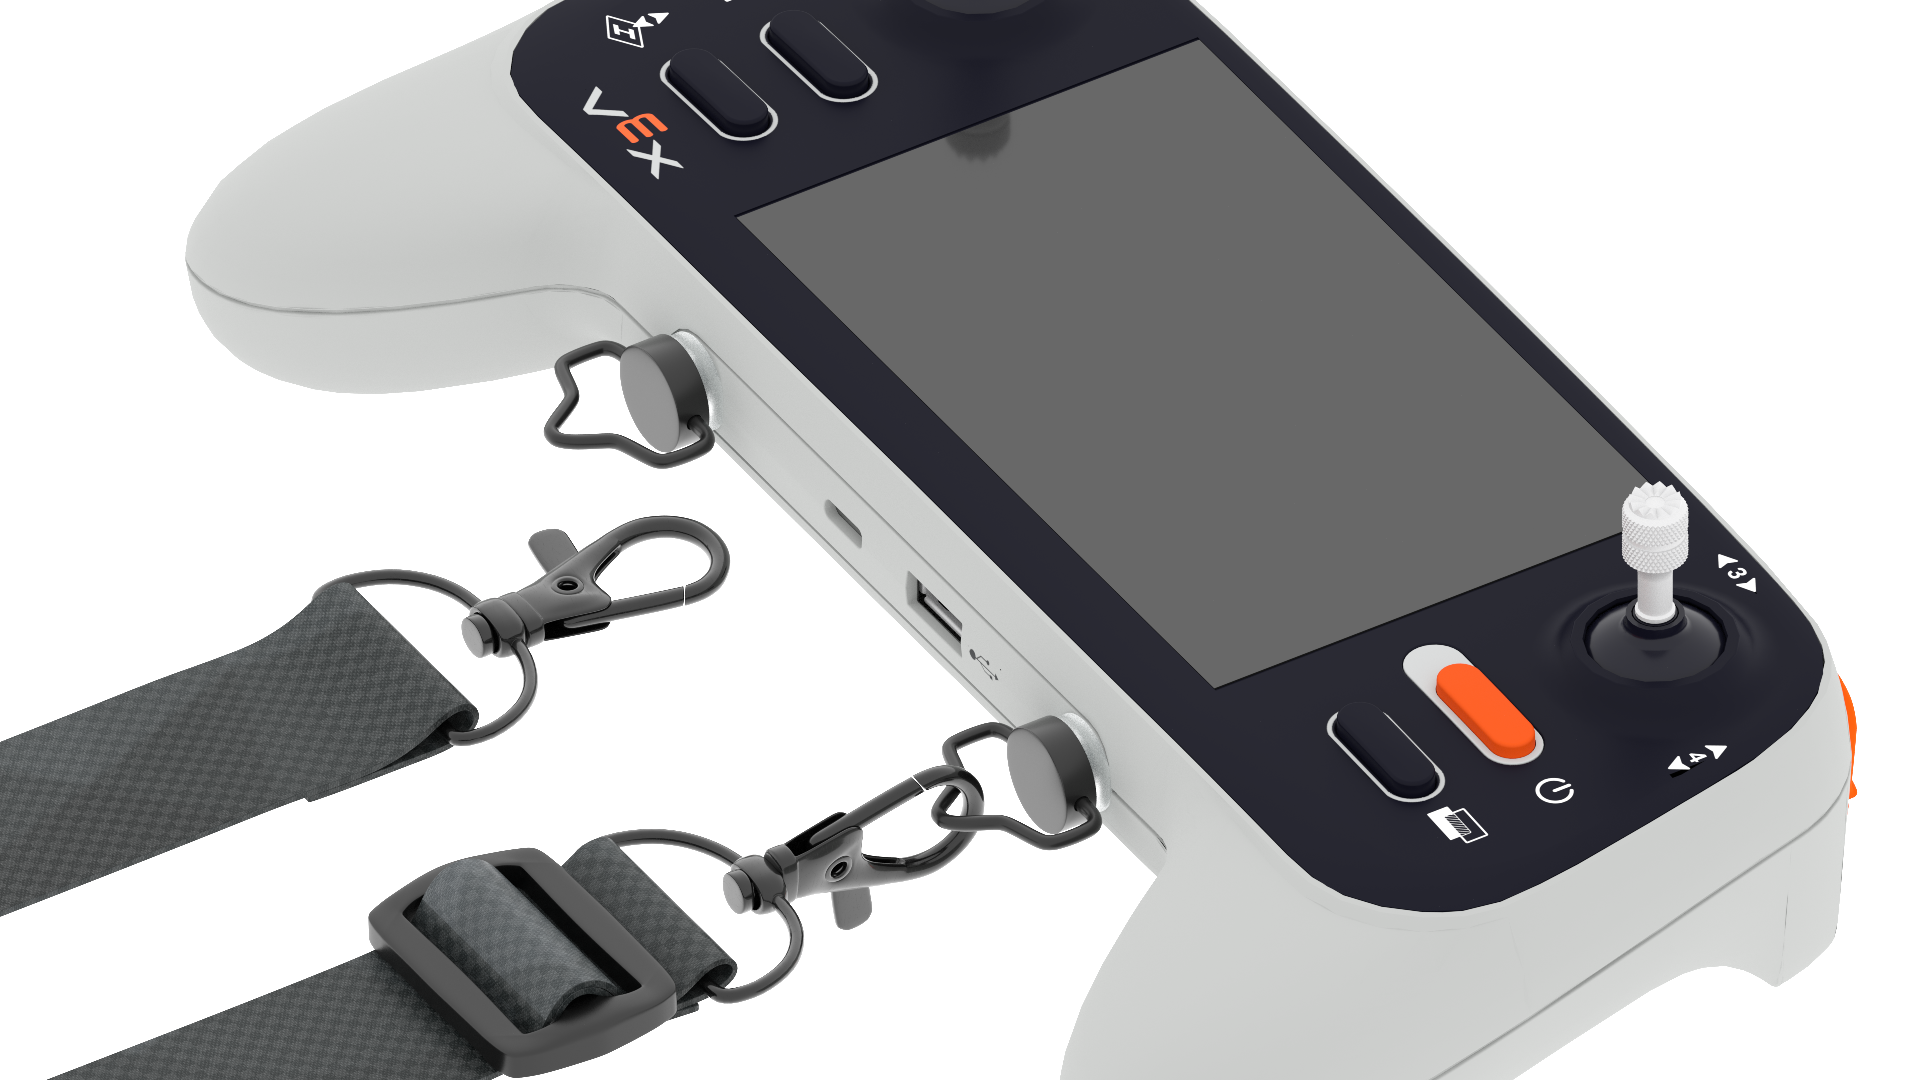
Attach the lanyard by screwing the lanyard’s pins into the controller.
Learn how the joysticks control the drone in the
default_flyproject.
Axis 1 raises or lowers the drone.
Axis 2 turns the drone left or right.
Axis 3 moves the drone left and right.
Axis 4 moves the drone forward and backward.
The User Screen of the
default_flyproject shows information and buttons for settings and actions.
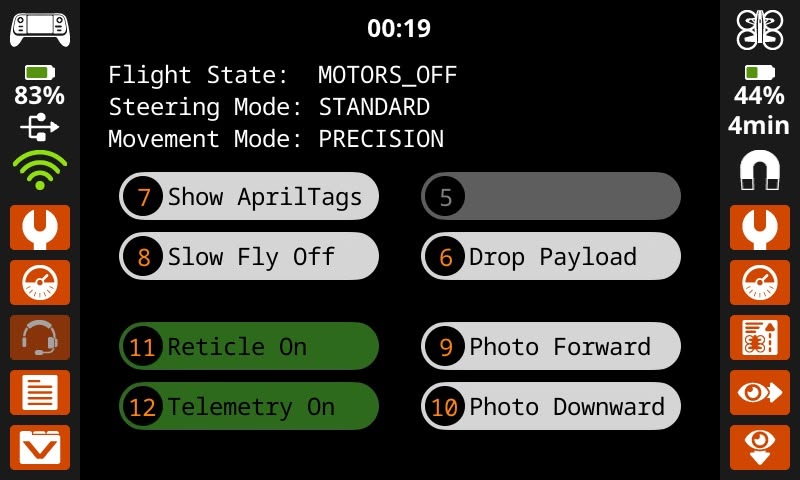
Timer — Shows how long the project has been running.
Current Settings — Shows the current flight state, steering mode, and movement mode below the timer.
Buttons — Press the on-screen button, or the matching numbered controller button, to run an action or turn an option on or off.
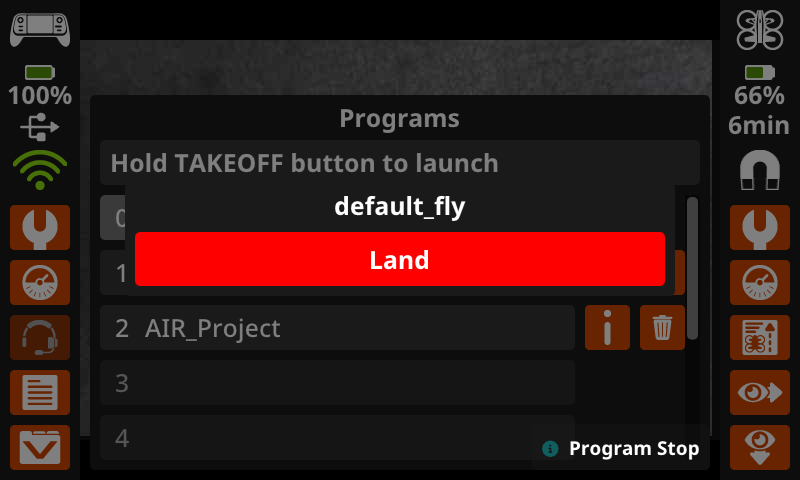
To start a project, press the Takeoff & Land button on the controller.
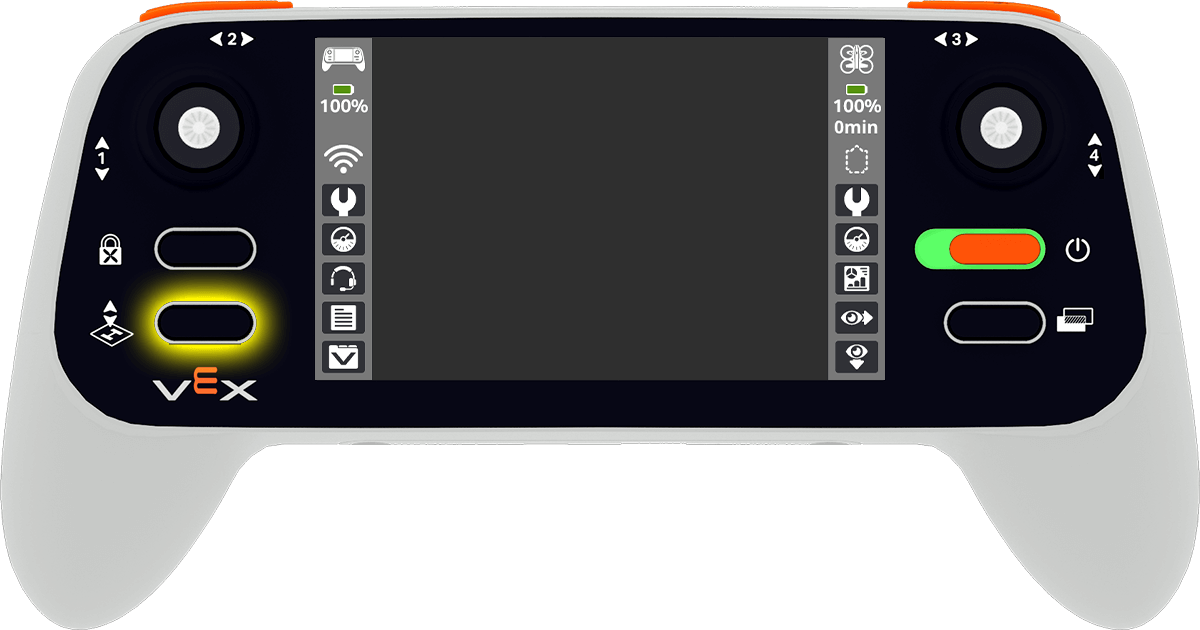
A menu shows the projects loaded on the controller. Press the project you want to use. The
default_flyproject lets you fly the drone with the controller.
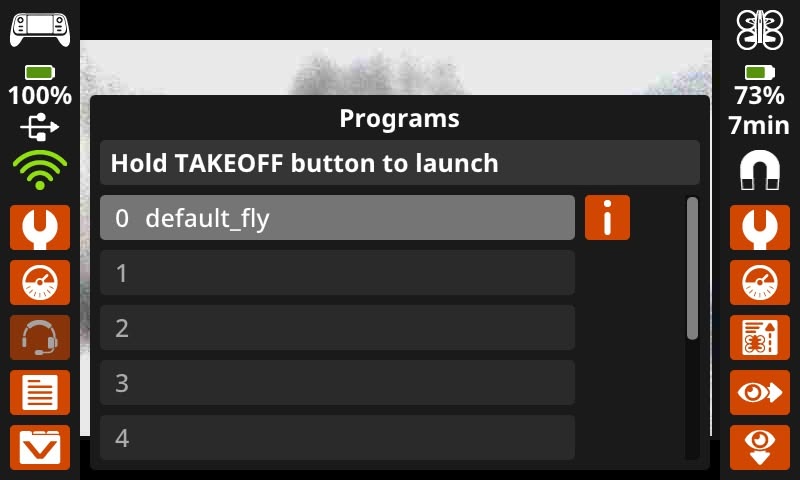
Hold down the Takeoff & Land button until the project slot fills with orange, then release the button to start the project.
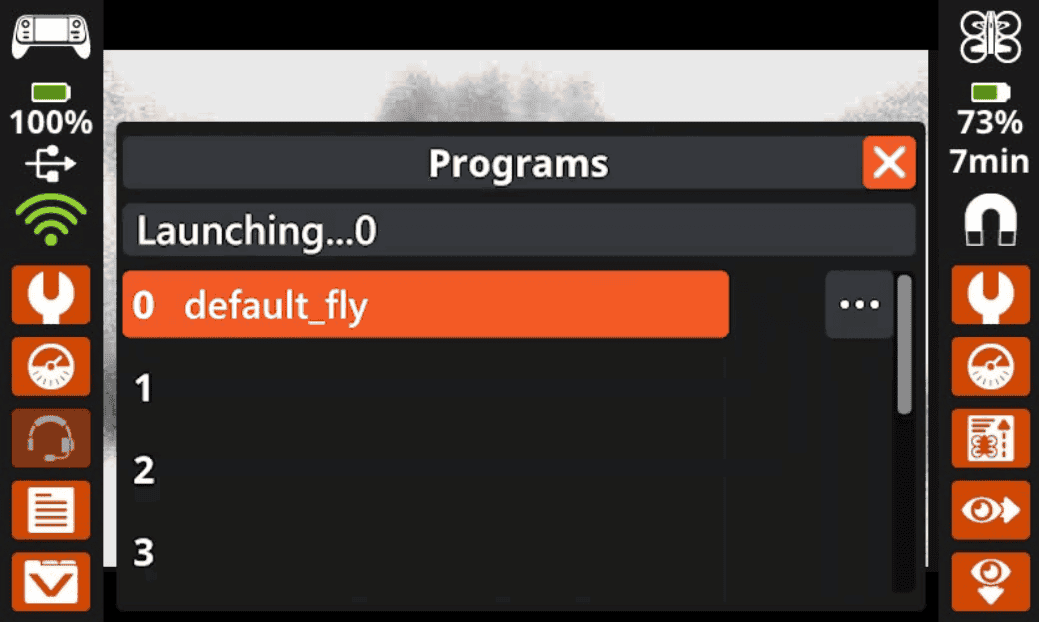
To land the drone, press the Takeoff & Land button while the project is running, then press Land. The project will stop and the drone will land.